Importing a measurement file made with the XRite I1 Profiler software
If you use an XRite spectrophotometer (I1 Pro, I1 Pro 2, I1 Pro 3 & 3+ or an IO table) that does not have the licenses to calculate the profiles, you still have the option of using the XRite I1 software Profiler to create and then measure RGB or CMYK ranges.
Once the measurement of the range has been carried out, all you have to do is export the measurement file in Coraye to calculate it in our CMYK Profiler or RGB Profiler modules.

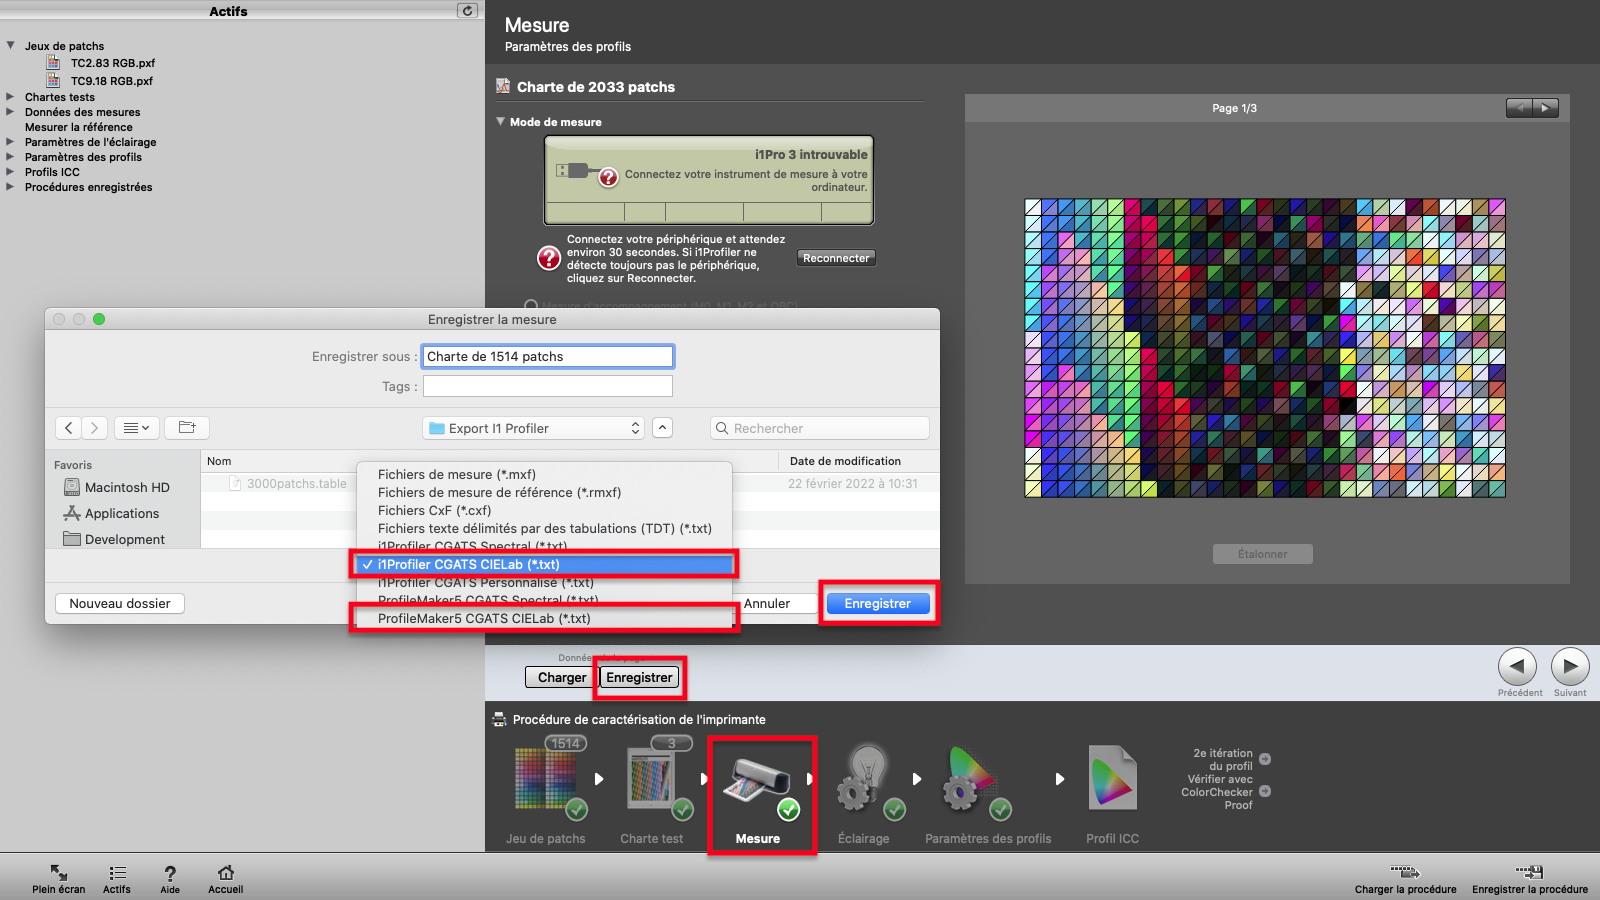
Export of the measurement file in CGATS CIELab.txt format
In the XRite I1 Profiler software, when you have finished measuring the gamut for creating an RGB or CMYK profile, save your file containing the measurements.
To be compatible with the Coraye software, the files must be saved, in the folder of your choice, in the formats:
- I1 Profiler CGATS CIELab (*.txt)
- ProfileMaker5 CGATS CIELab (*.txt)
Importing the CGATS CIELab file (*.txt) into Coraye
This feature requires that you have the Coraye RGB Profiler and/or CMYK Profiler licenses, depending on the type of RGB or CMYK profile you want to create.
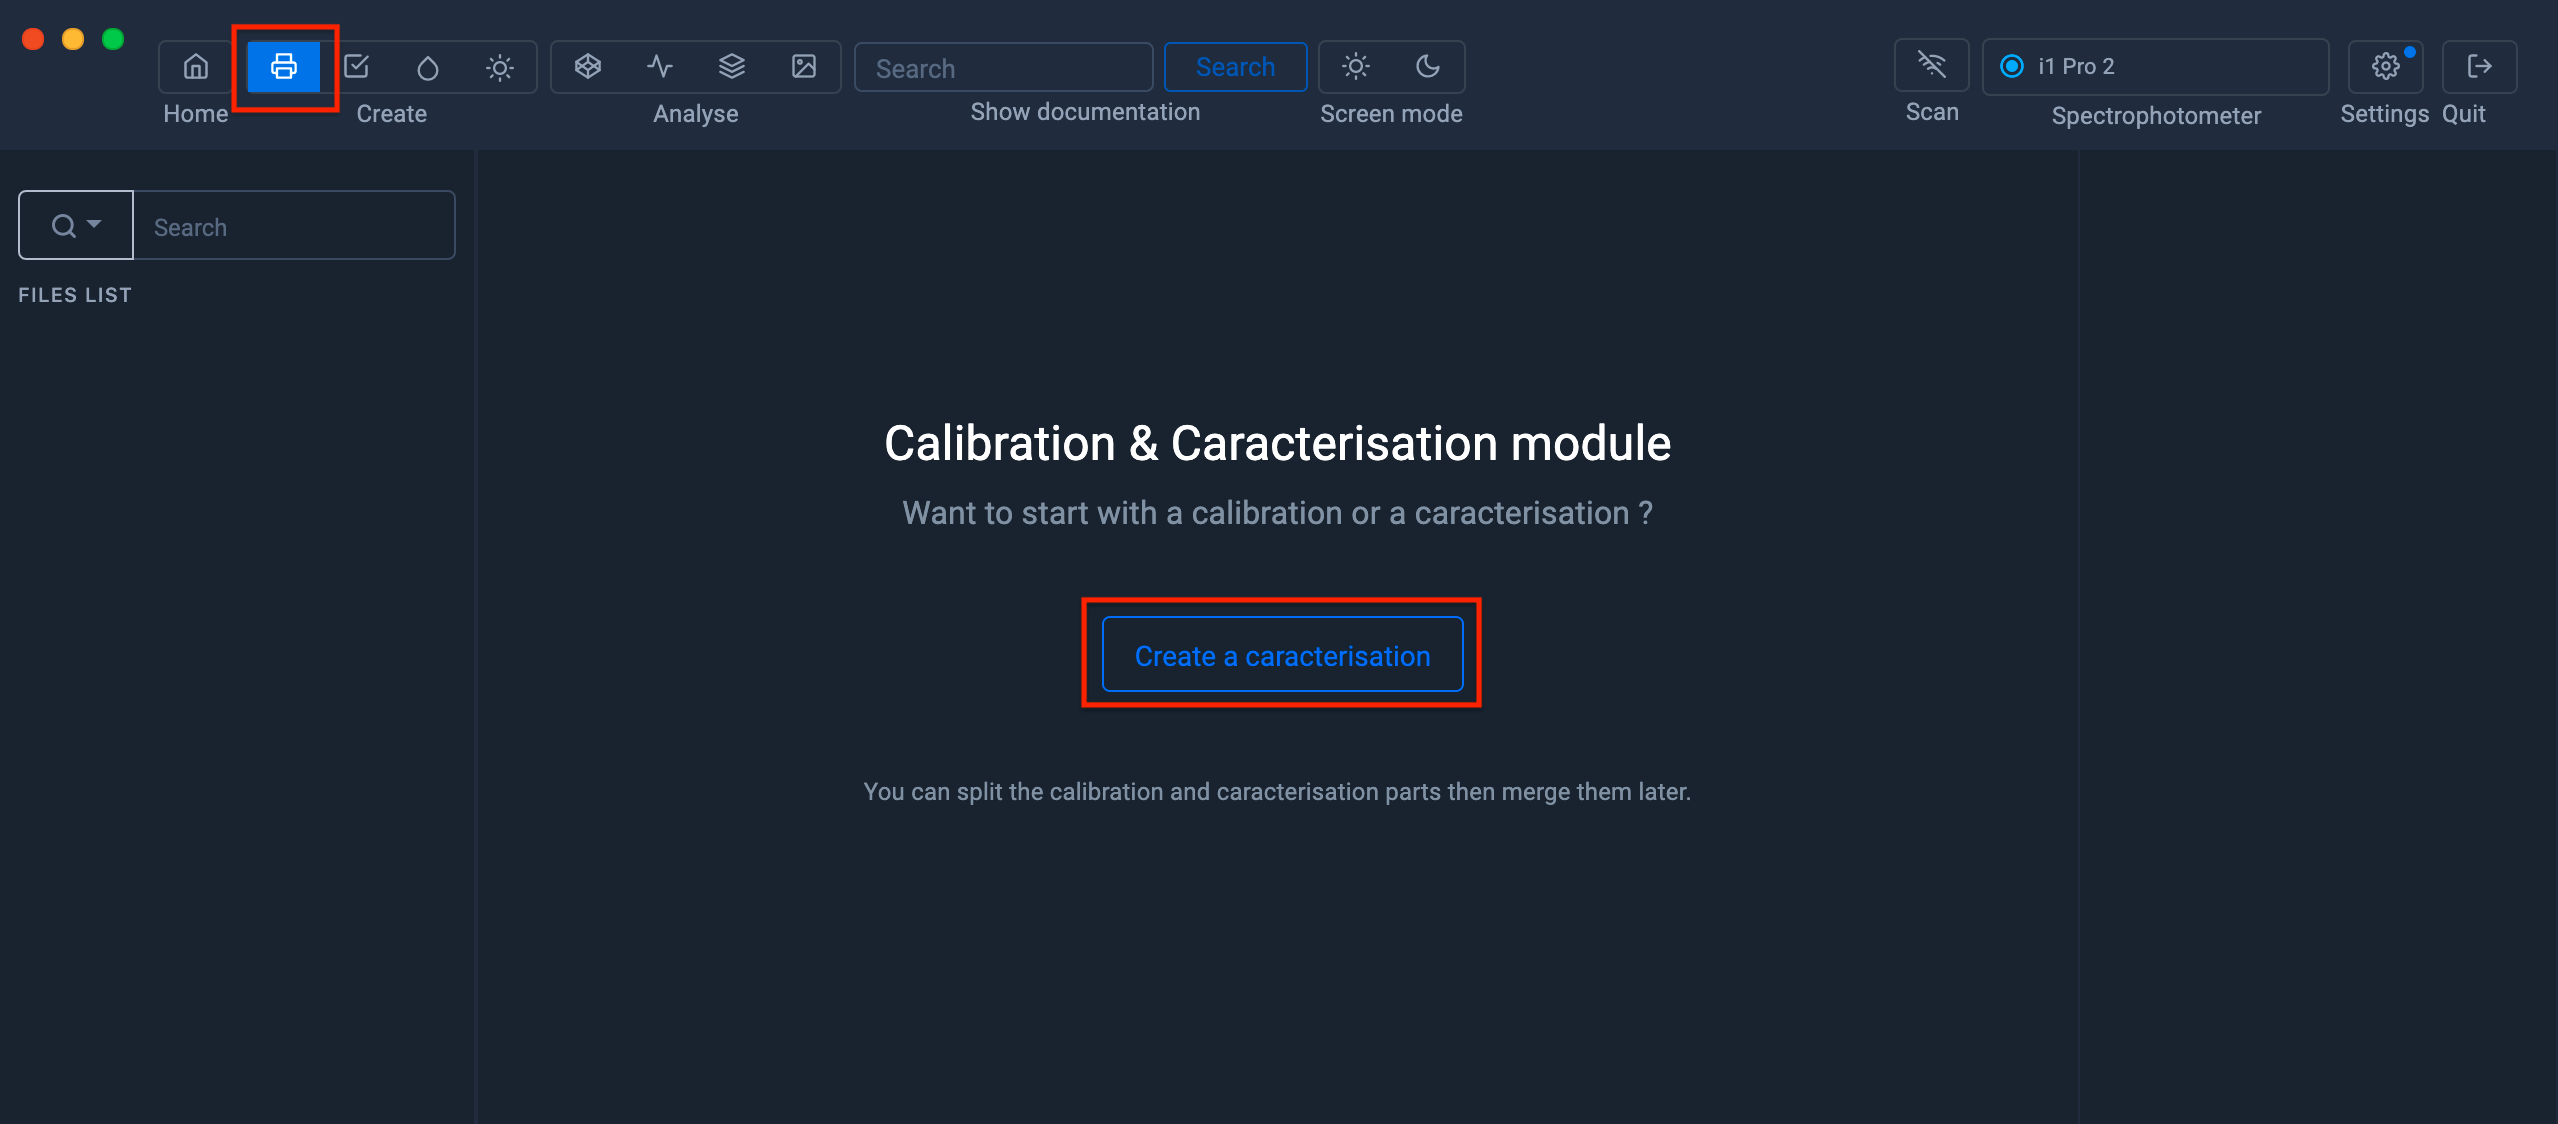
1) Launch the profile creation module, then click on the "Create a characterization" button
2) Choose the profile mode corresponding to the mode in which the staff measurement was performed on the XRite I1 Profiler software.
In our example the target chosen is in RGB mode, so we will select RGB mode.

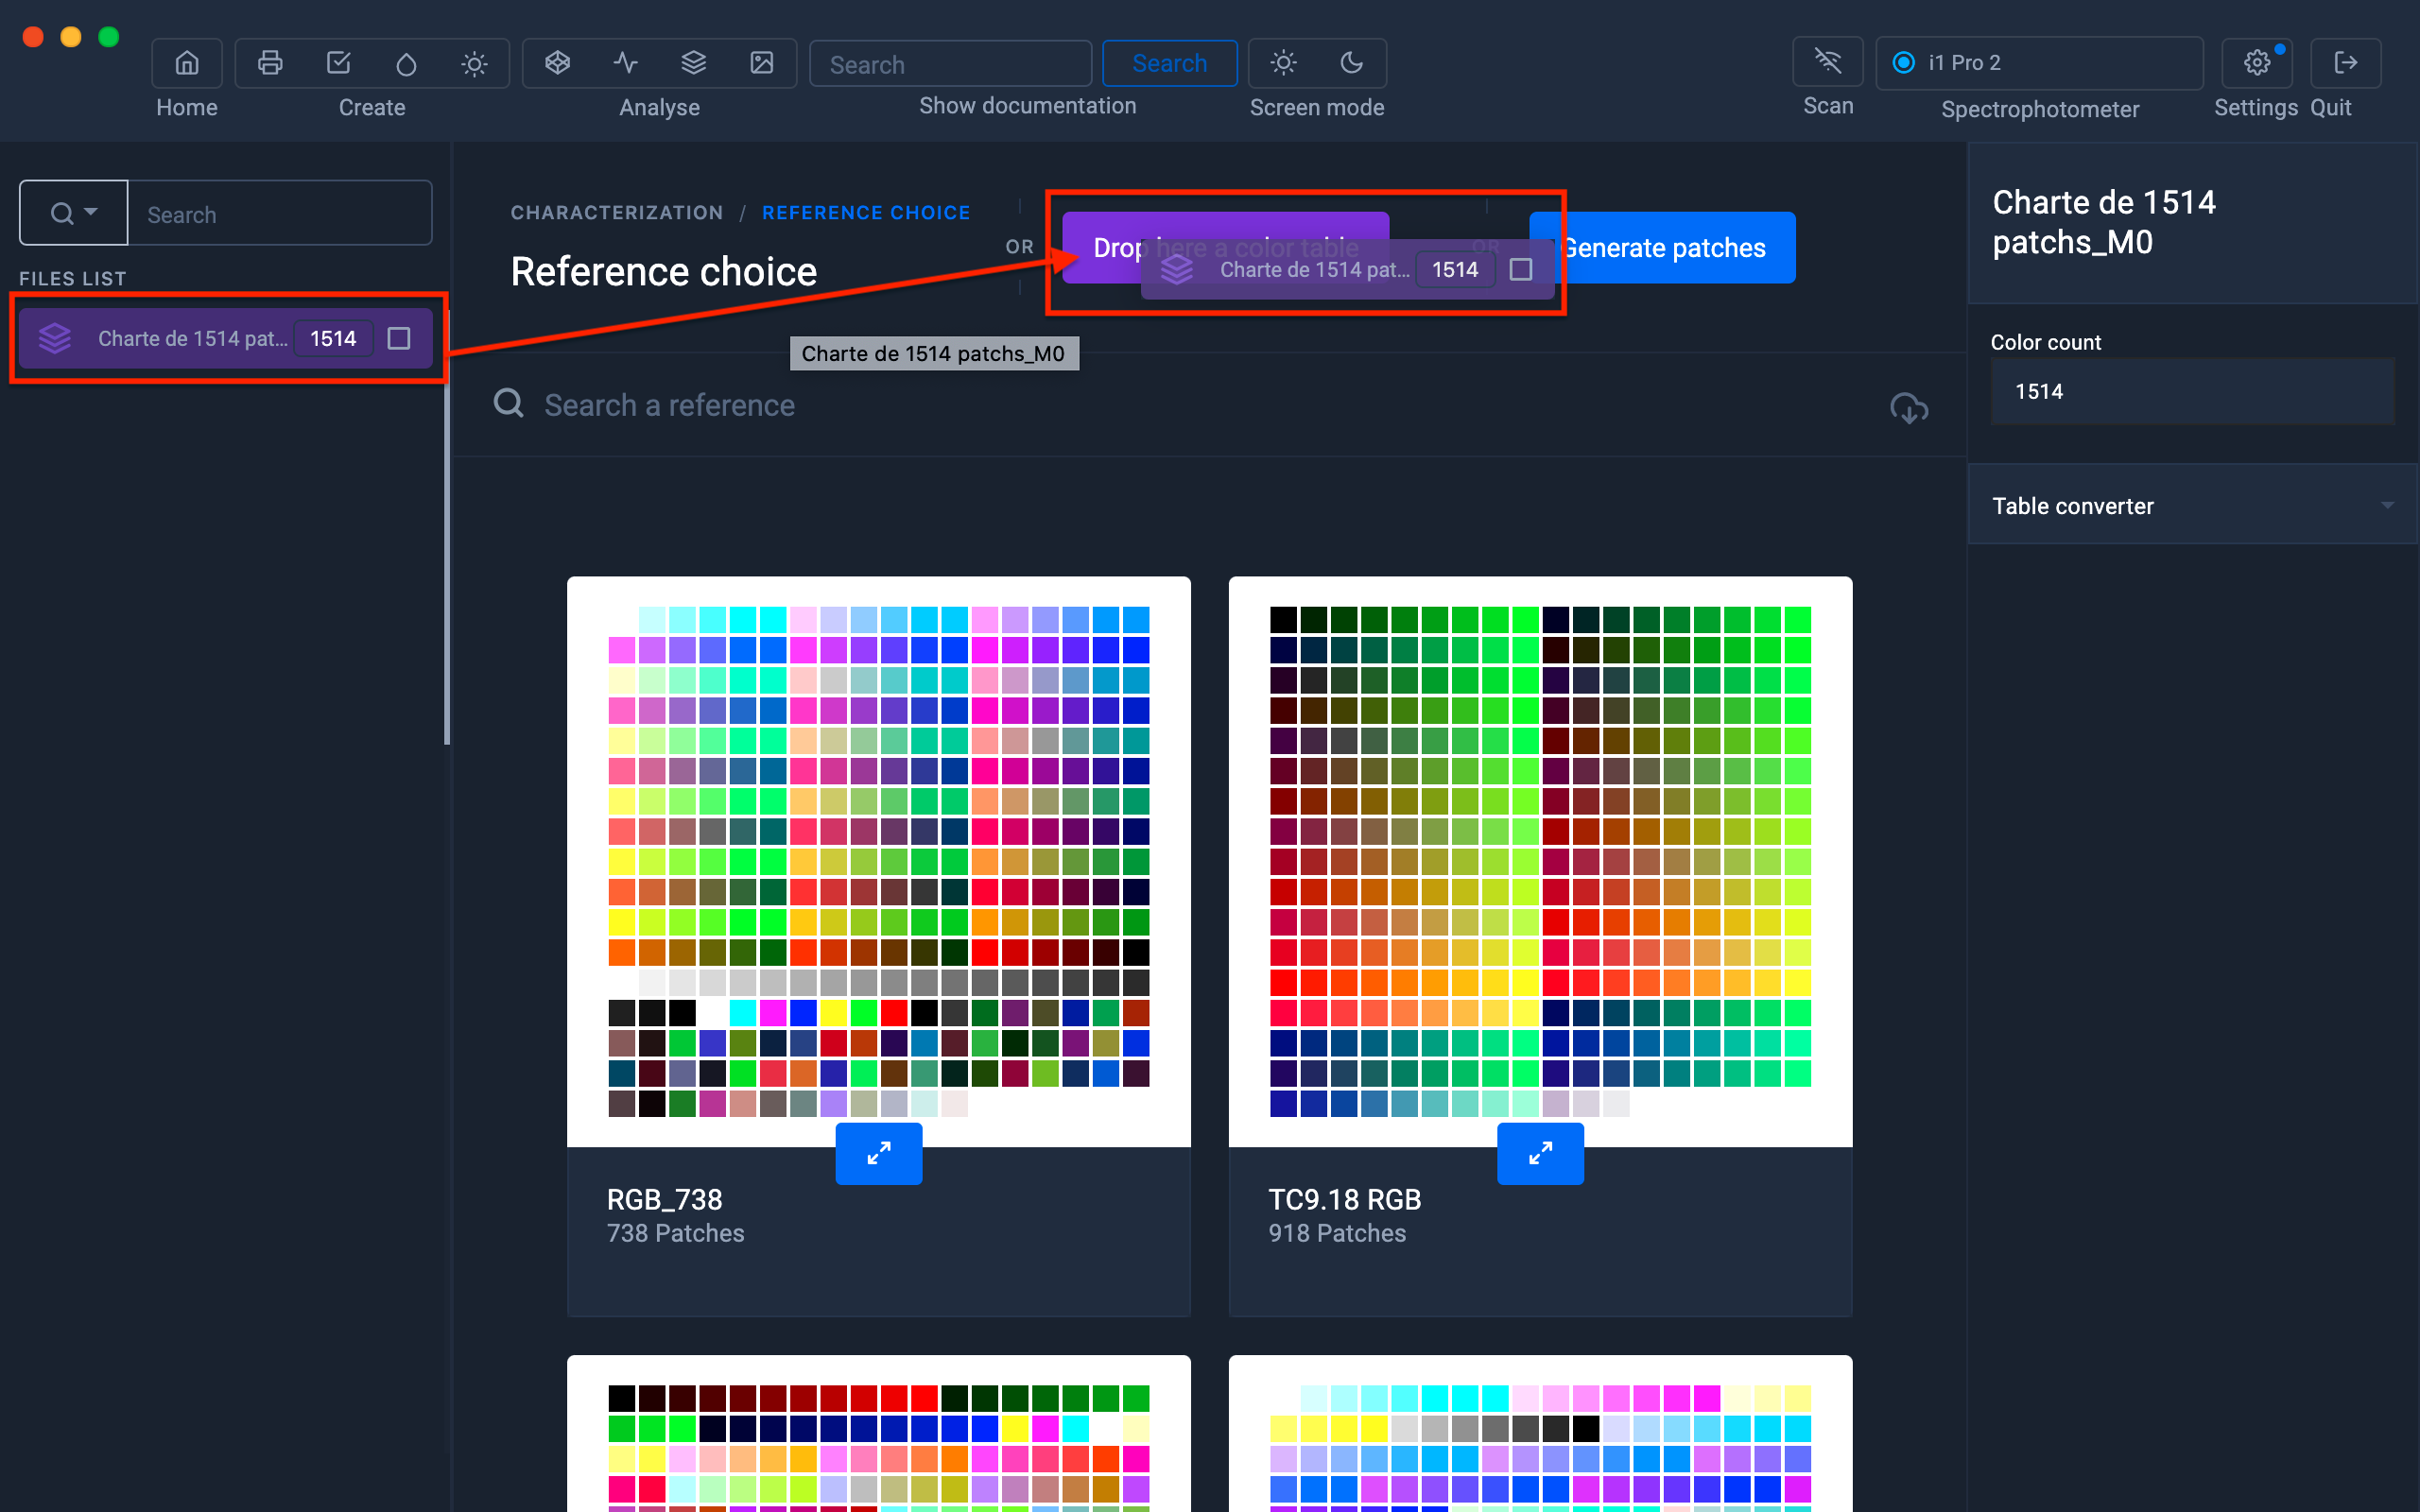
3) Import of the CGATS CIELab file (.txt) made in XRite I1 Profiler.
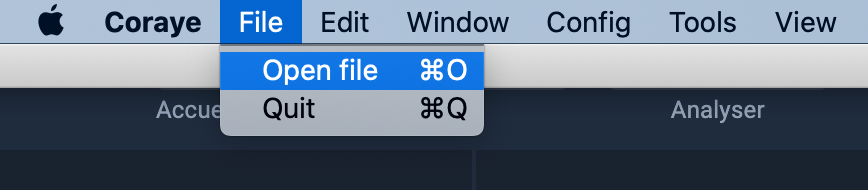
File > Open file
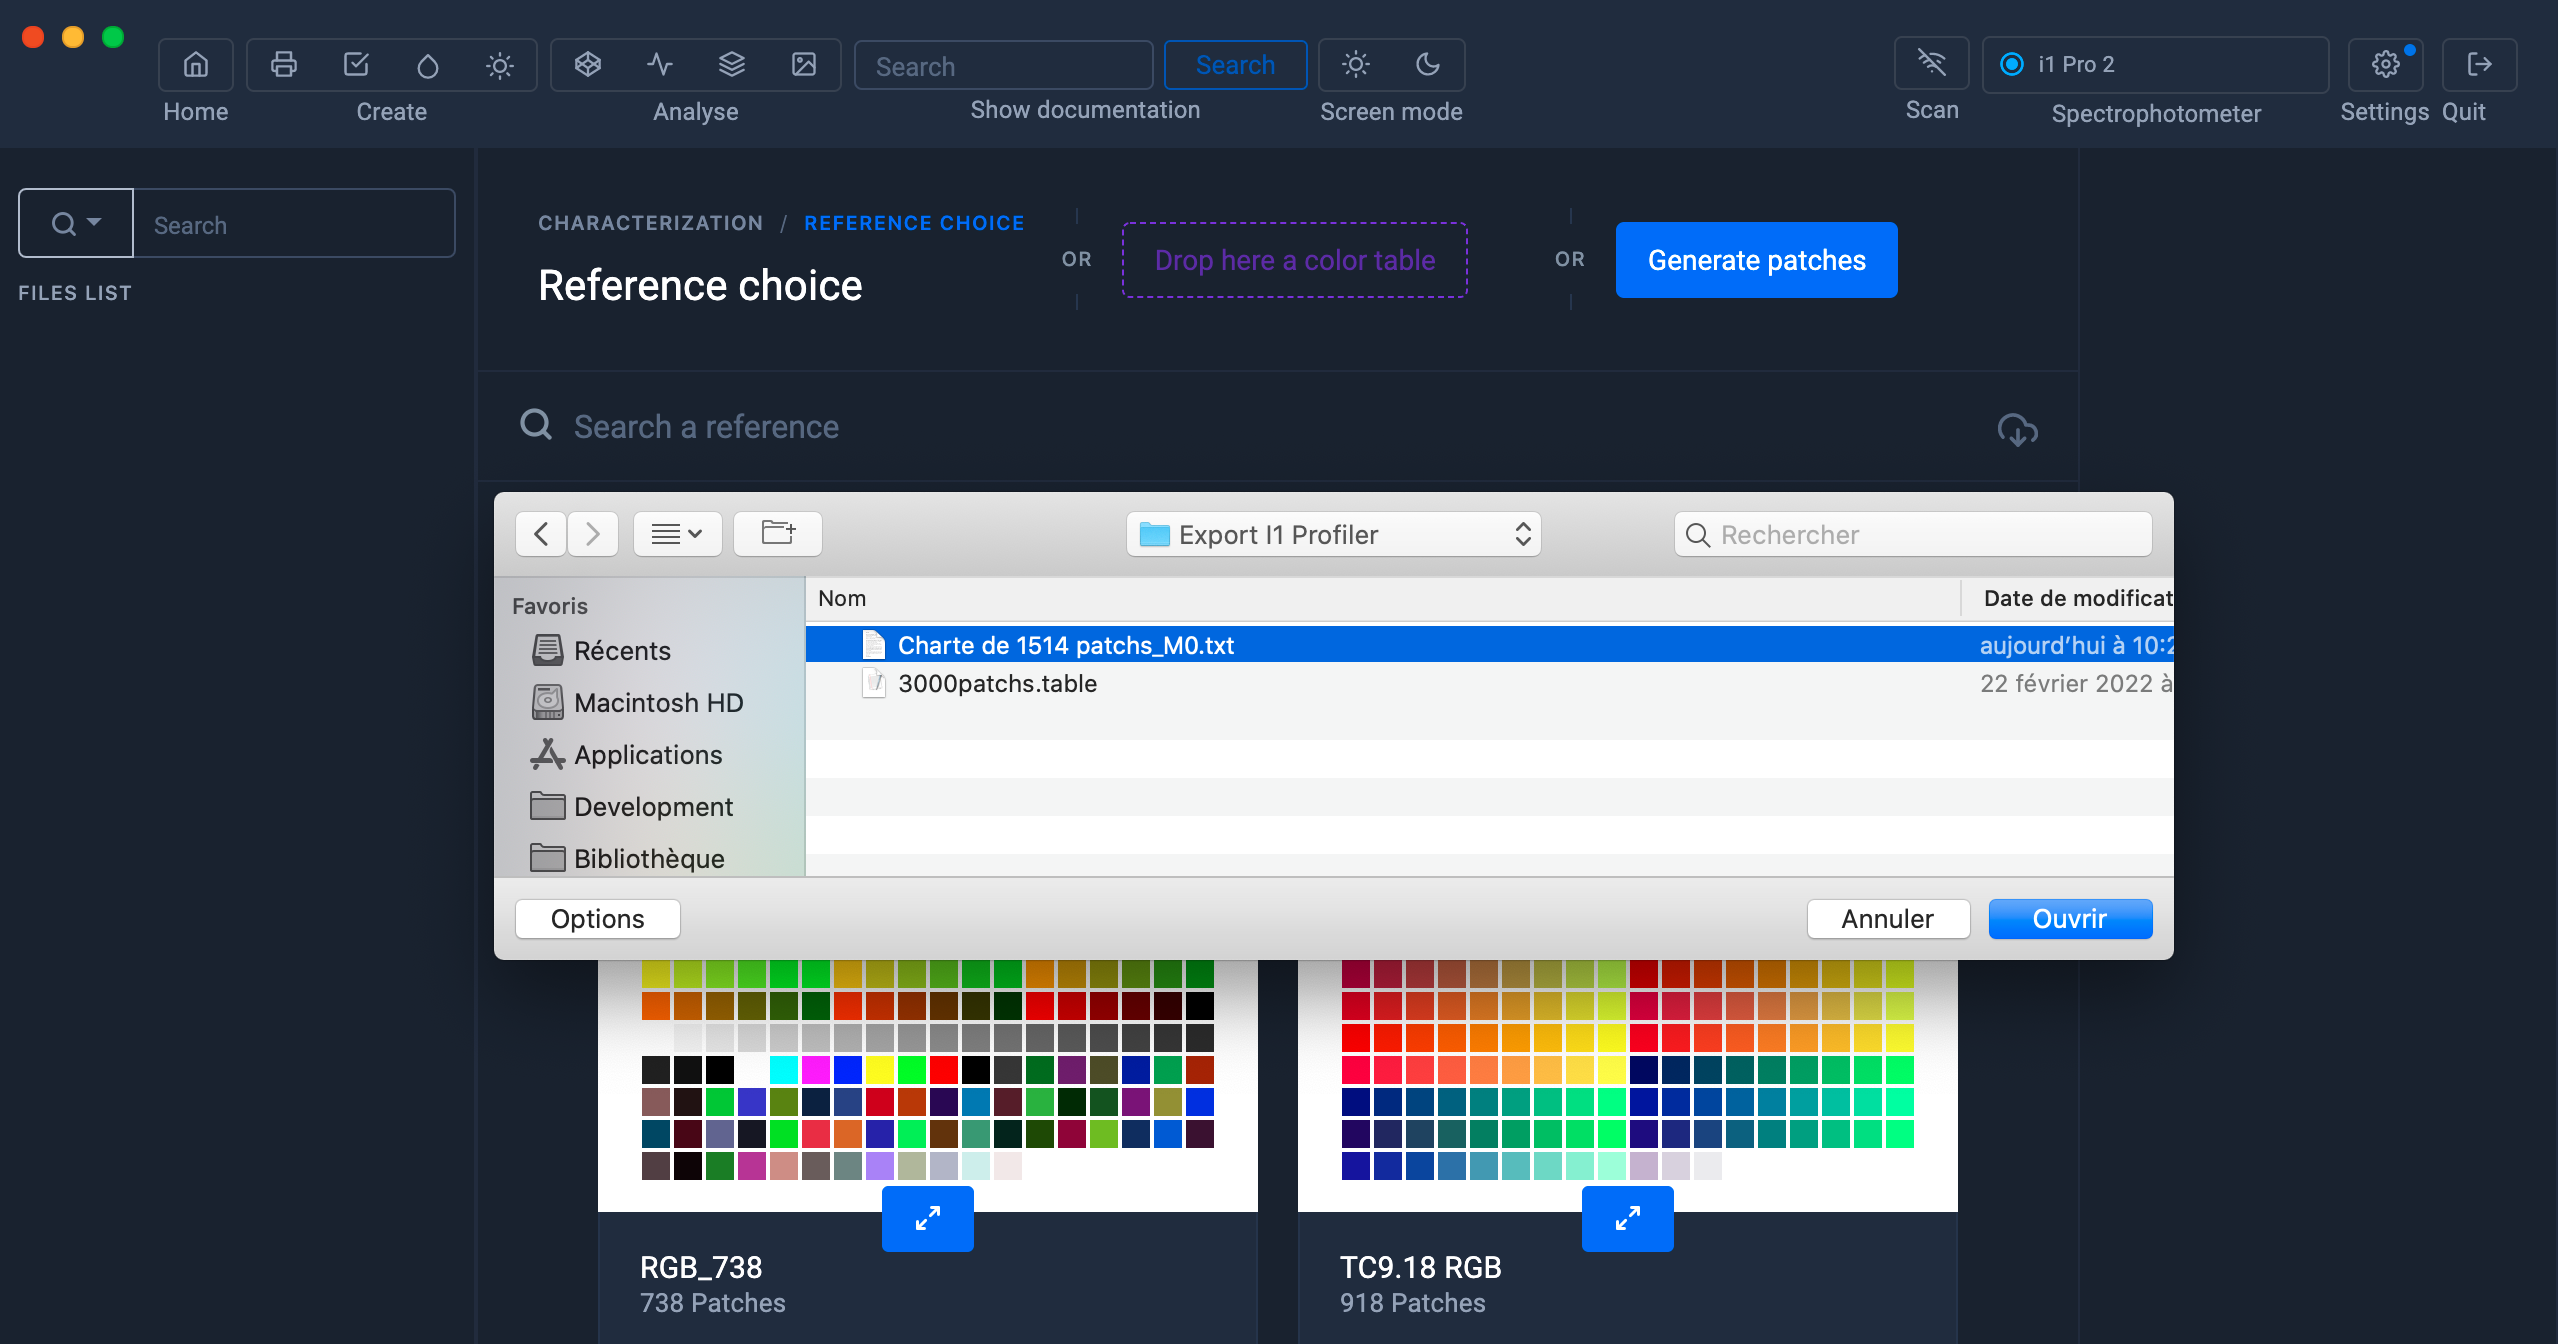
 Then navigate to the folder containing the measurement file, select it then click on the "Open" button to make it appear in the left column.
4) Drag and drop the measurement file into the "Drop here a color table" area
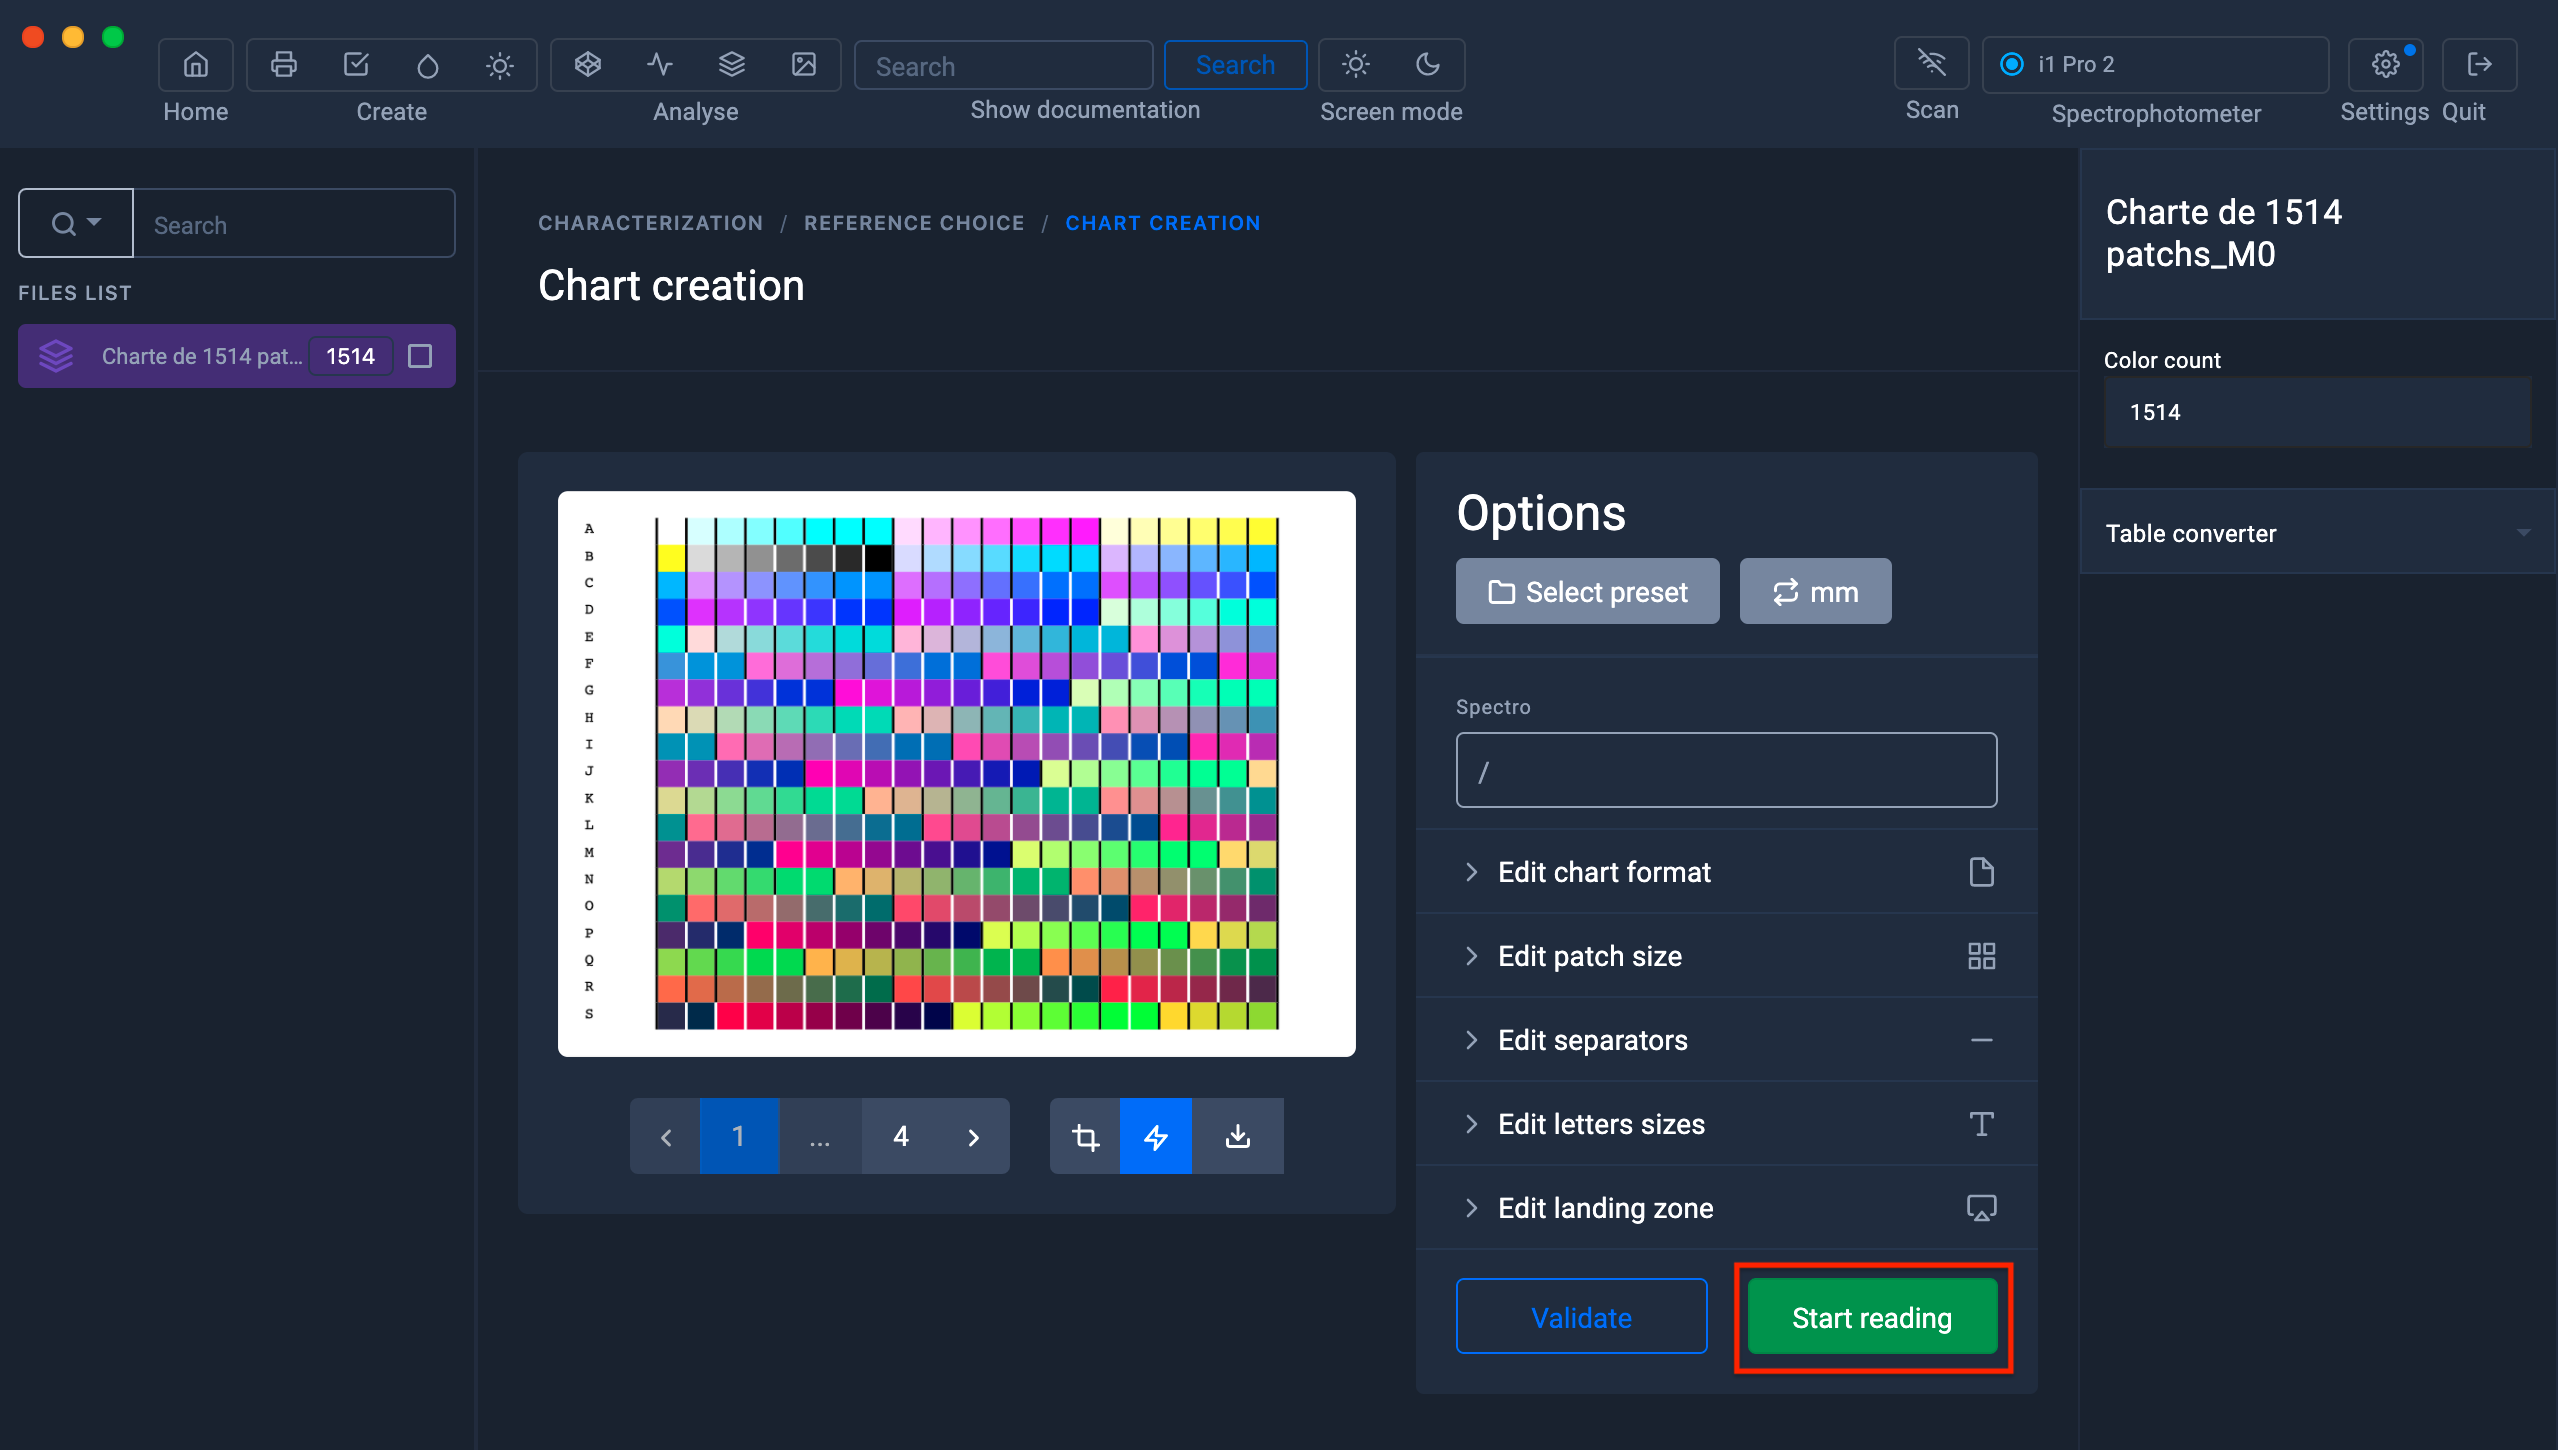
5) A preview of the chart is displayed, then click on the "Start reading" button
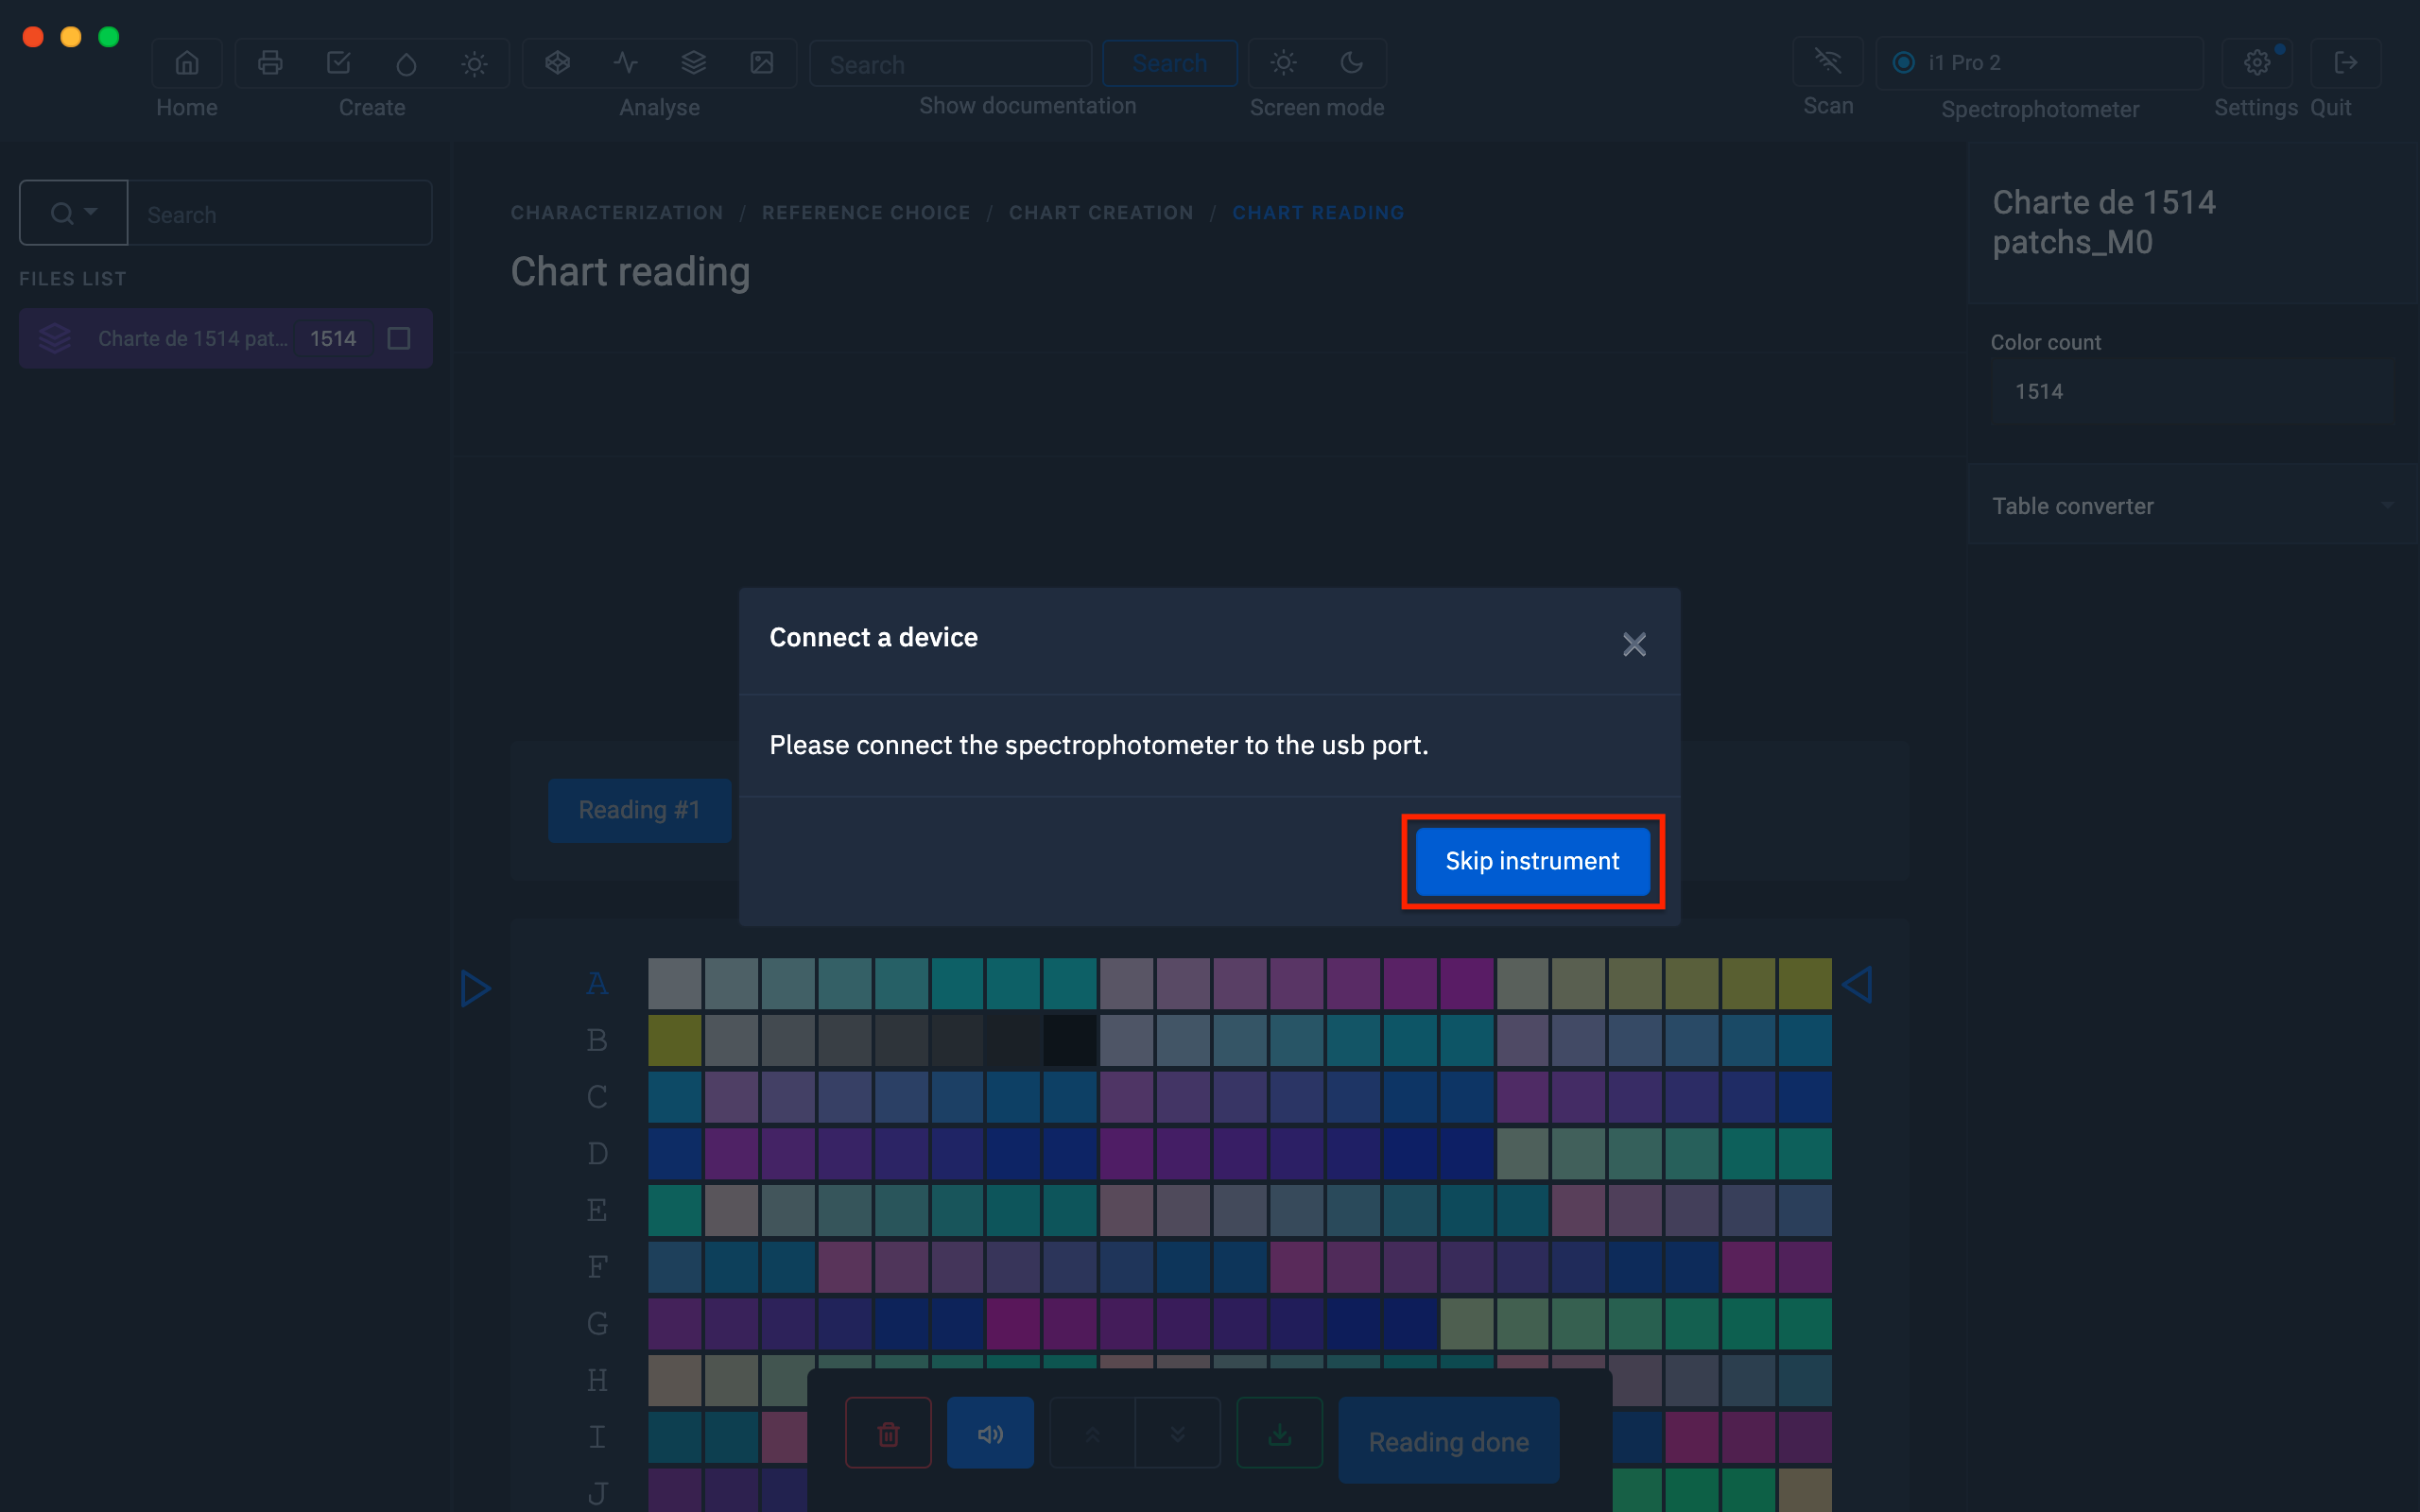
6) Disconnect the spectrophotometer to avoid spectro calibration procedures
Then click on the "Skip instrument" button.
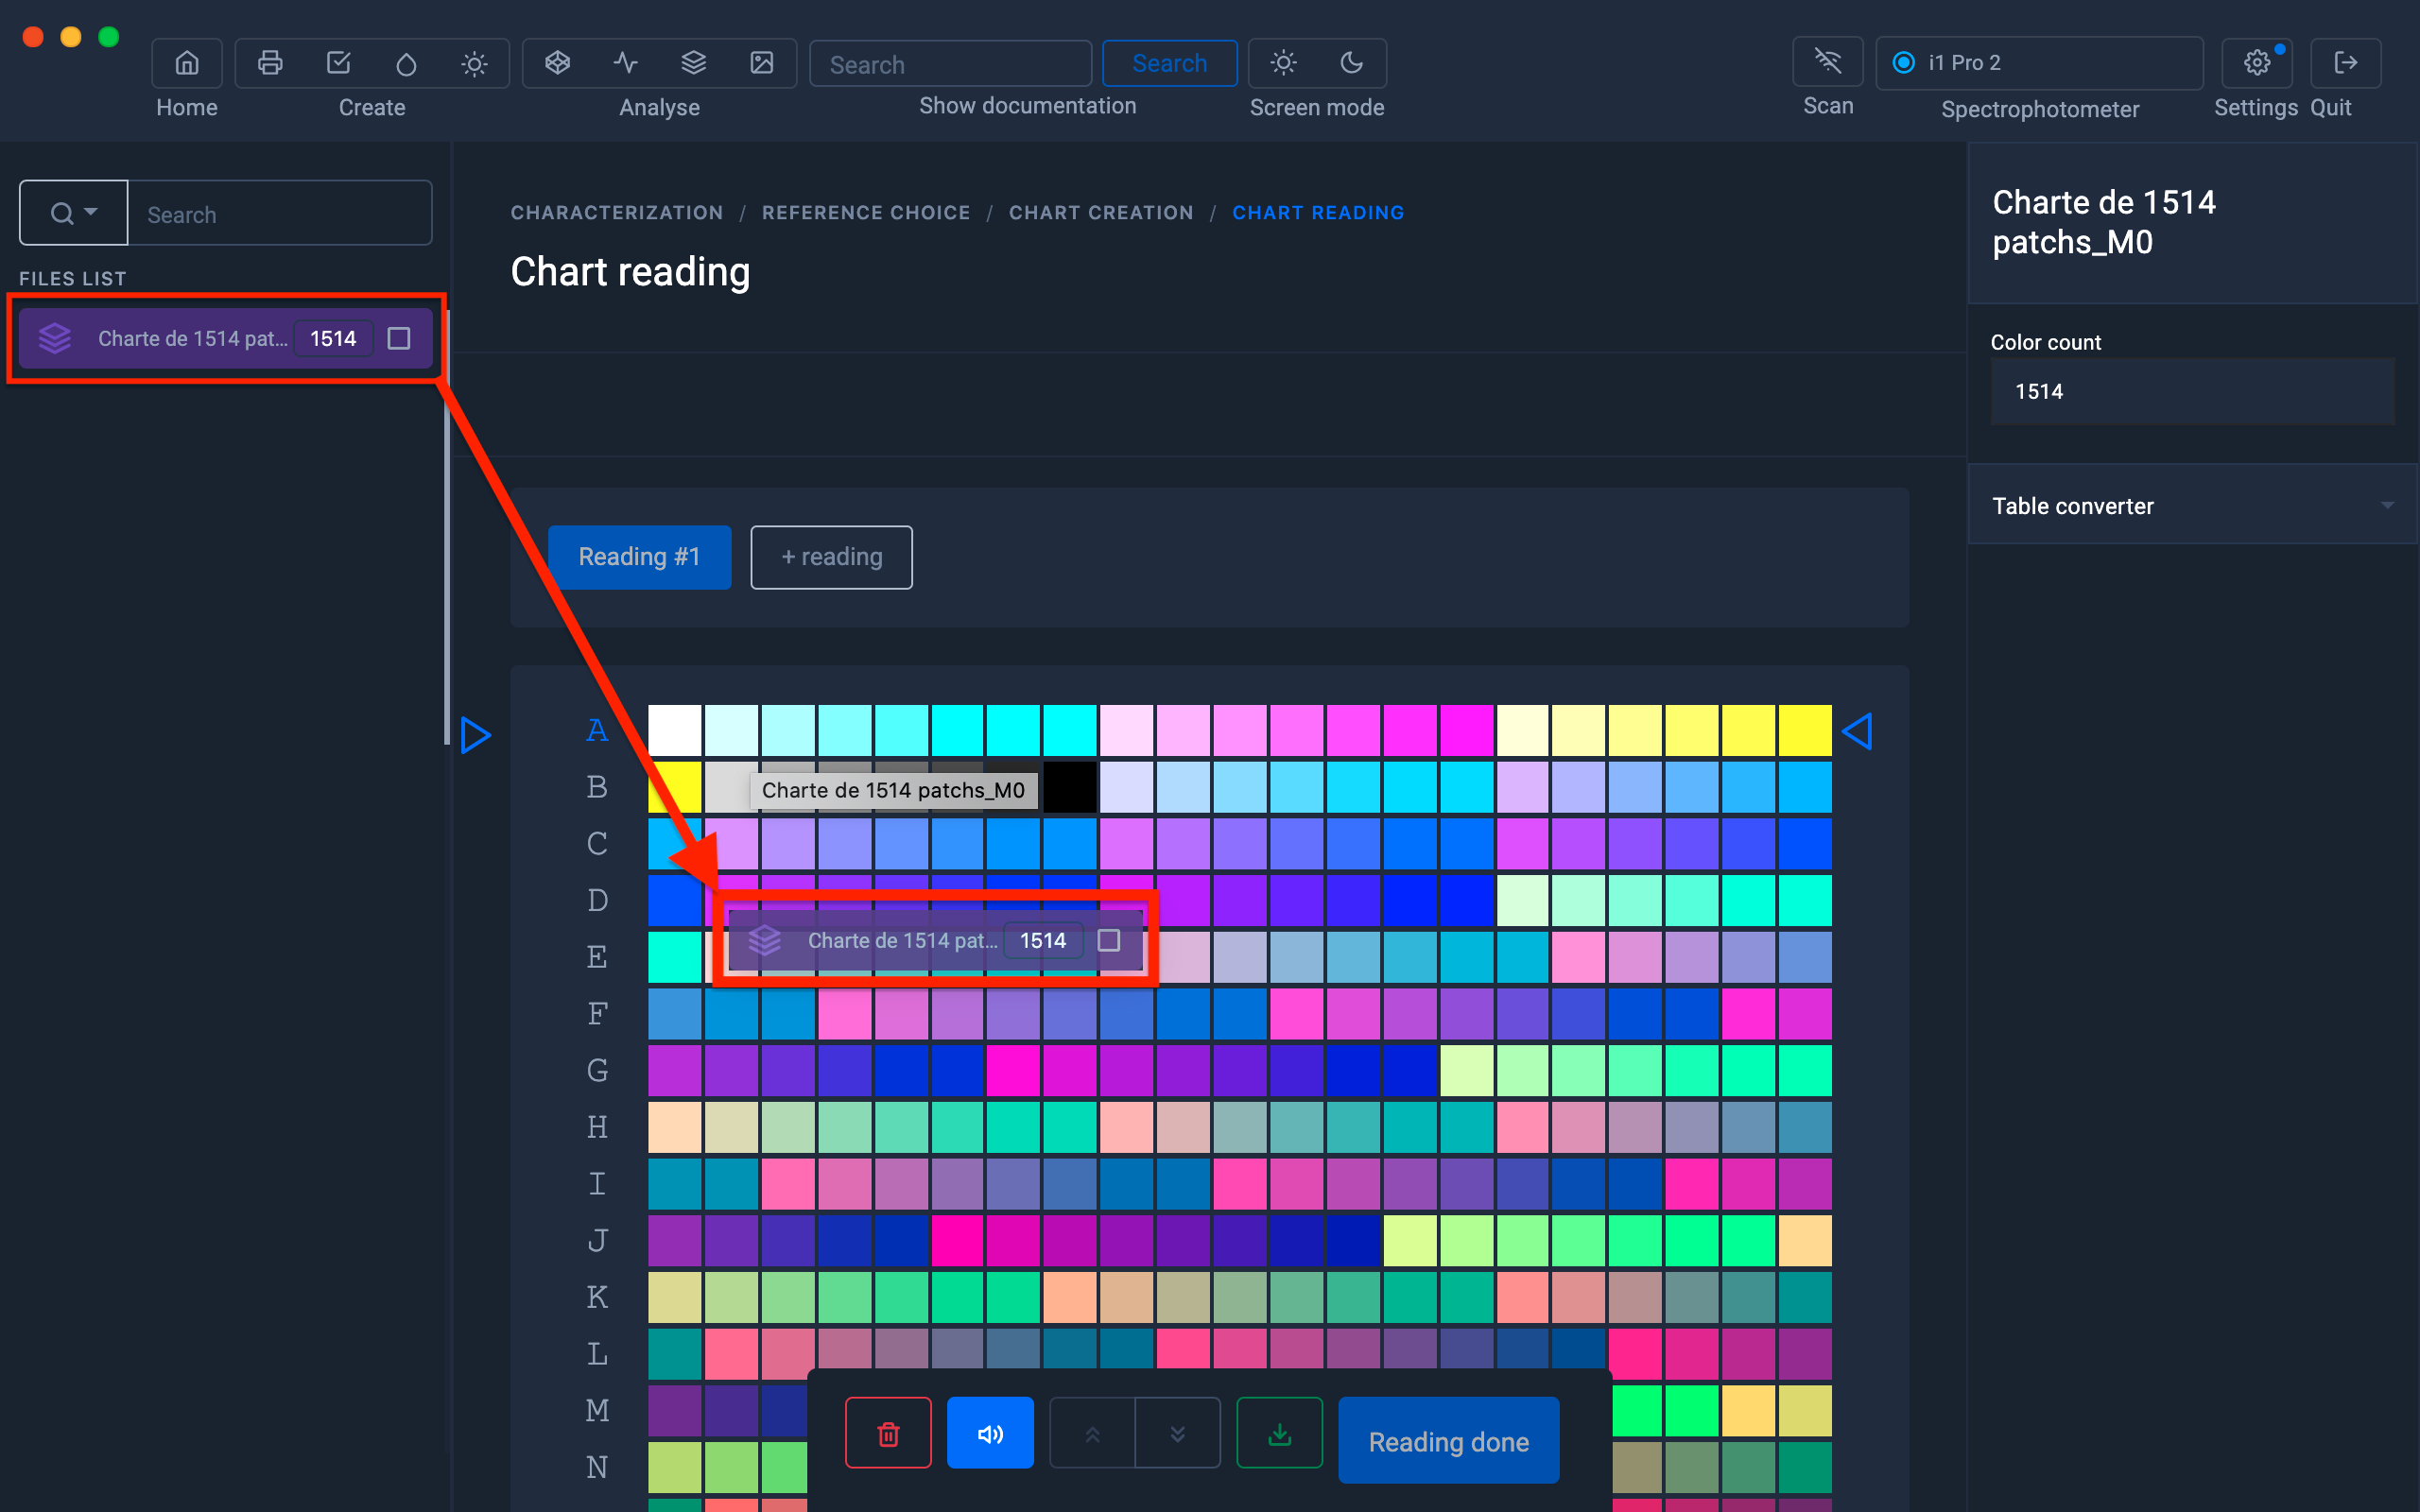
7) When the range measurement window appears, "drag and drop" the file containing the measurements into the range measurement area.
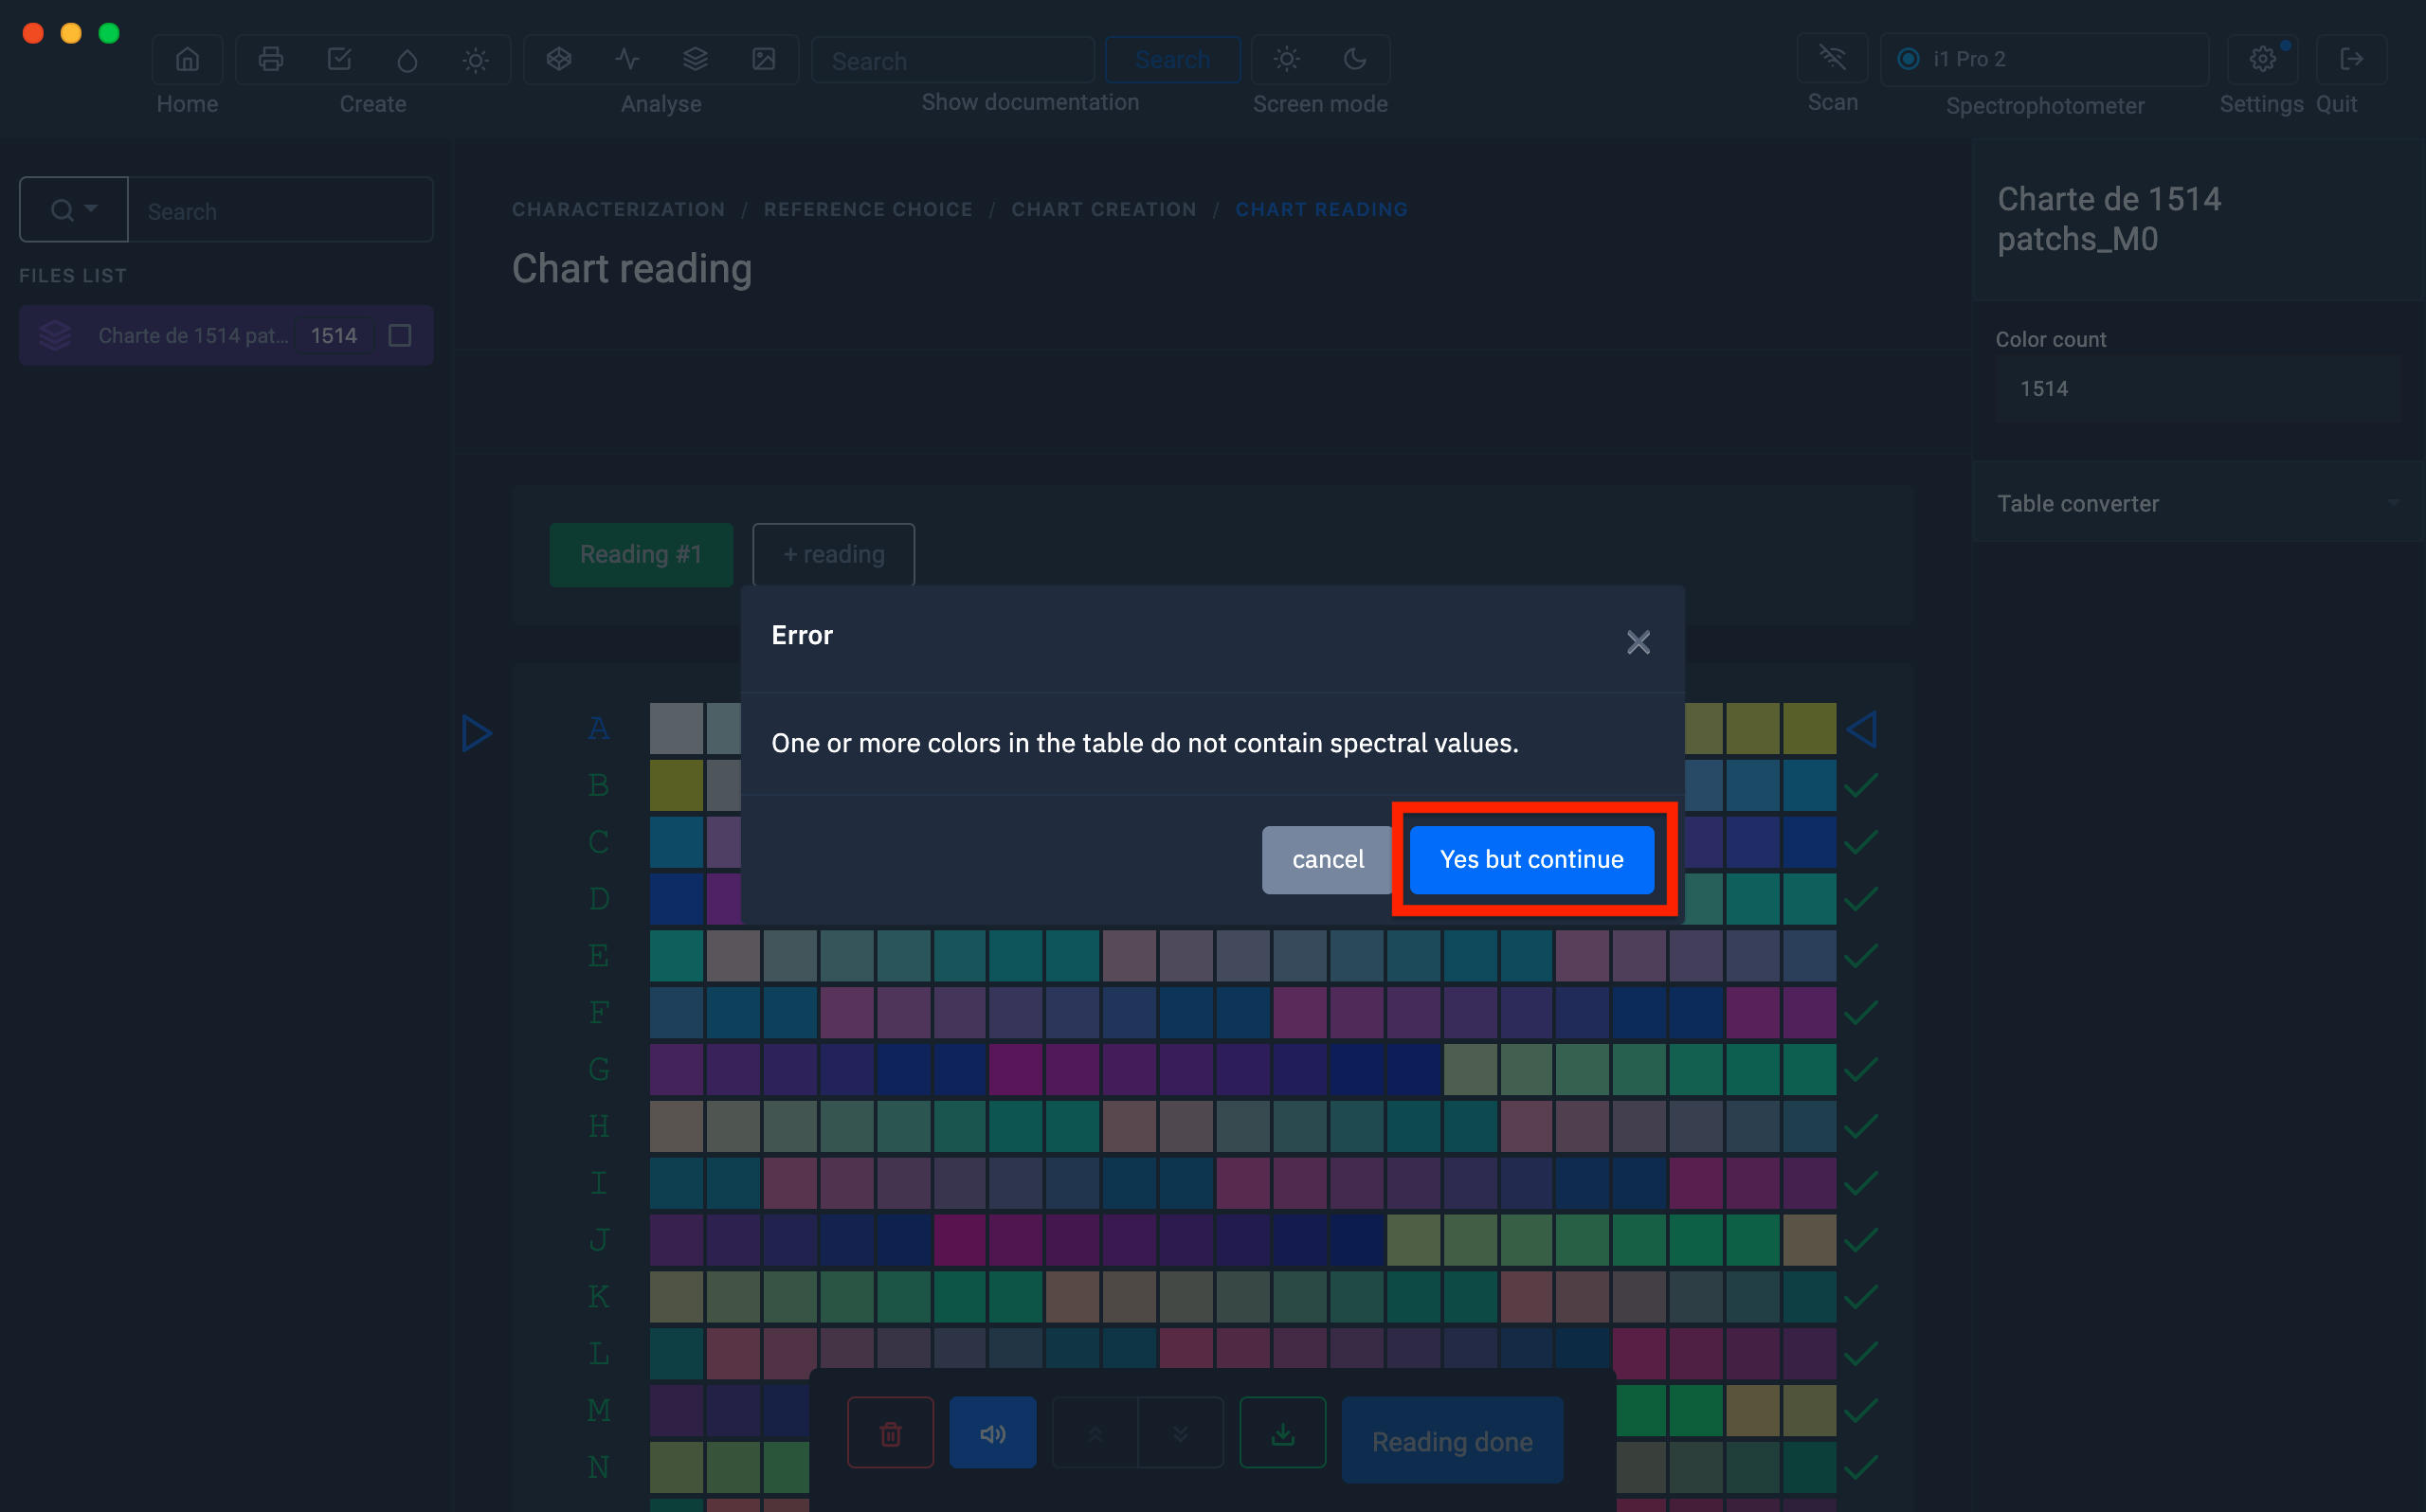
8) A message indicating that the spectral data is not present in the table appears.
Click on the "Yes but continue" button
The spectral values have already been converted to Lab in the I1 Profiler software

Click on the "Yes but continue" button
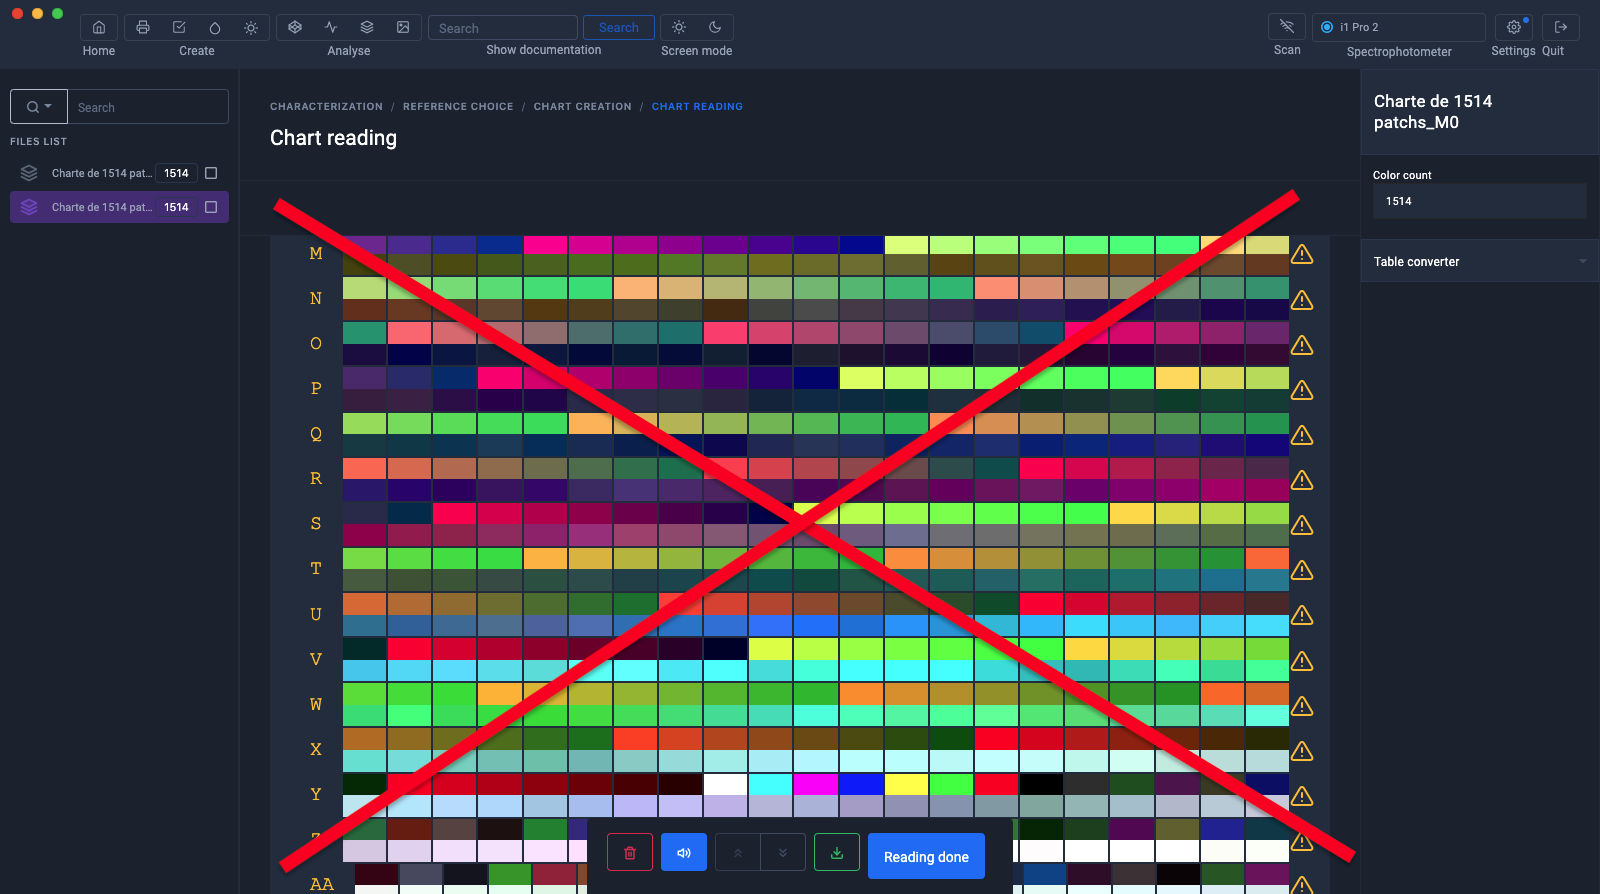
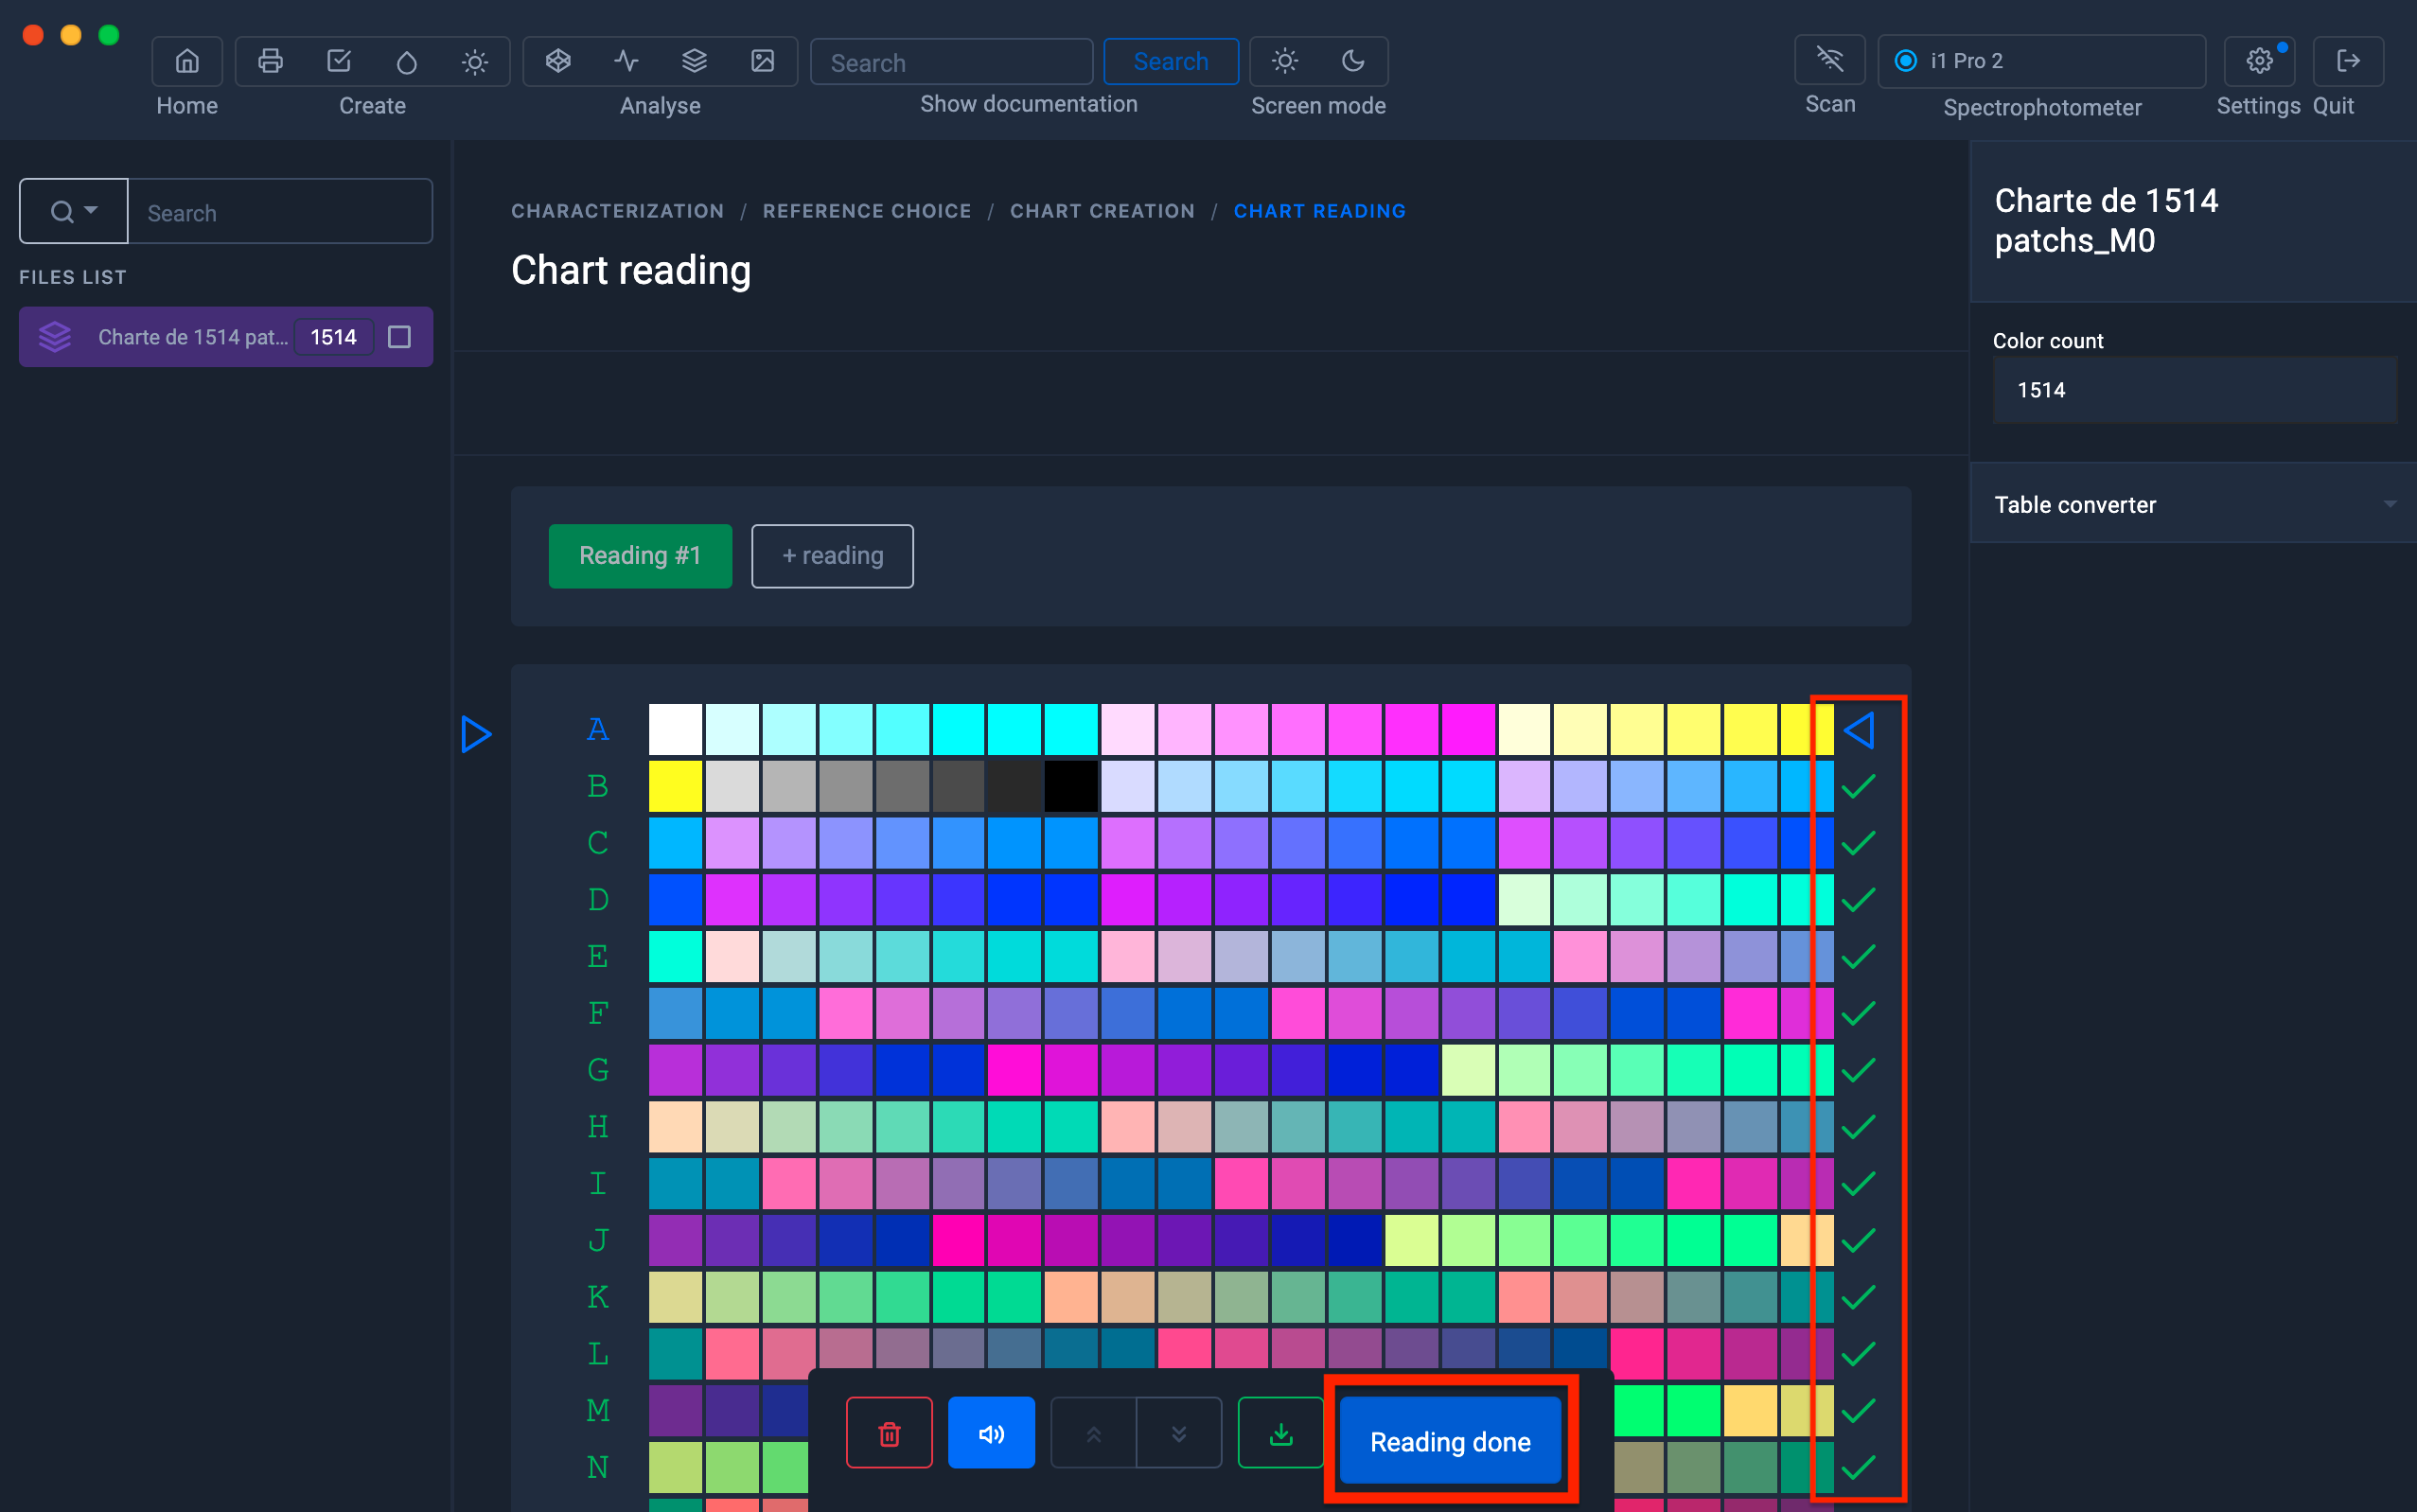
Make sure the values have loaded correctly and the color patches are the same
9) Click on the "Reading done" button to launch the profile calculation procedure
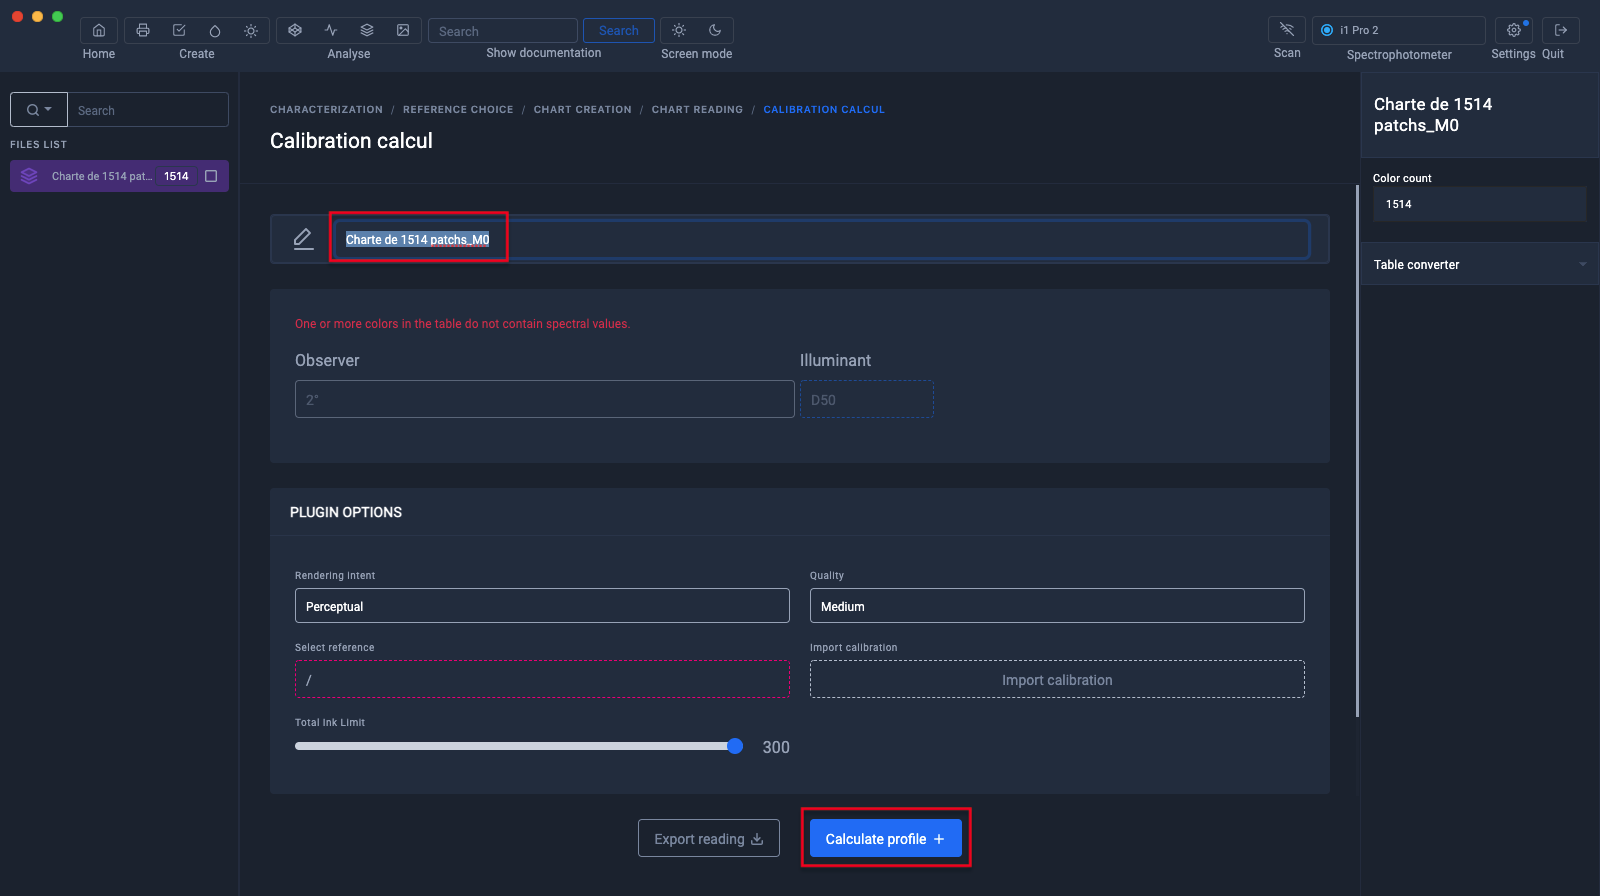
10) Don't forget to name your profile before clicking on the "Calculate profile" button
Learn more about creating a profile: Create a profile from a standard chart