Prepare to print and cut a color chart
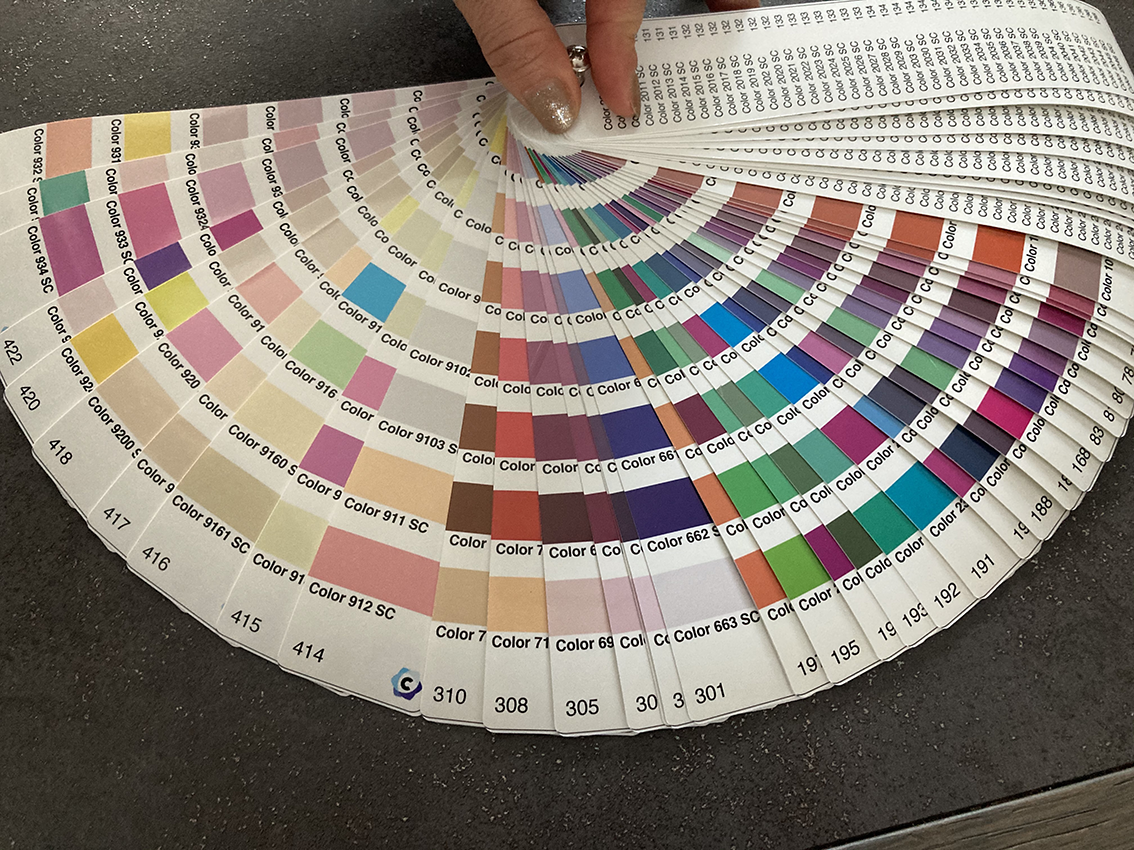
This tutorial describes the different steps to prepare the files for printing and cutting your "fan" type color chart.
Export of the color chart in Pdf format
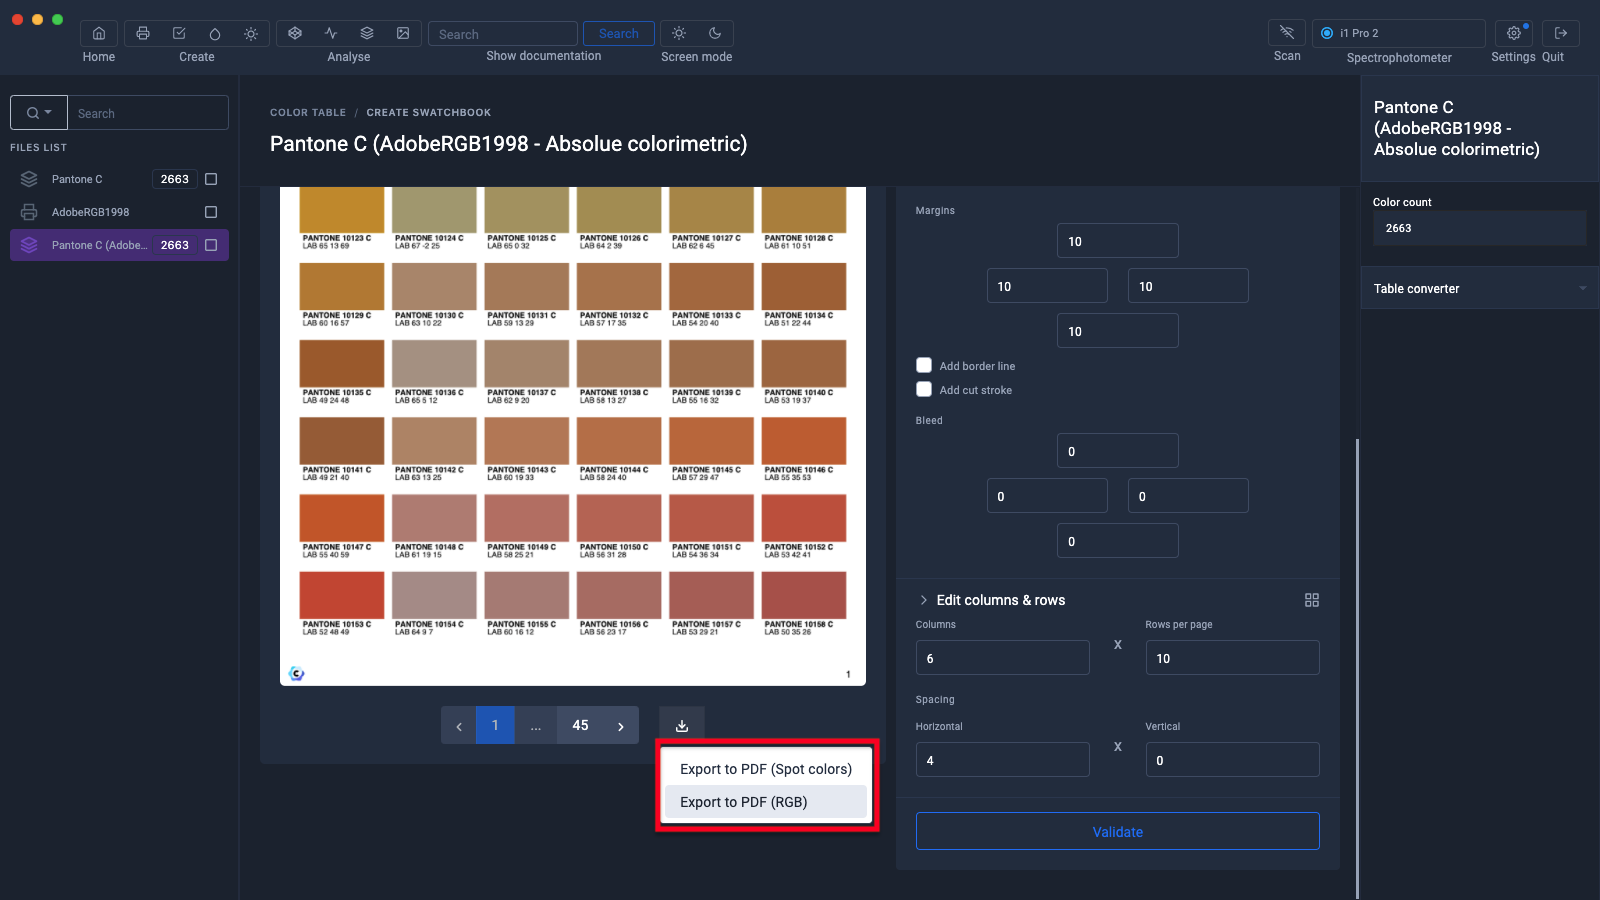
Preparation for printing and cutting

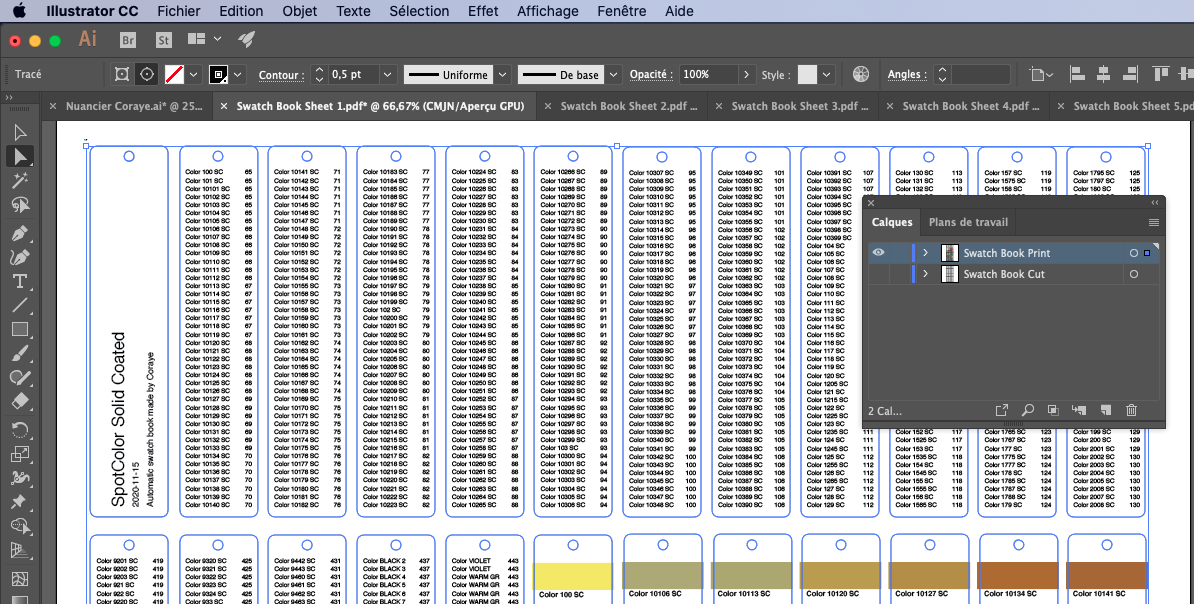
Rename the layers to dissociate the "Print" layer from the "Cut" layer
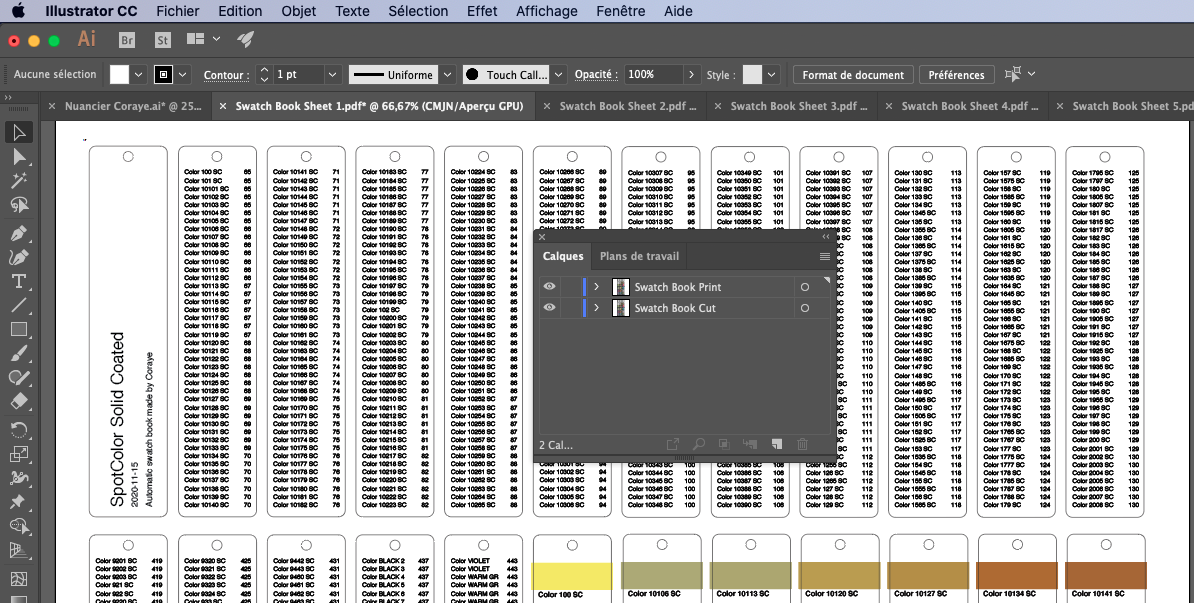
Step Three: Prepare the File for Cutting
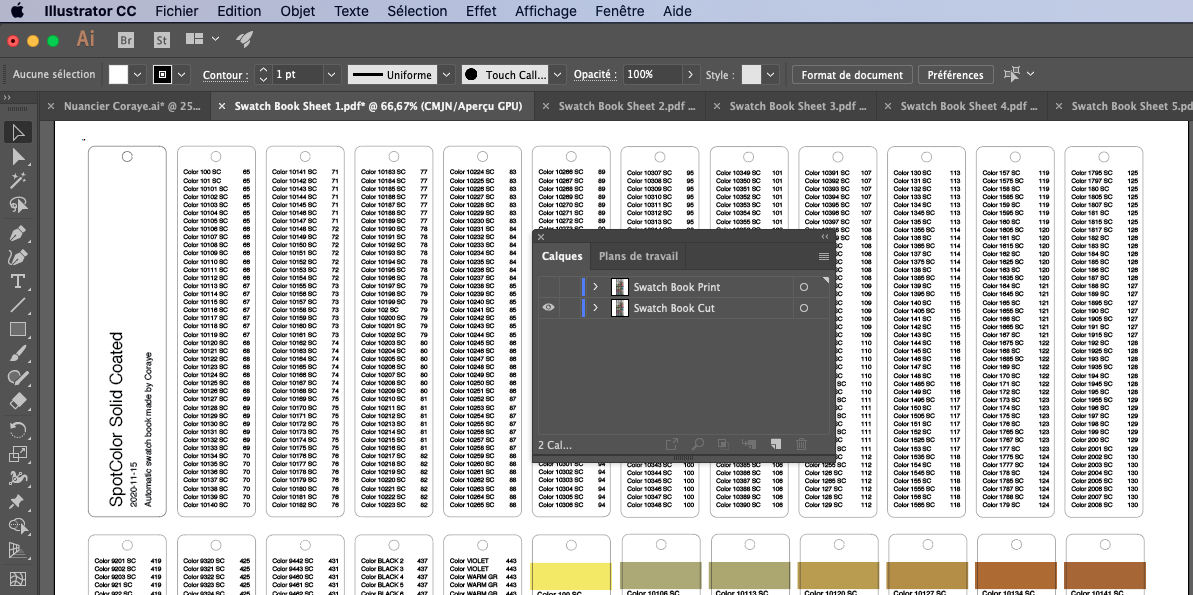
Deactivate the "Swatch Book Print" layer and leave the "Swatch Book Cut" layer activated.
Select the paths intended for cutting with "The direct selection tool" (white arrow).
Keep the "Shift" key pressed to select multiple plots.
In our case, select the contour and the hole.
To select all cutting paths: Select> Same> Appearance
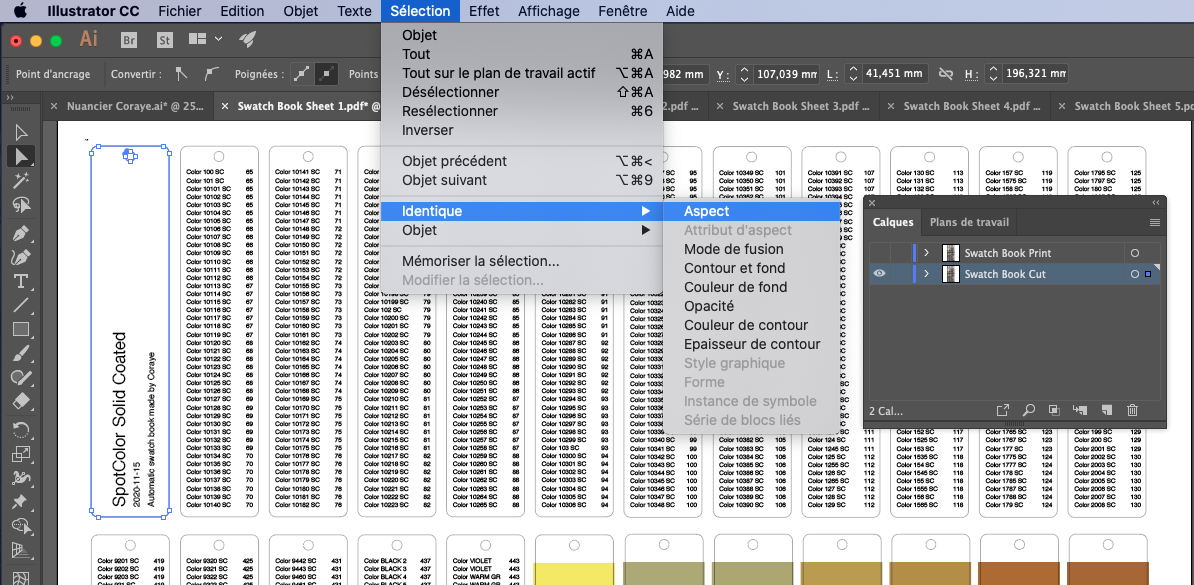
To erase anything that is not a clipping path: Select> Invert
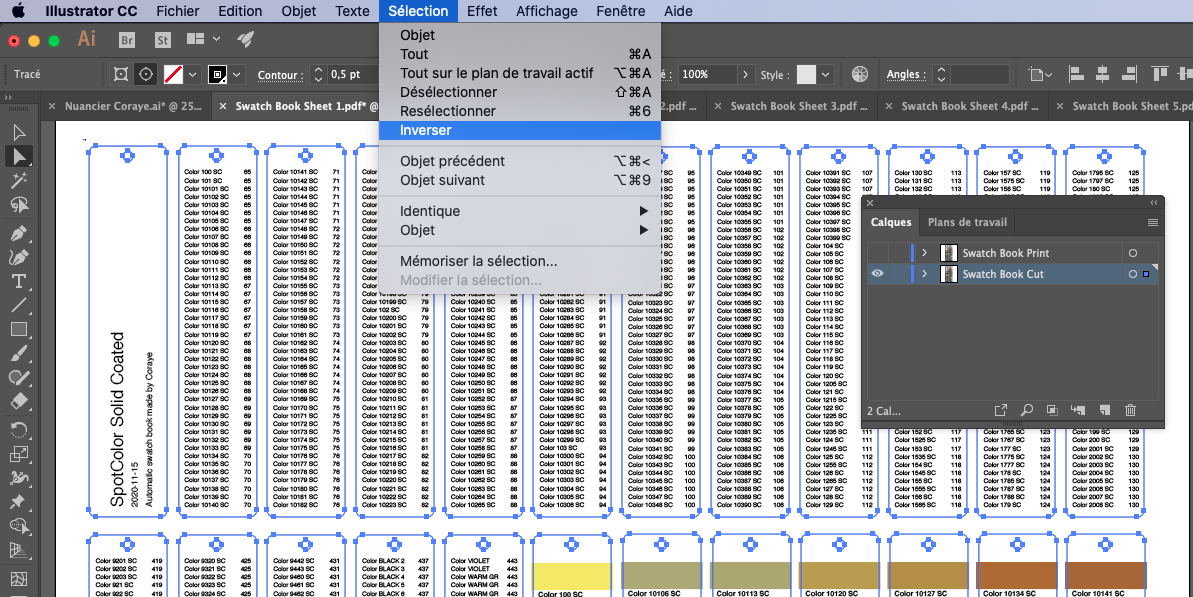
Erase everything that is selected with the delete key on the keyboard.

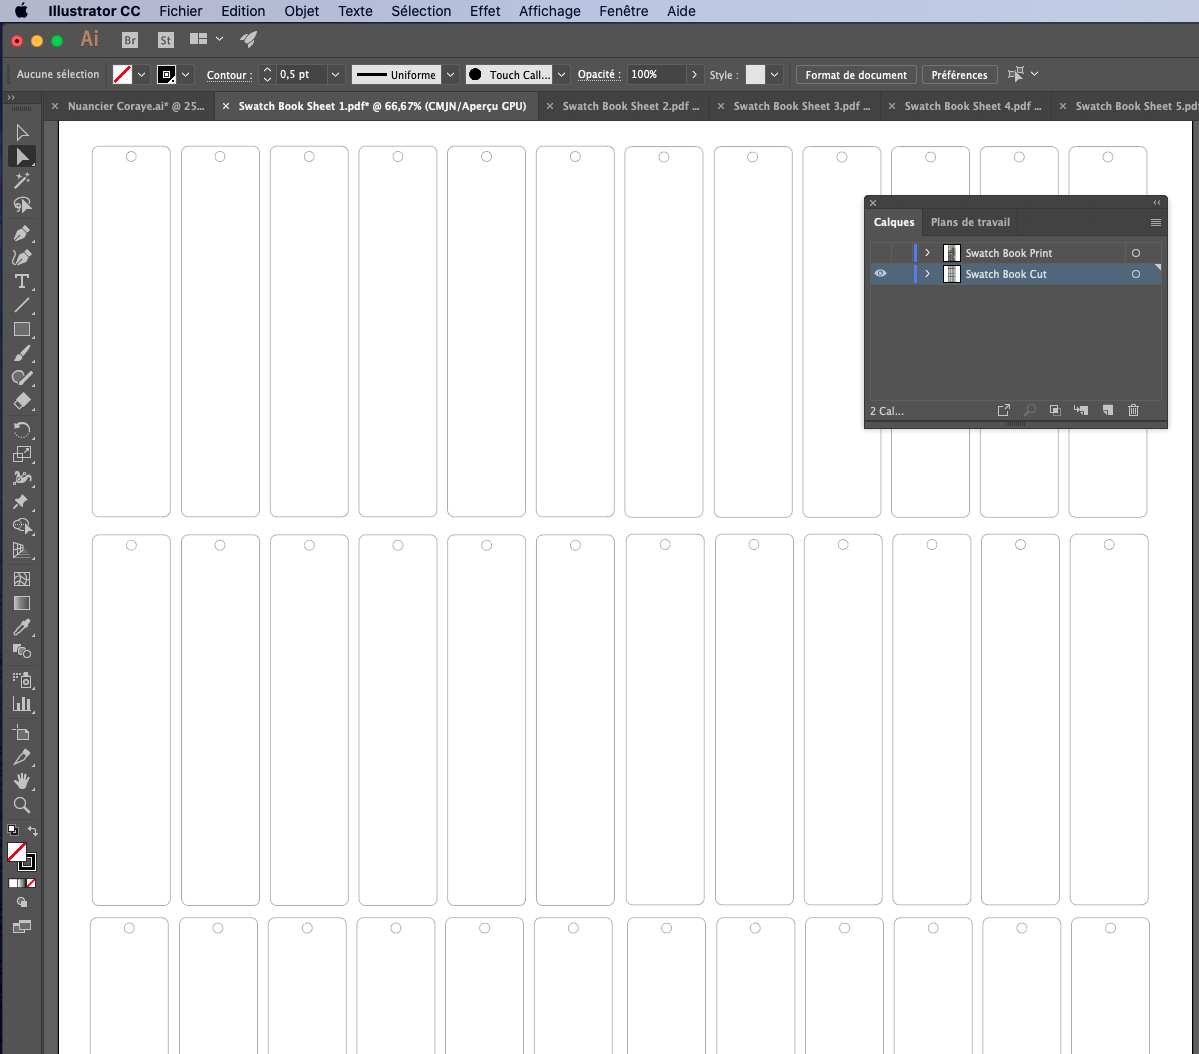
Now all that remains is the cutting lines on the "Swatch Book Cut" layer.
Select the CutContour and hole path on the first swatch page, then select all other cut paths Select> Same> Appearance
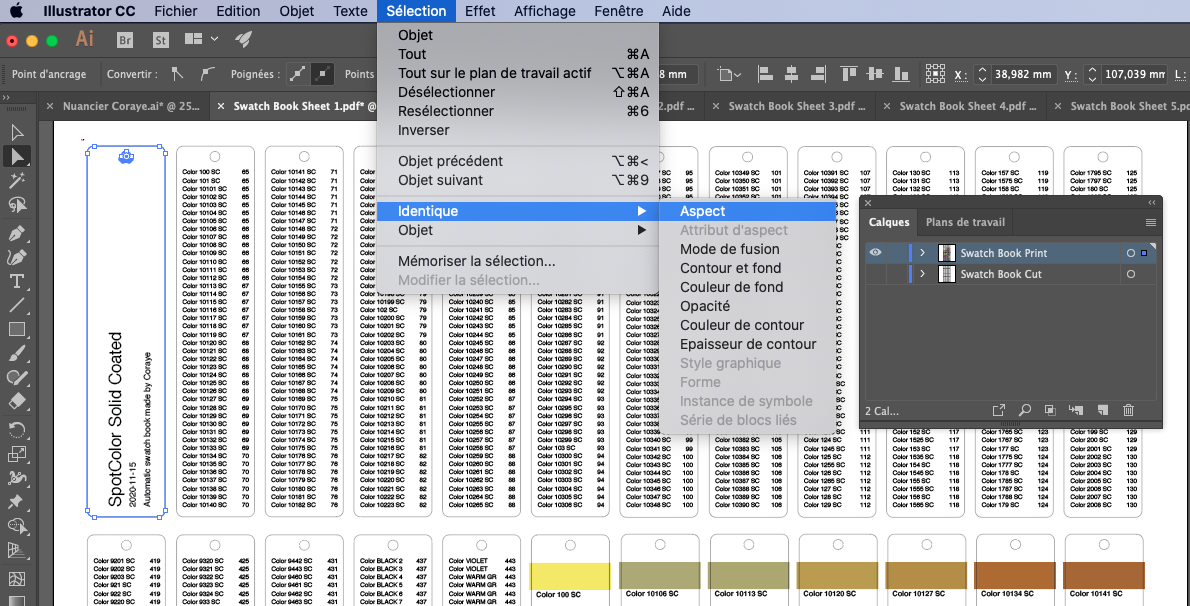
When all cutting paths are selected, press the delete key on the keyboard.
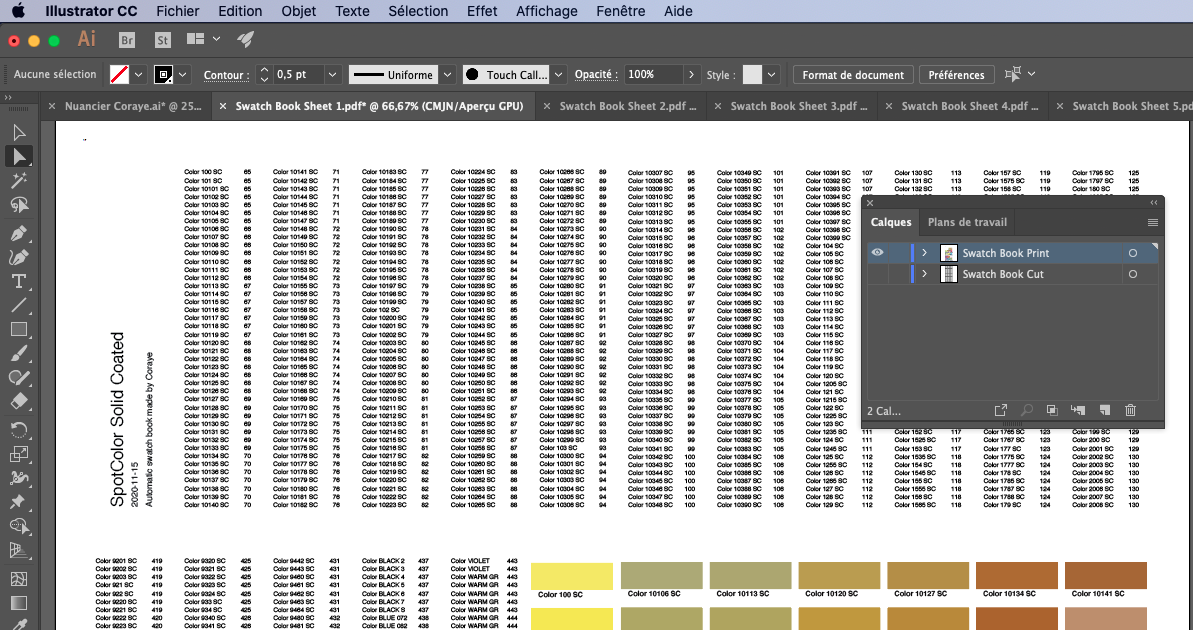
Once the cutting lines have been erased, only the elements to be printed remain.
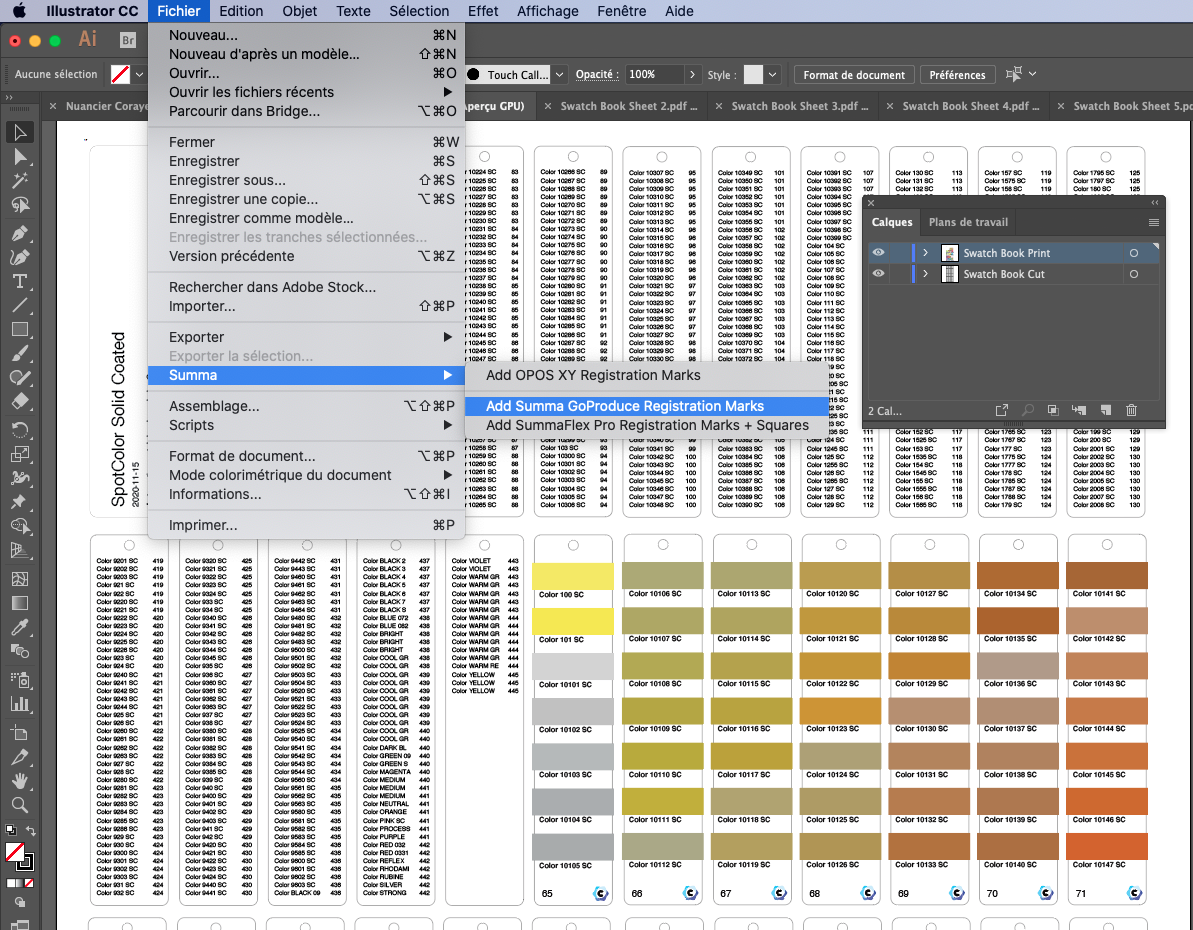
Step Five: Add Guides for Cutting
In this example we will be using a SUMMA F1612 cutting table with GoProduce software

Display the "Swatch Book Print" and "Swatch Book Cut" layers
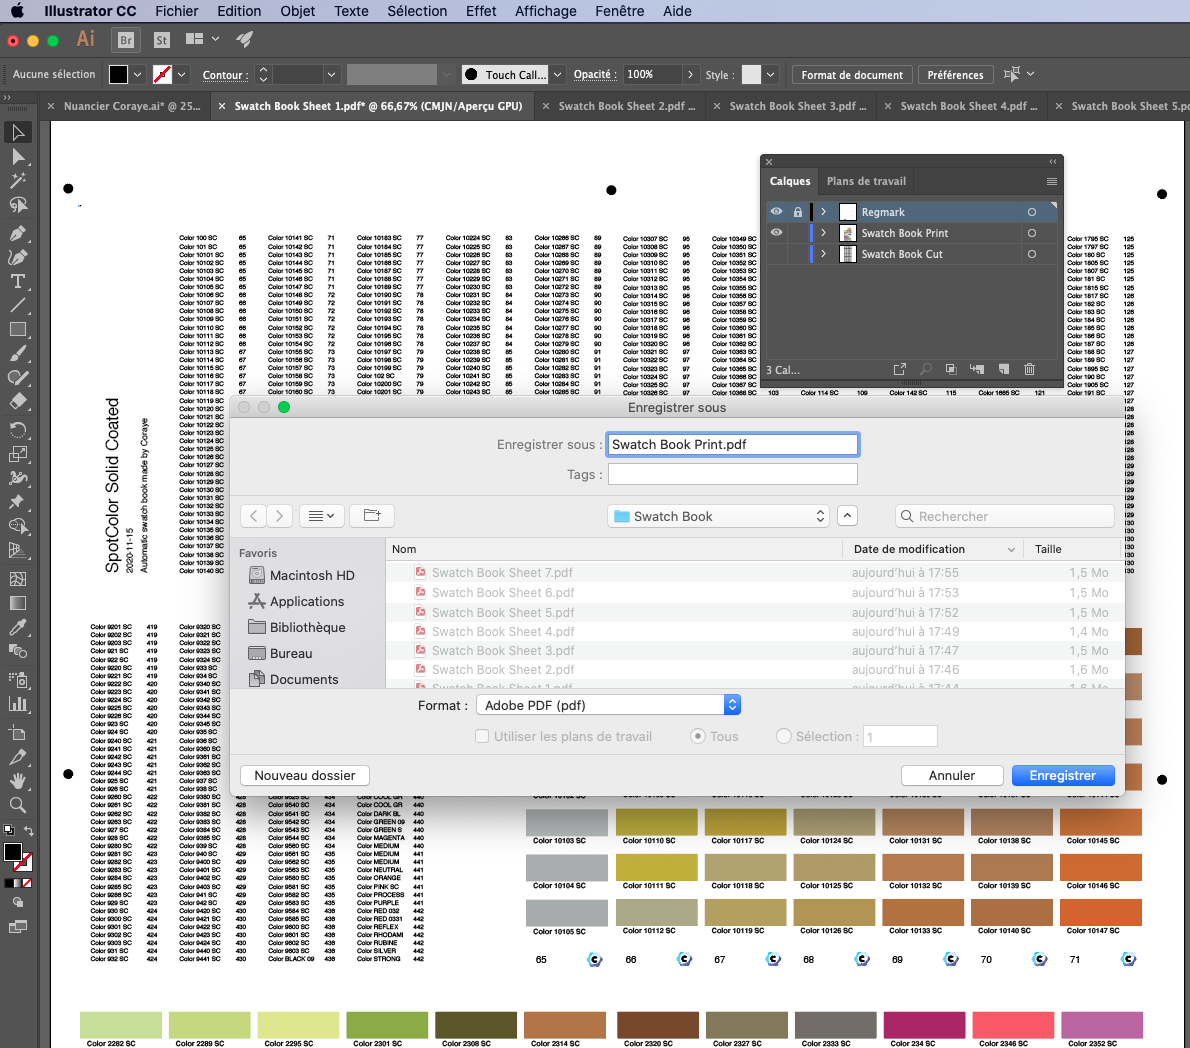
Add the crop marks with the Summa plugin File> Summa> Add Summa GoProduce Registration Marks
The crop marks appear as black circles that can be repositioned later.
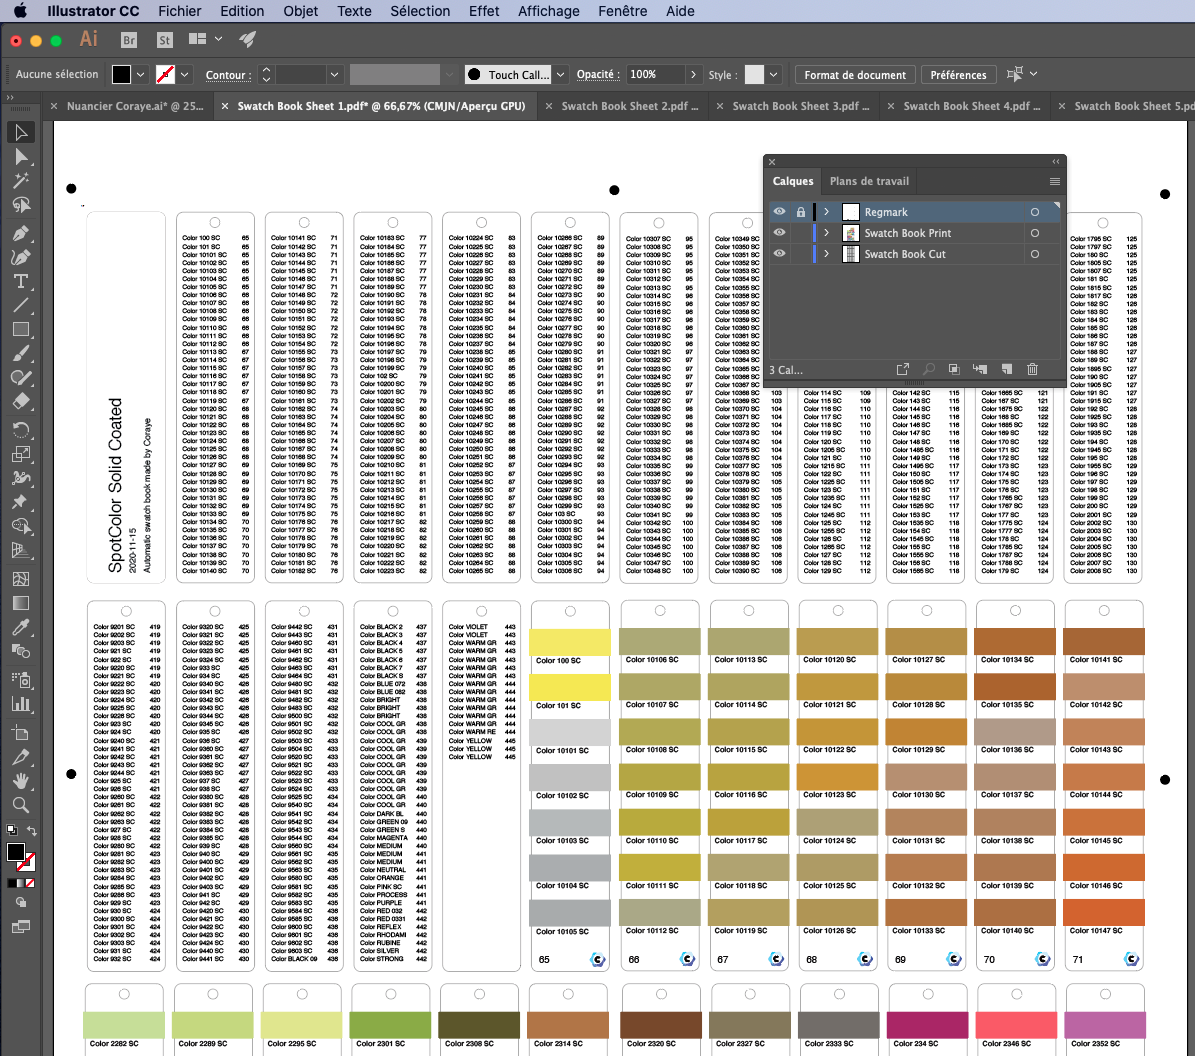
Then save the color chart under the name "Swatch Book Print.pdf" for example.
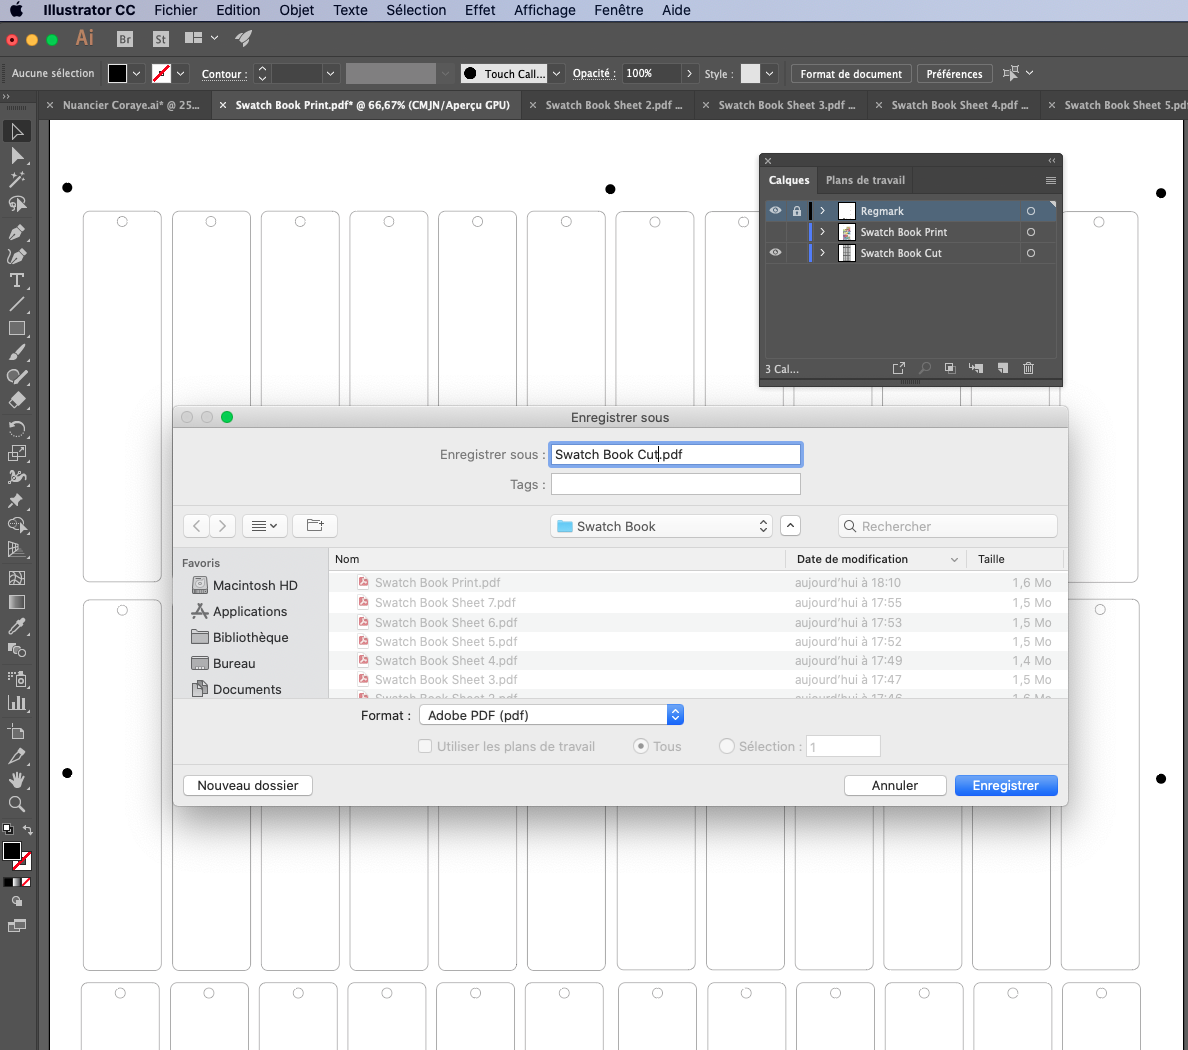
Display the "RegMark" layer and the "Swatch Book Cut" layer and turn off the "Swatch Book Print" layer.
Then save the color chart under the name "Swatch Book Cut.pdf" for example.
Print the file "Swatch Book Print.pdf" The file "Swatch Book Cut.pdf" will be imported into the GoProduce software to cut the printed file.
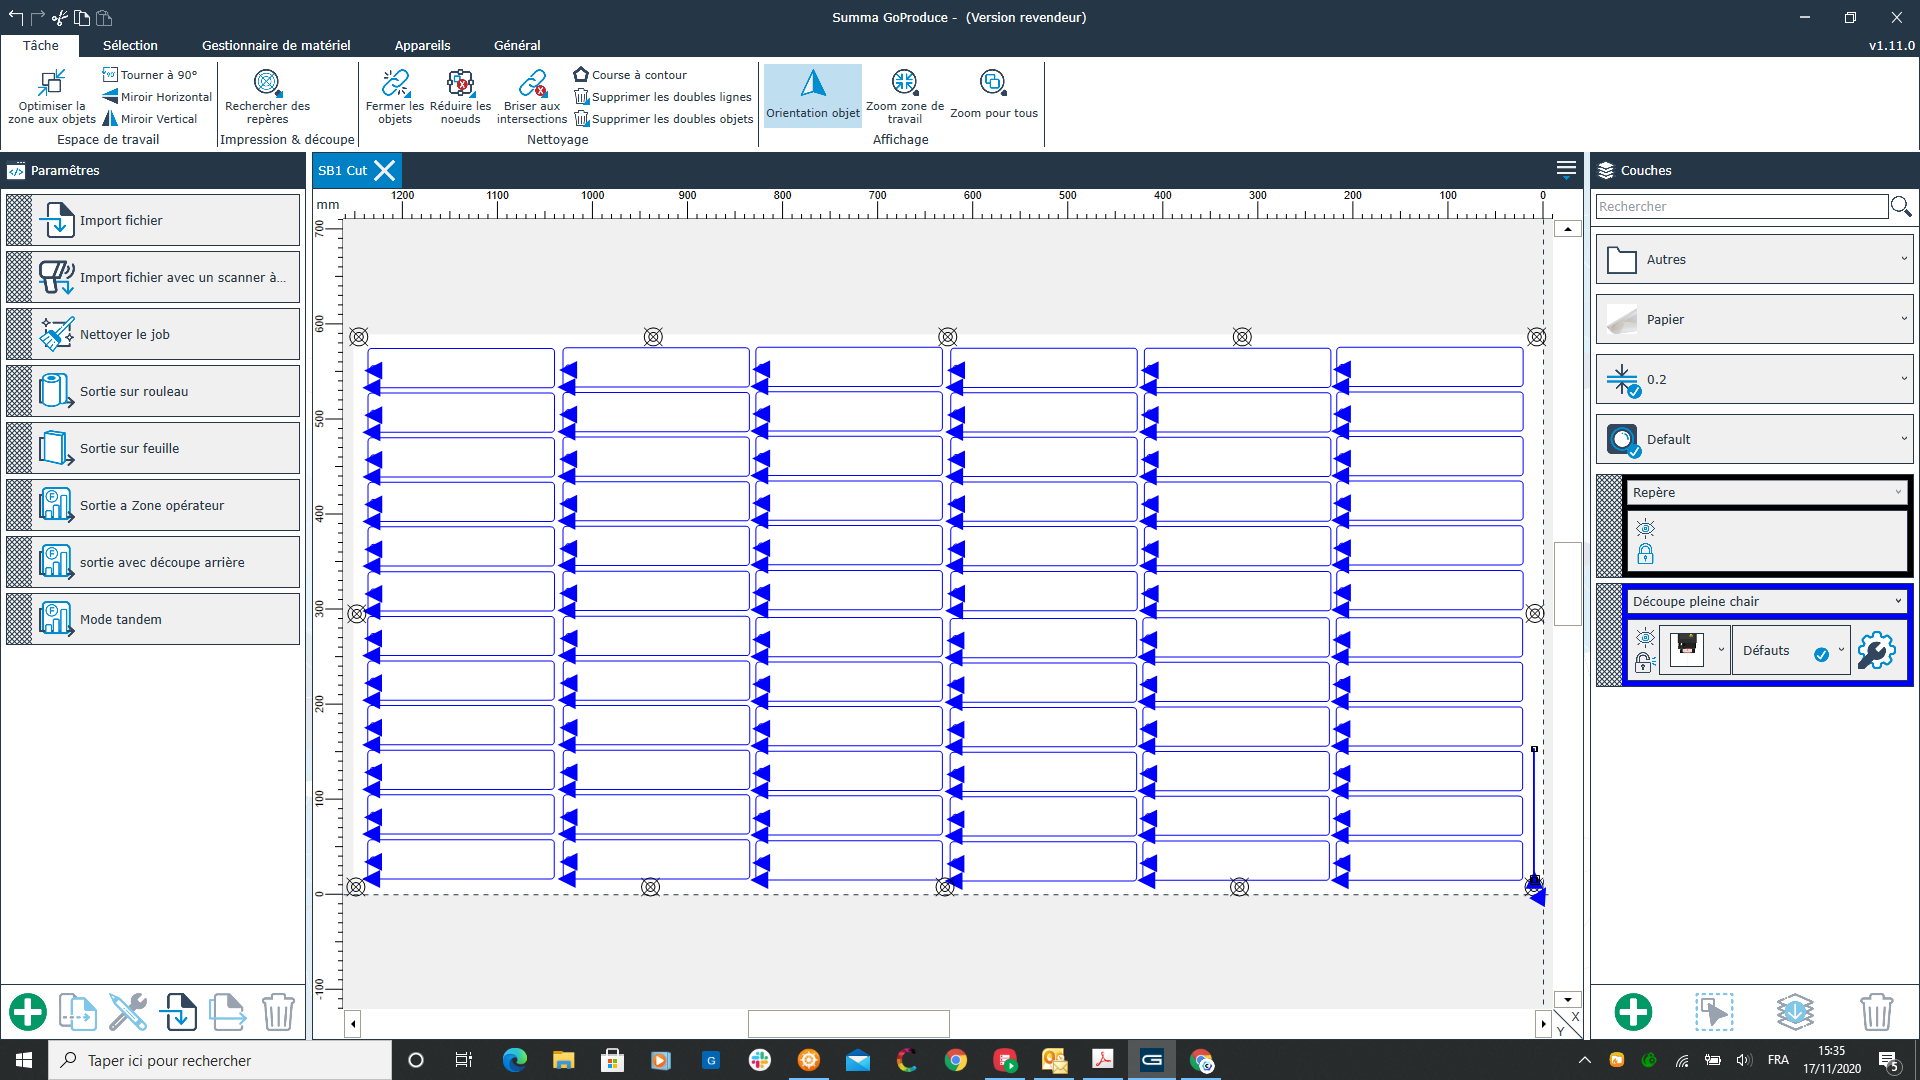
Cutting the color chart with the Summa F1612 table
