Create a reference from the values of an imported range
Just as it is possible to validate a proof with a standardized gamut, it is also possible to check prints with gamuts containing many more reference colors.
This method works with both CMYK and RGB tables and is very similar to spot color control.
For more information, see the chapter: Creating a reference from a spot color chart
CMYK tables must contain CMYK and {Lab or xyz or spectral}
values RGB tables must contain RGB and {Lab or xyz or spectral} values
Importing a reference range
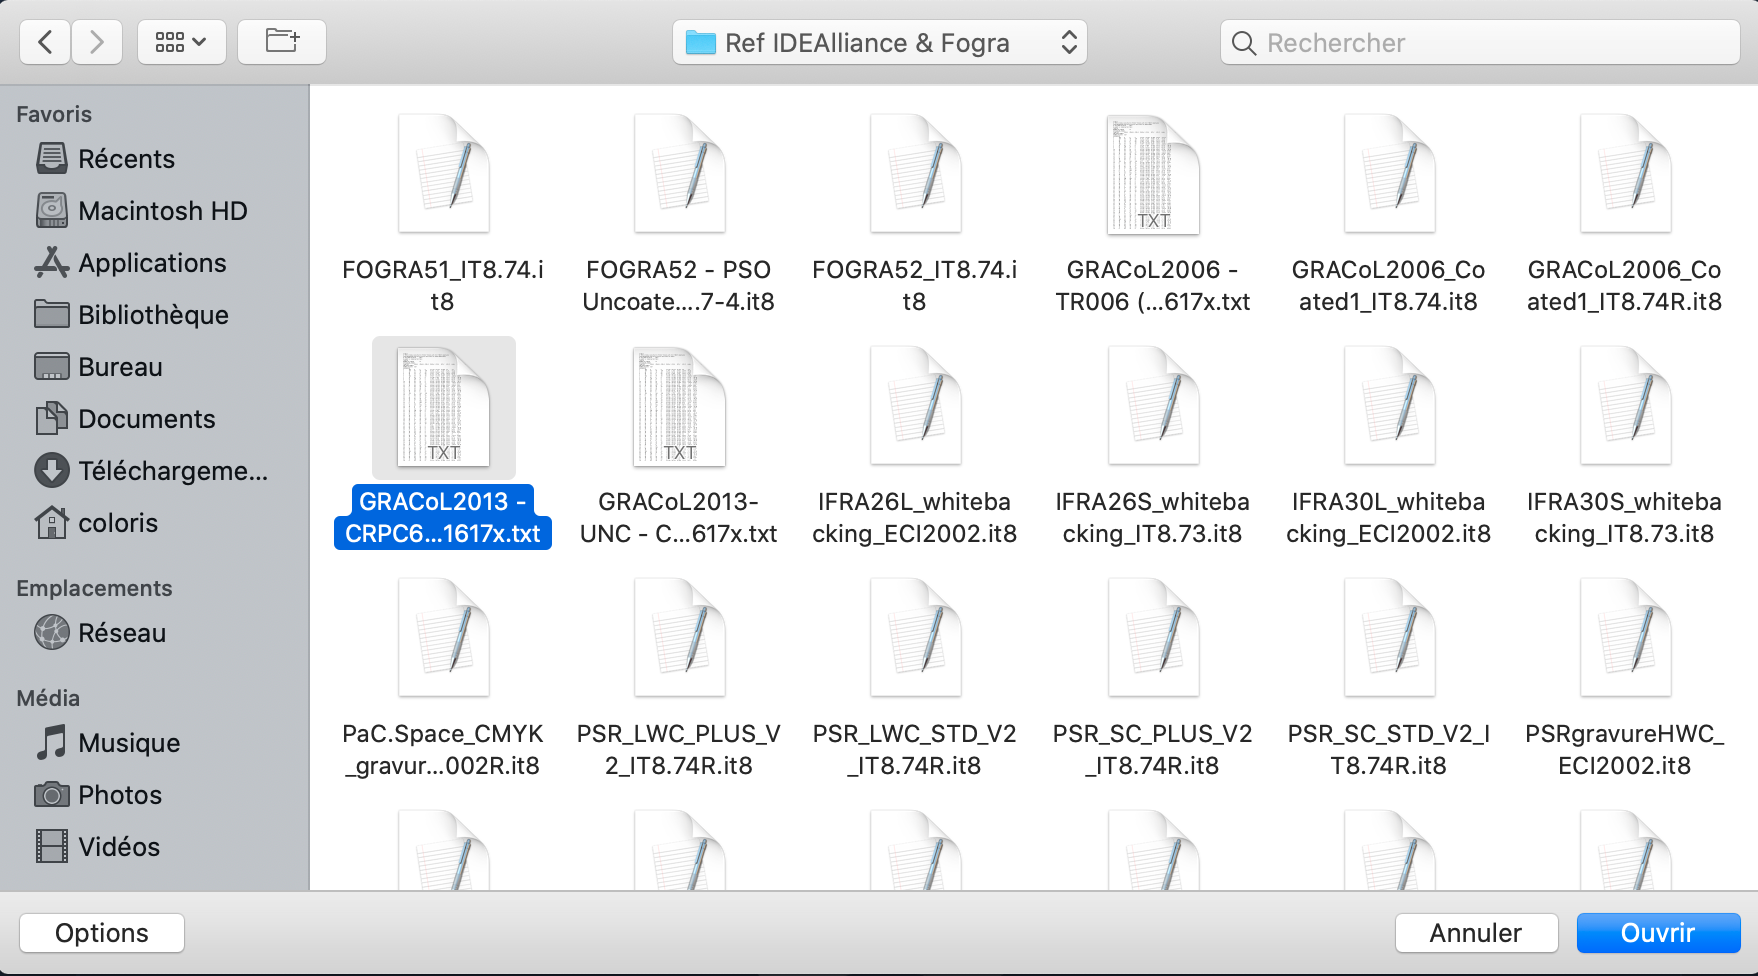
In our example, we will use the IDEAlliance GRACol2013 CRPC6 reference file of 1617 colors.
It is also possible to use a PANTONE color chart or a measured RGB chart of the TC9.18 RGB type for example.
Select the reference file then click on the " Open "
button Generally, reference organizations such as CIE, Fogra, UGRA or IDEAlliance, to name but a few, provide files in the CGATS standard (.txt or .it8).
But Coraye supports a lot more formats.
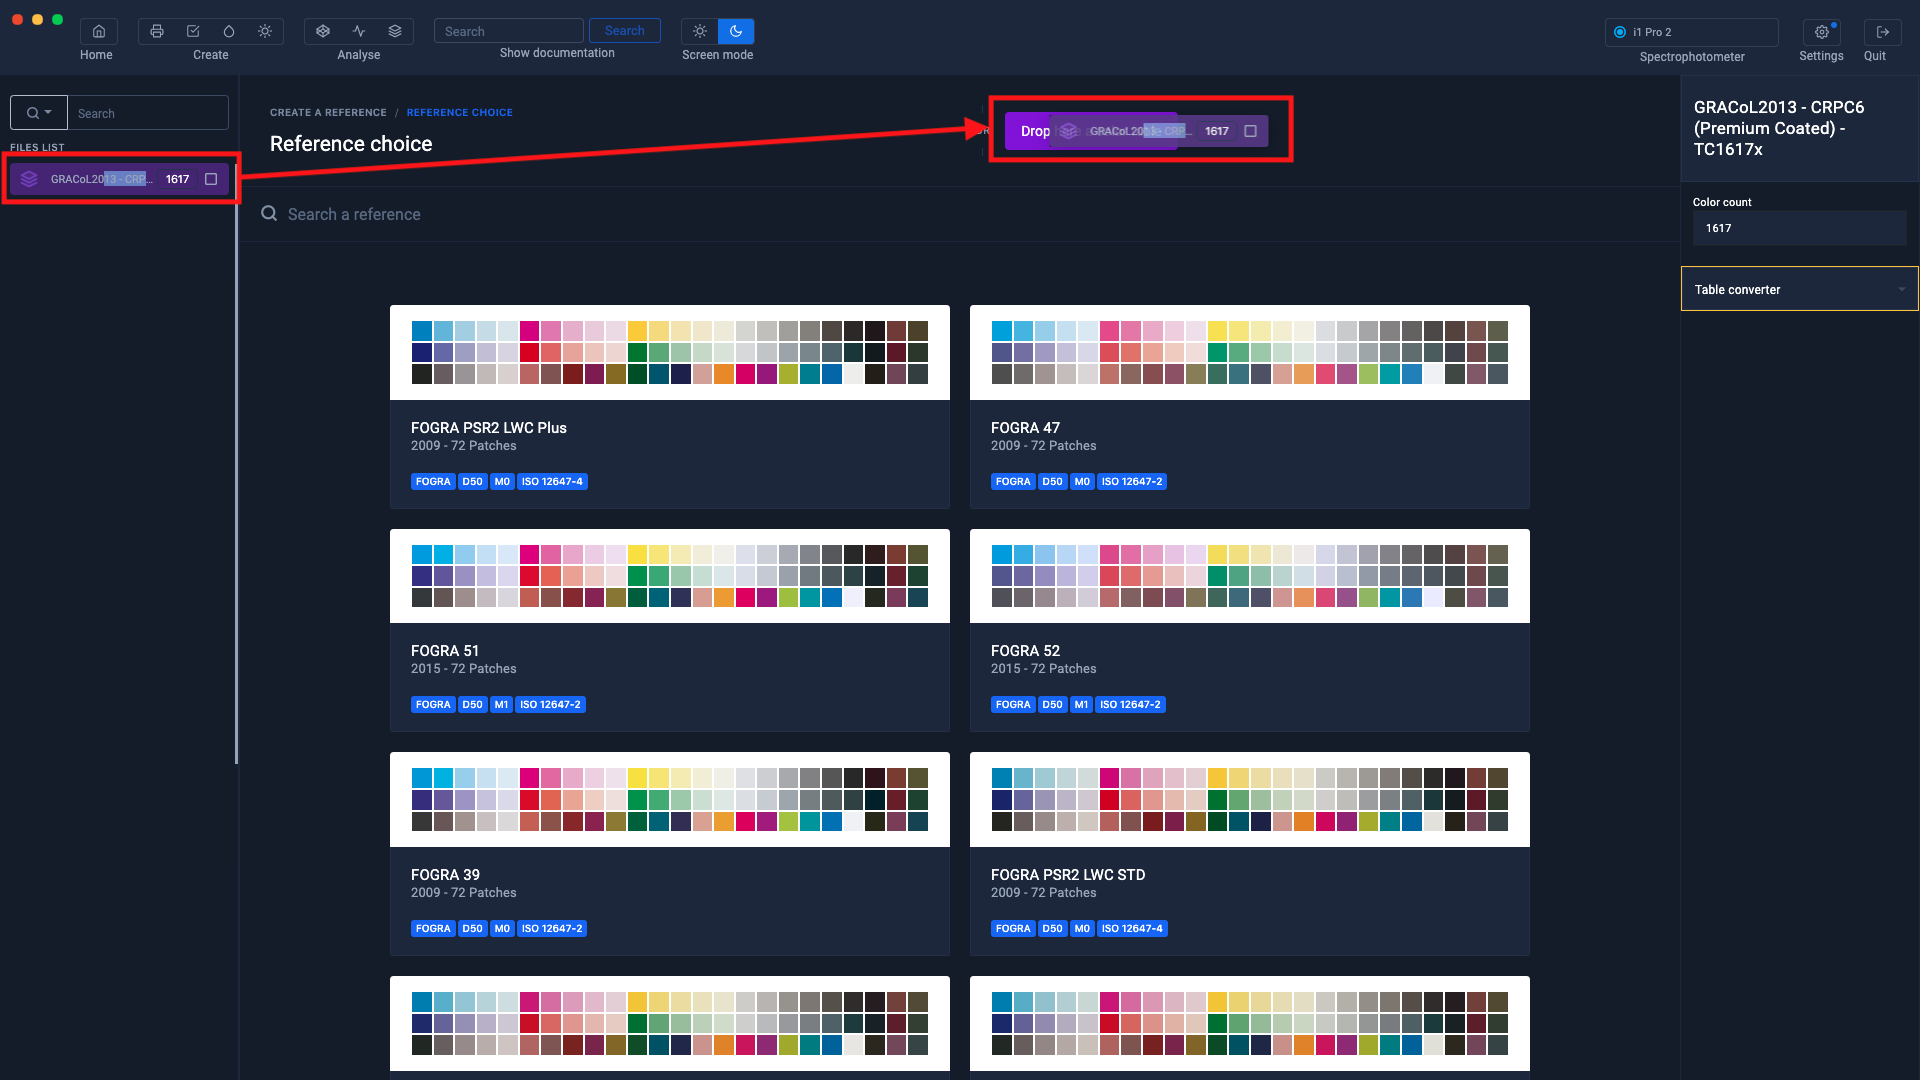
The table appears in the left column

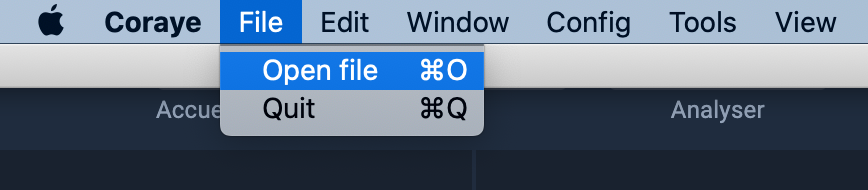
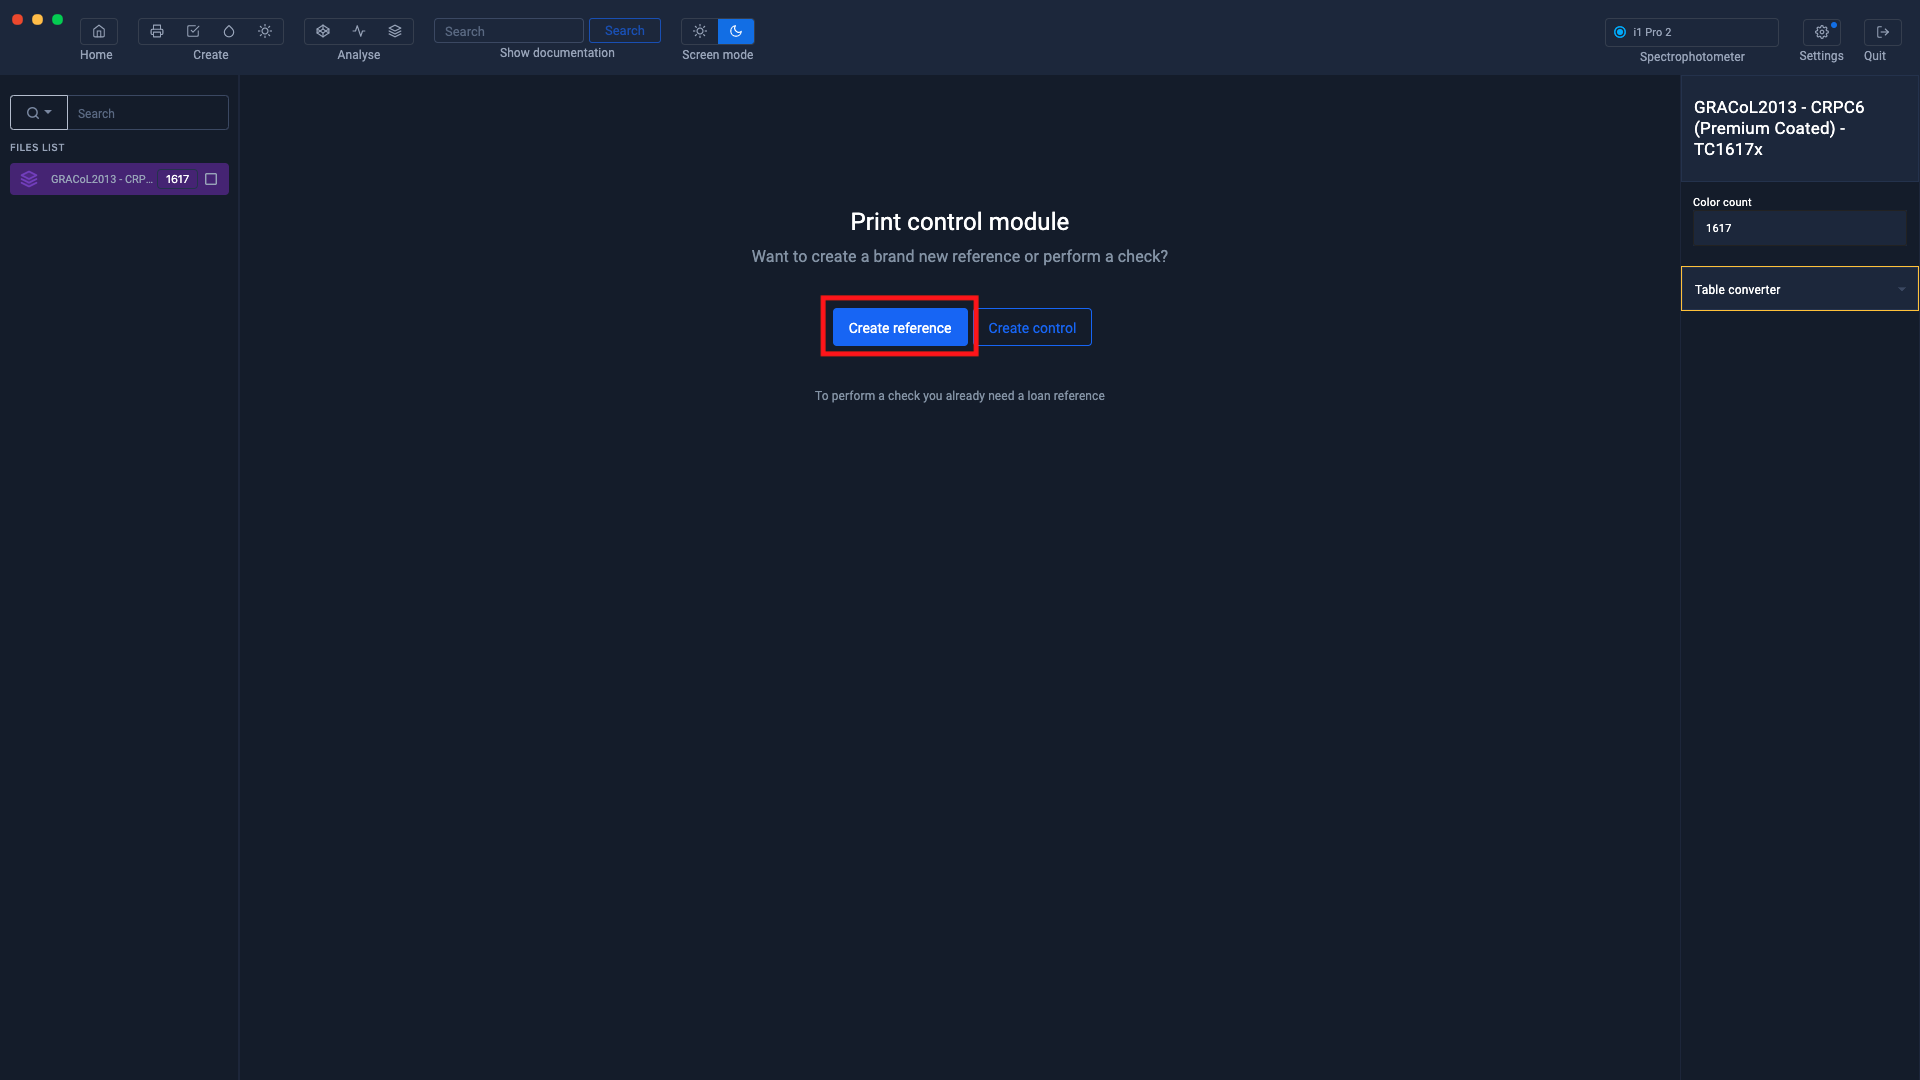
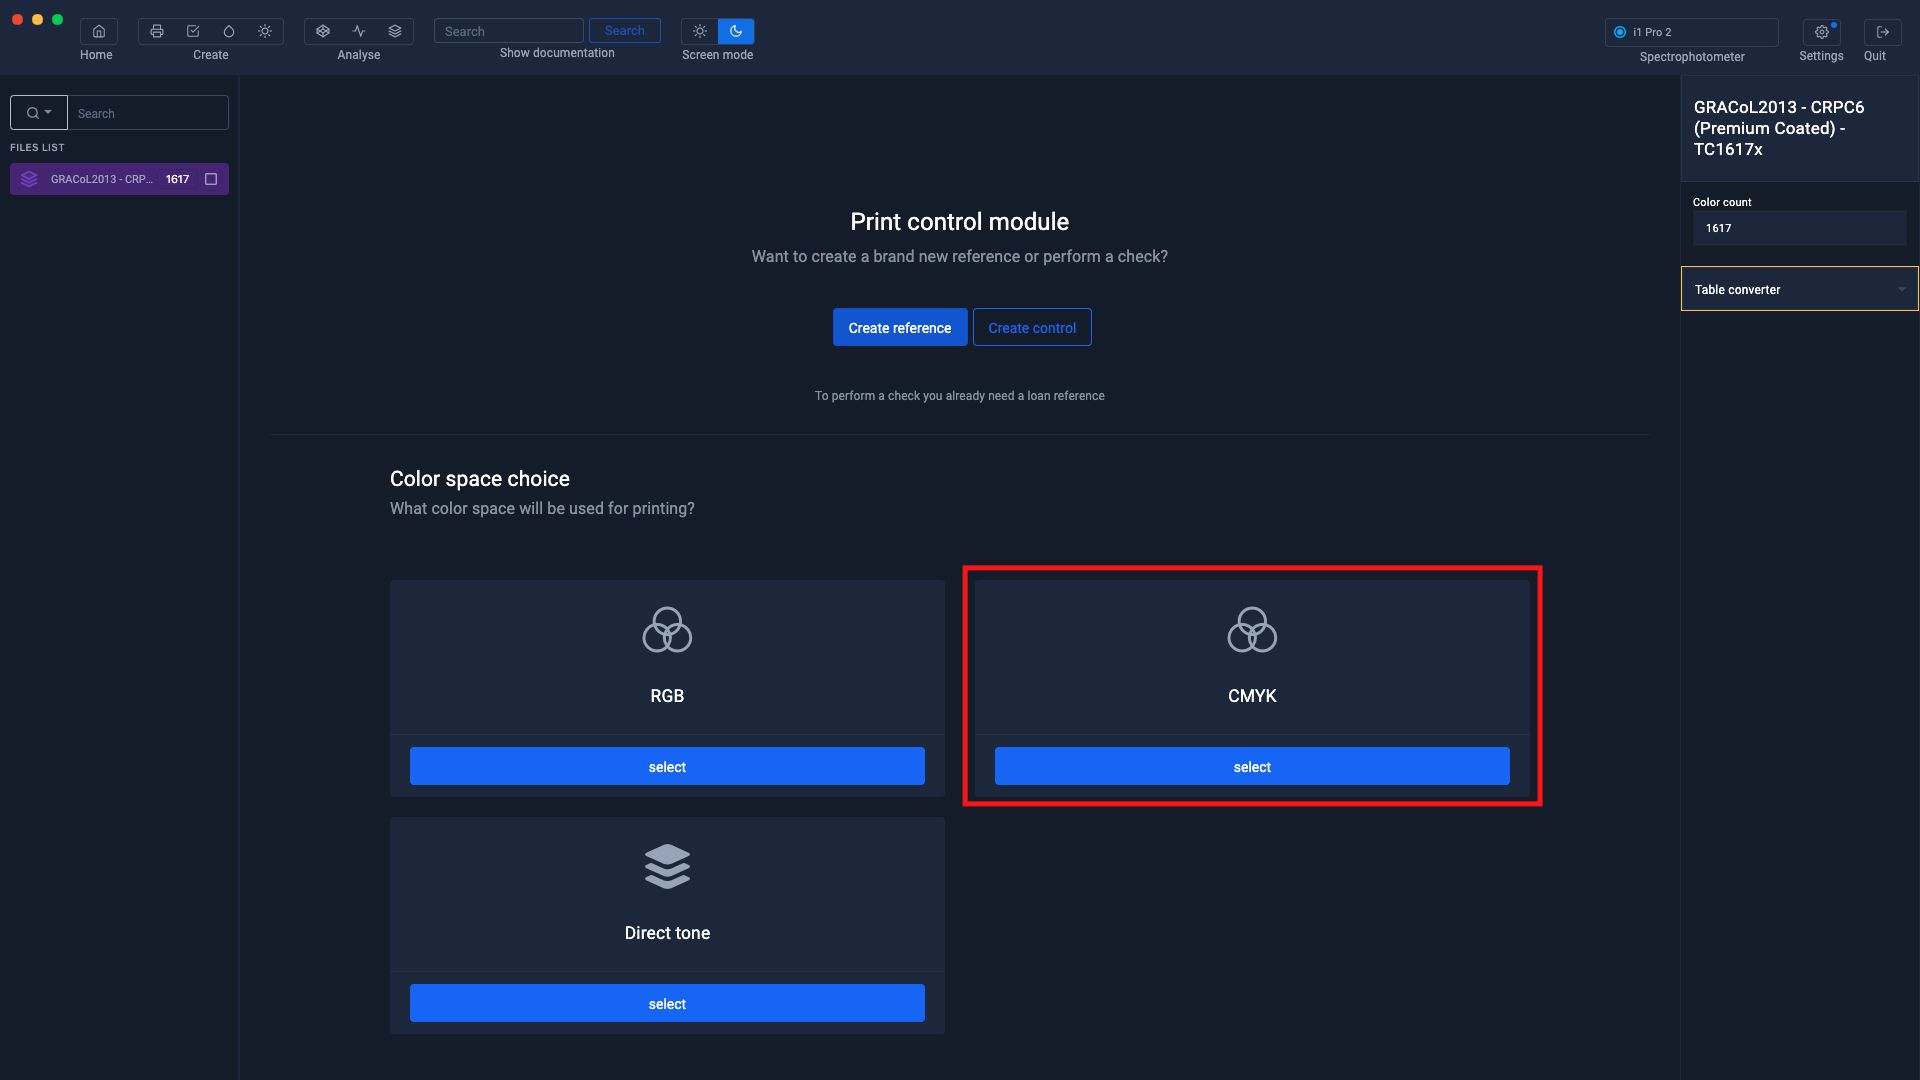
Open Print Control
Click on the Print Control icon located at the top left of the window

Then click on the button " Create a reference "
The chosen reference being in CMYK mode, select " CMYK "
Drag the imported table onto the " Drag a color table here " area
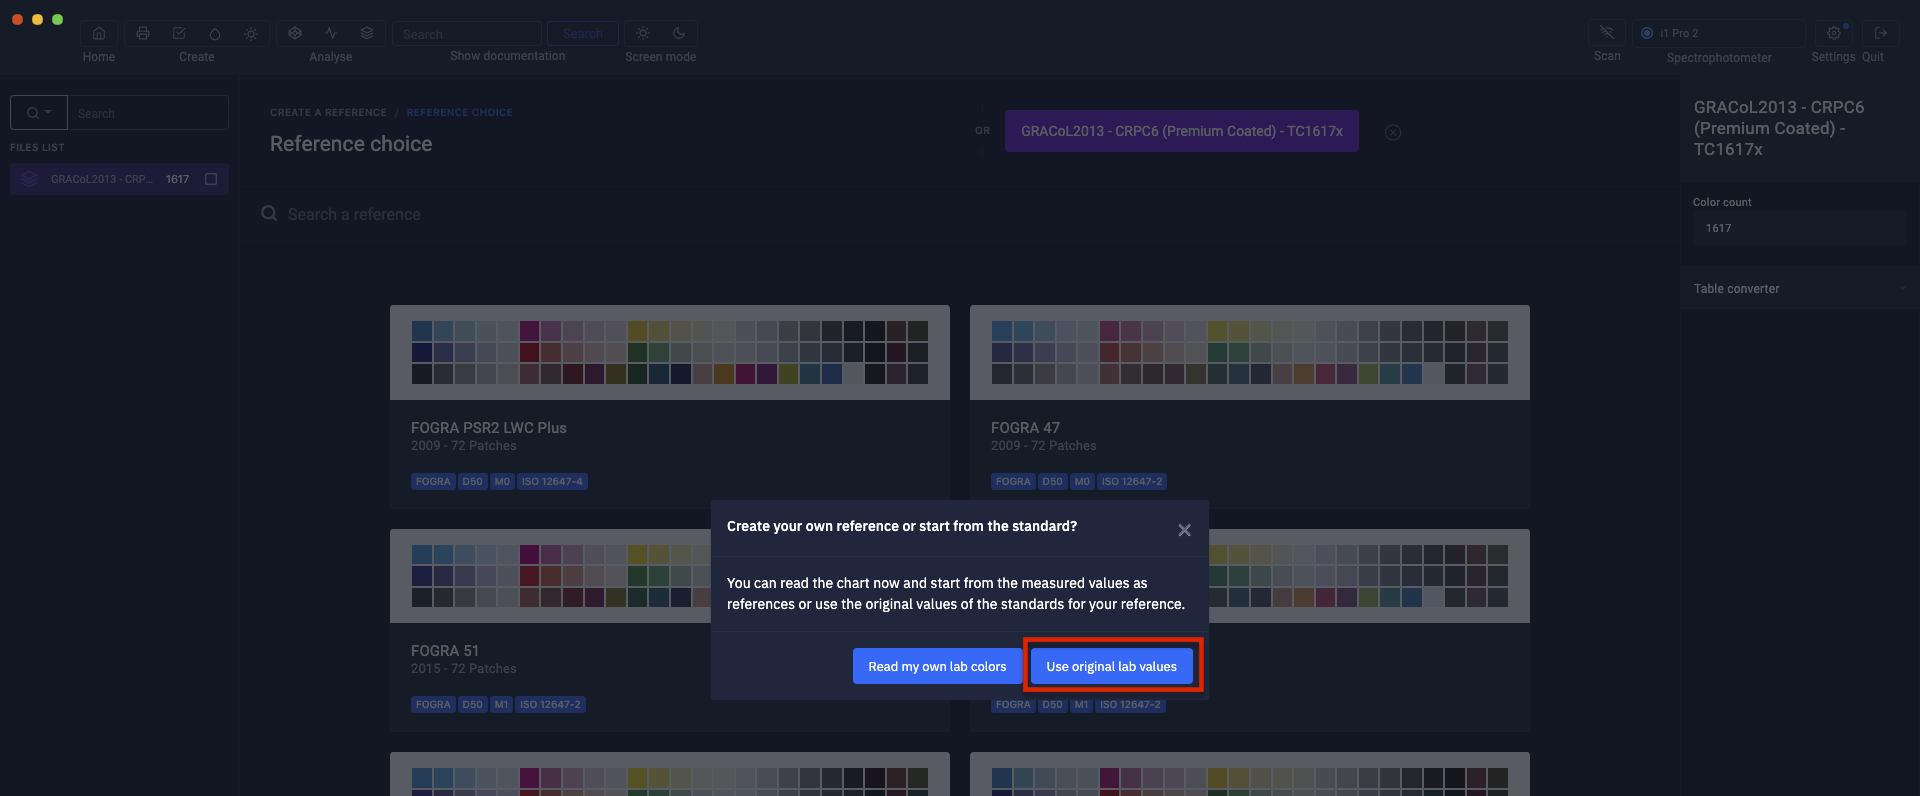
Click on the button " Use the Labs of the standard "
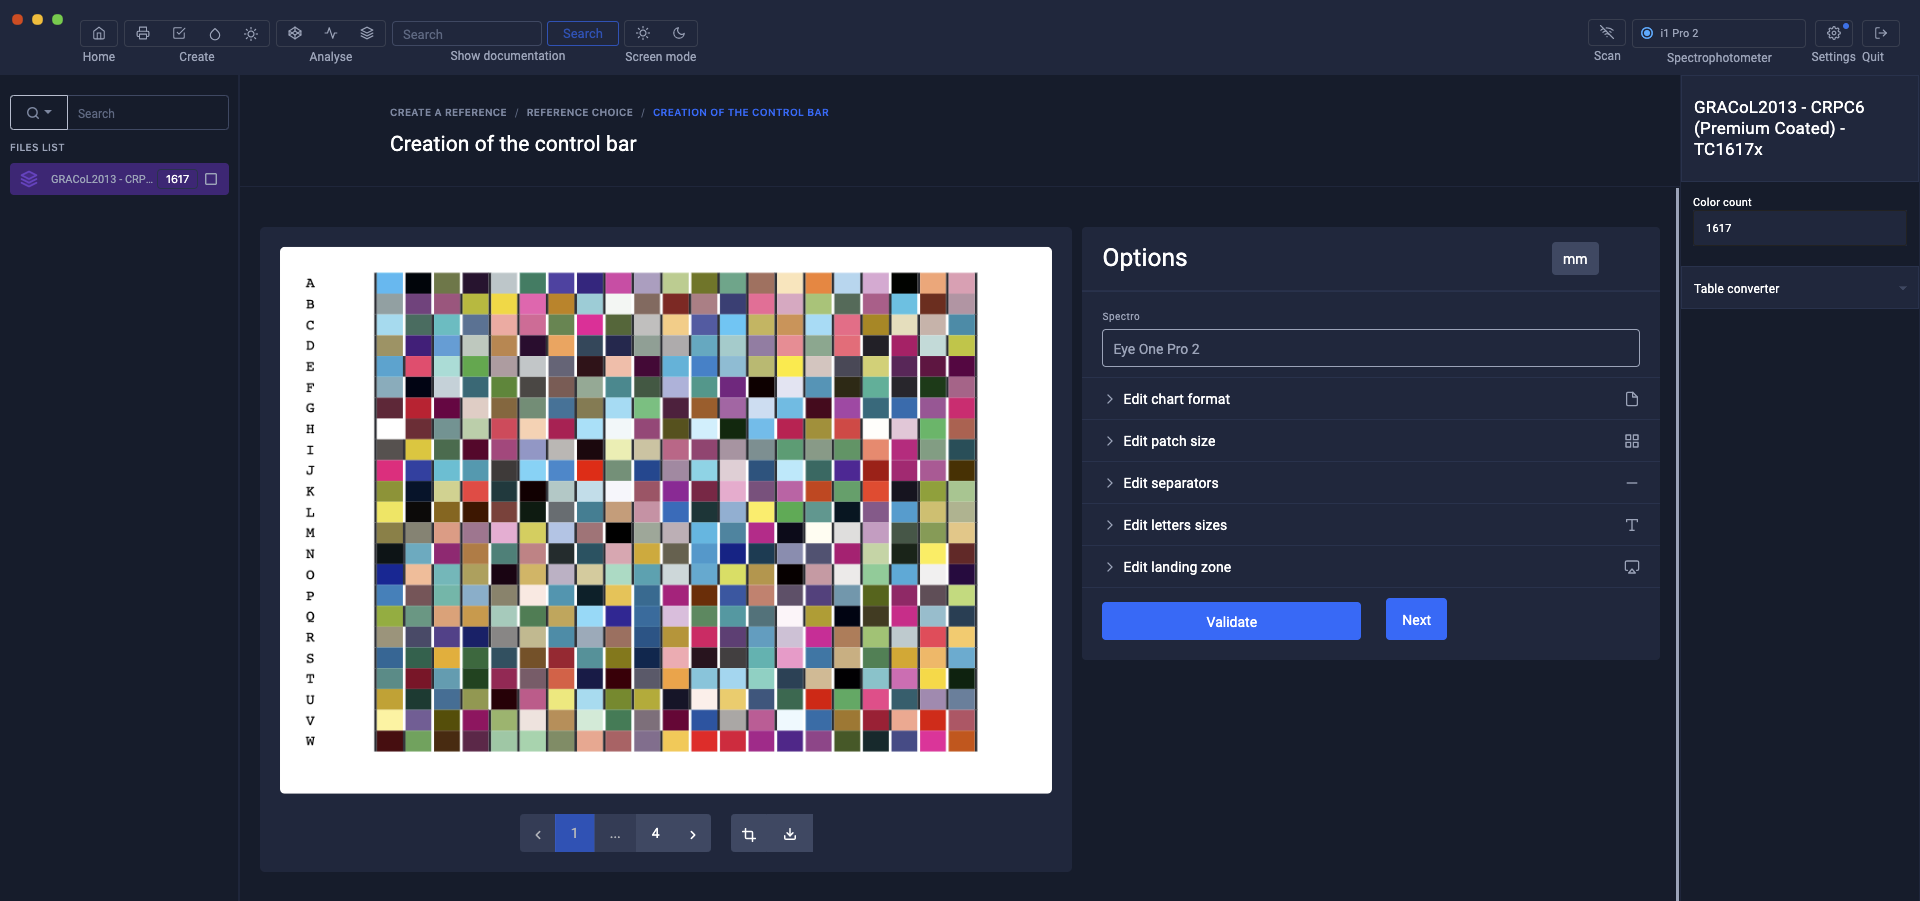
The test pattern appears and can be customized with the tools on the right
To find out more, see the chapter: Customizing charts
Printing of the charter
At this step, you can save the chart in Pdf or tiff format to print it later.
Click on "Next"

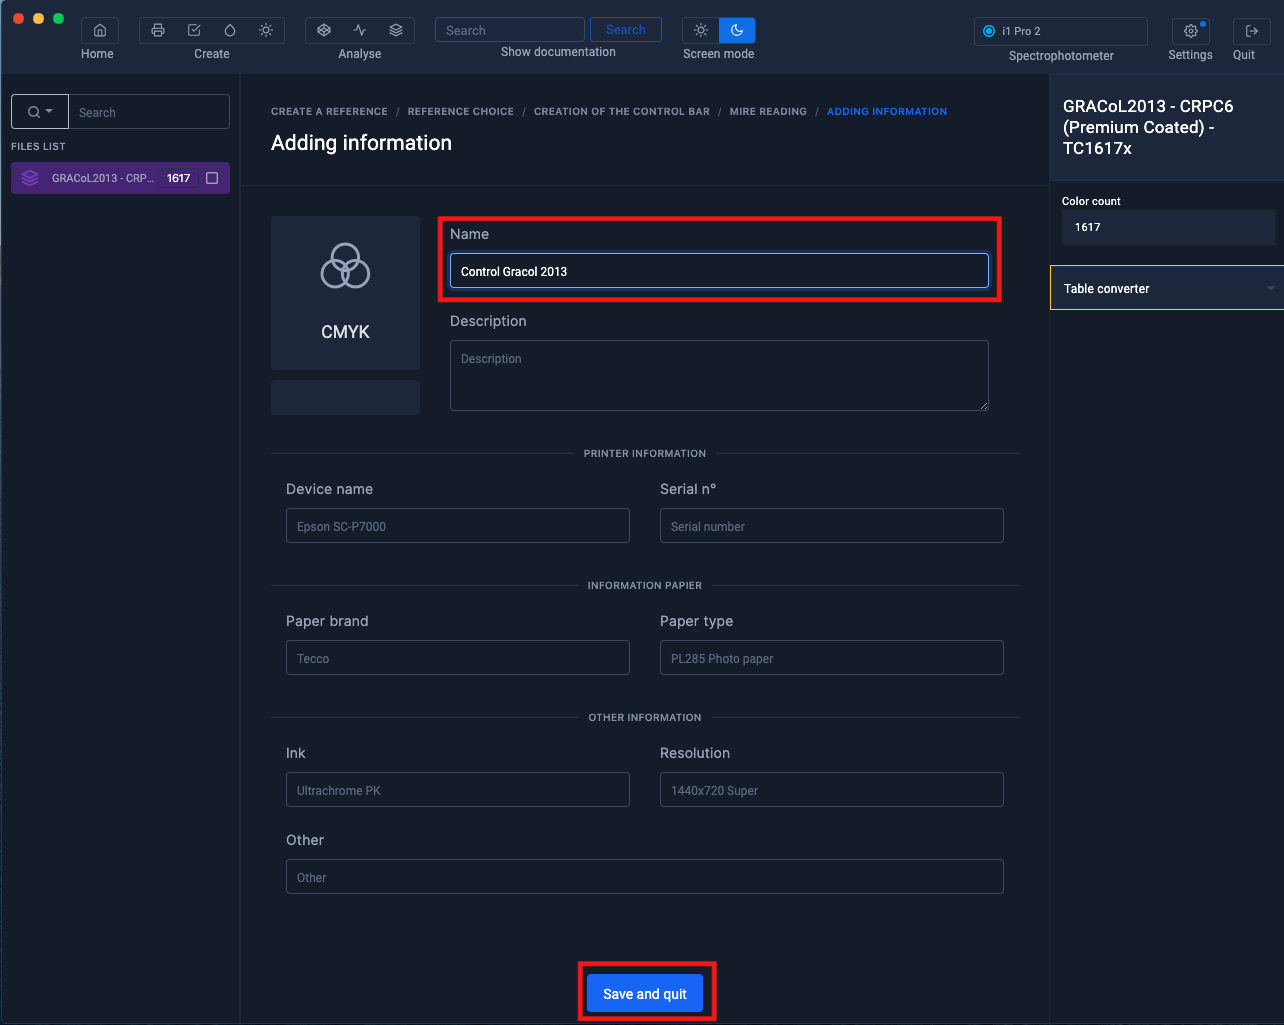
In the information window, only the name of the setting is mandatory. The other information is optional.
Then click on the " Save and exit " button.
The new Print Control file appears in the left column.
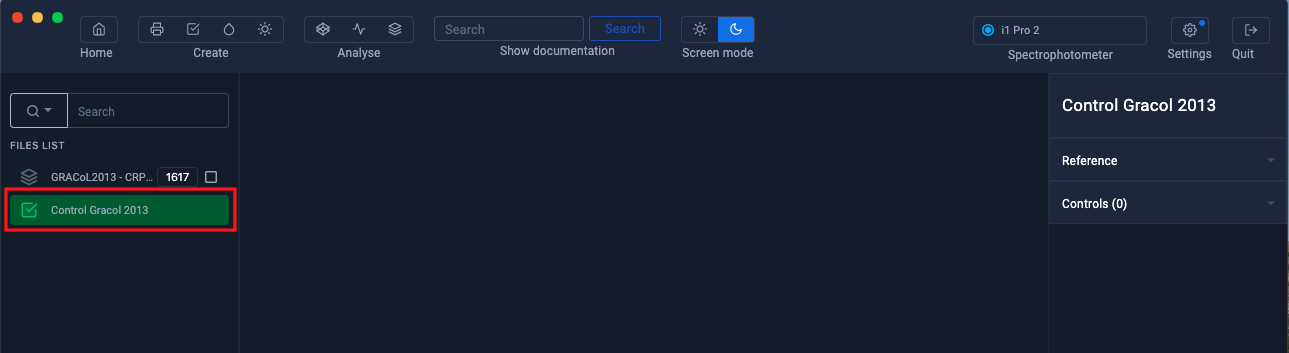
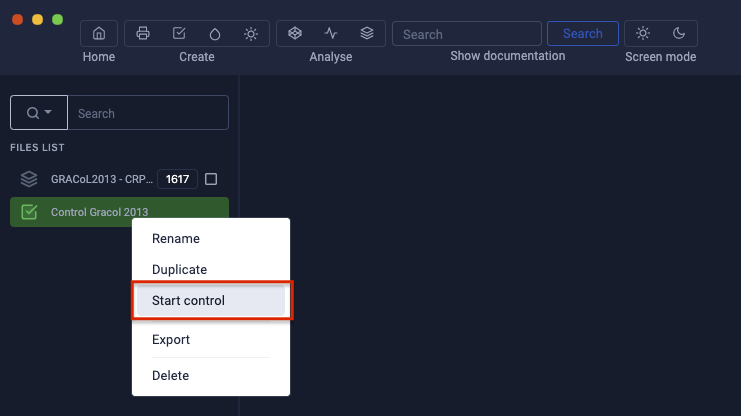
You can now start the range measurement or export the file to save it by right-clicking on the Print Control file.
Controlling an RGB or CMYK gamut is very similar to that of a Mediawedge, except that there are more measurement lines.
For more information, see the chapter: Control of a charter