Barbieri Spectropad
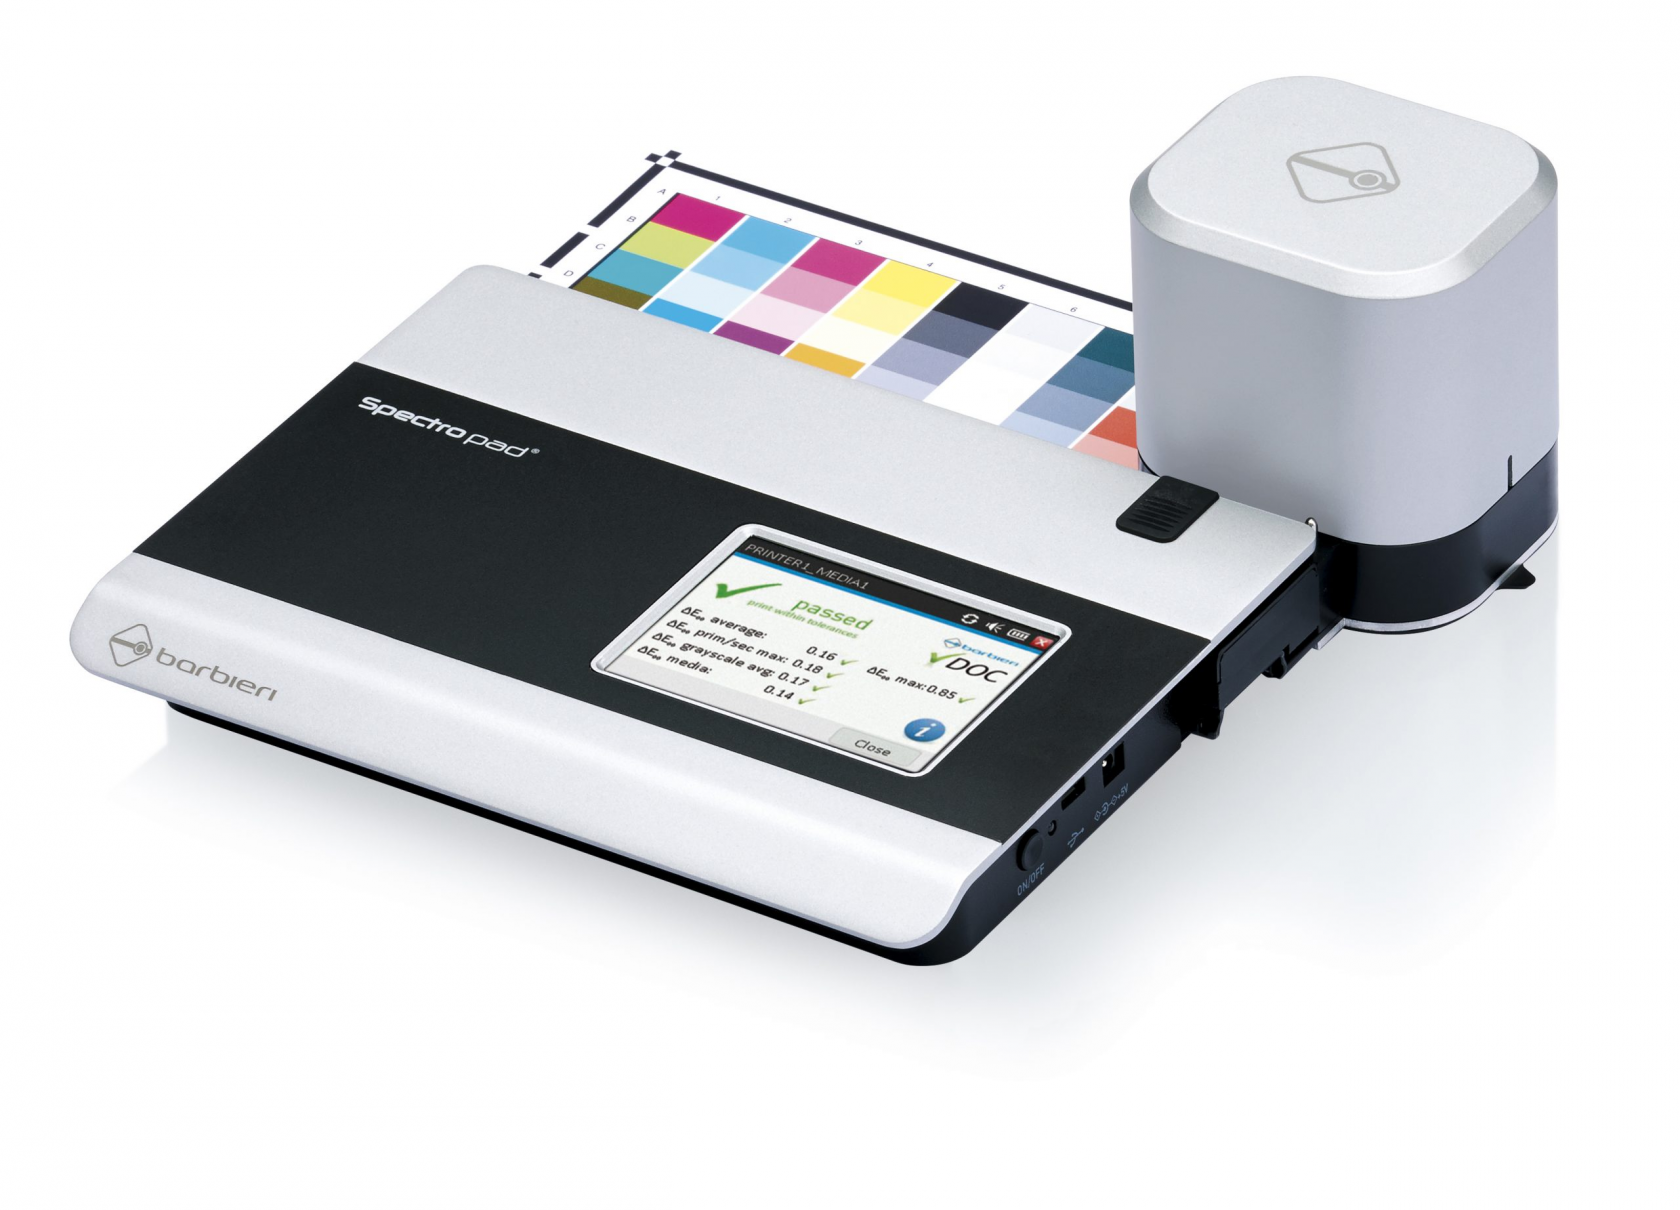 The Barbieri Spectropad allows you to measure control ranges and measure ranges for the characterization of printers
Turn on the spectral unit by pressing the button on the back.
The screen will display the following content: The "Calibrate device" button performs an automatic device calibration by automatically inserting the internal reference blank and performing the calibration.
USB connection or Wi-Fi network
Coraye gives you the possibility to connect your Barbieri Spectroscan spectrophotometer via the USB port or via the Wi-Fi network connection.
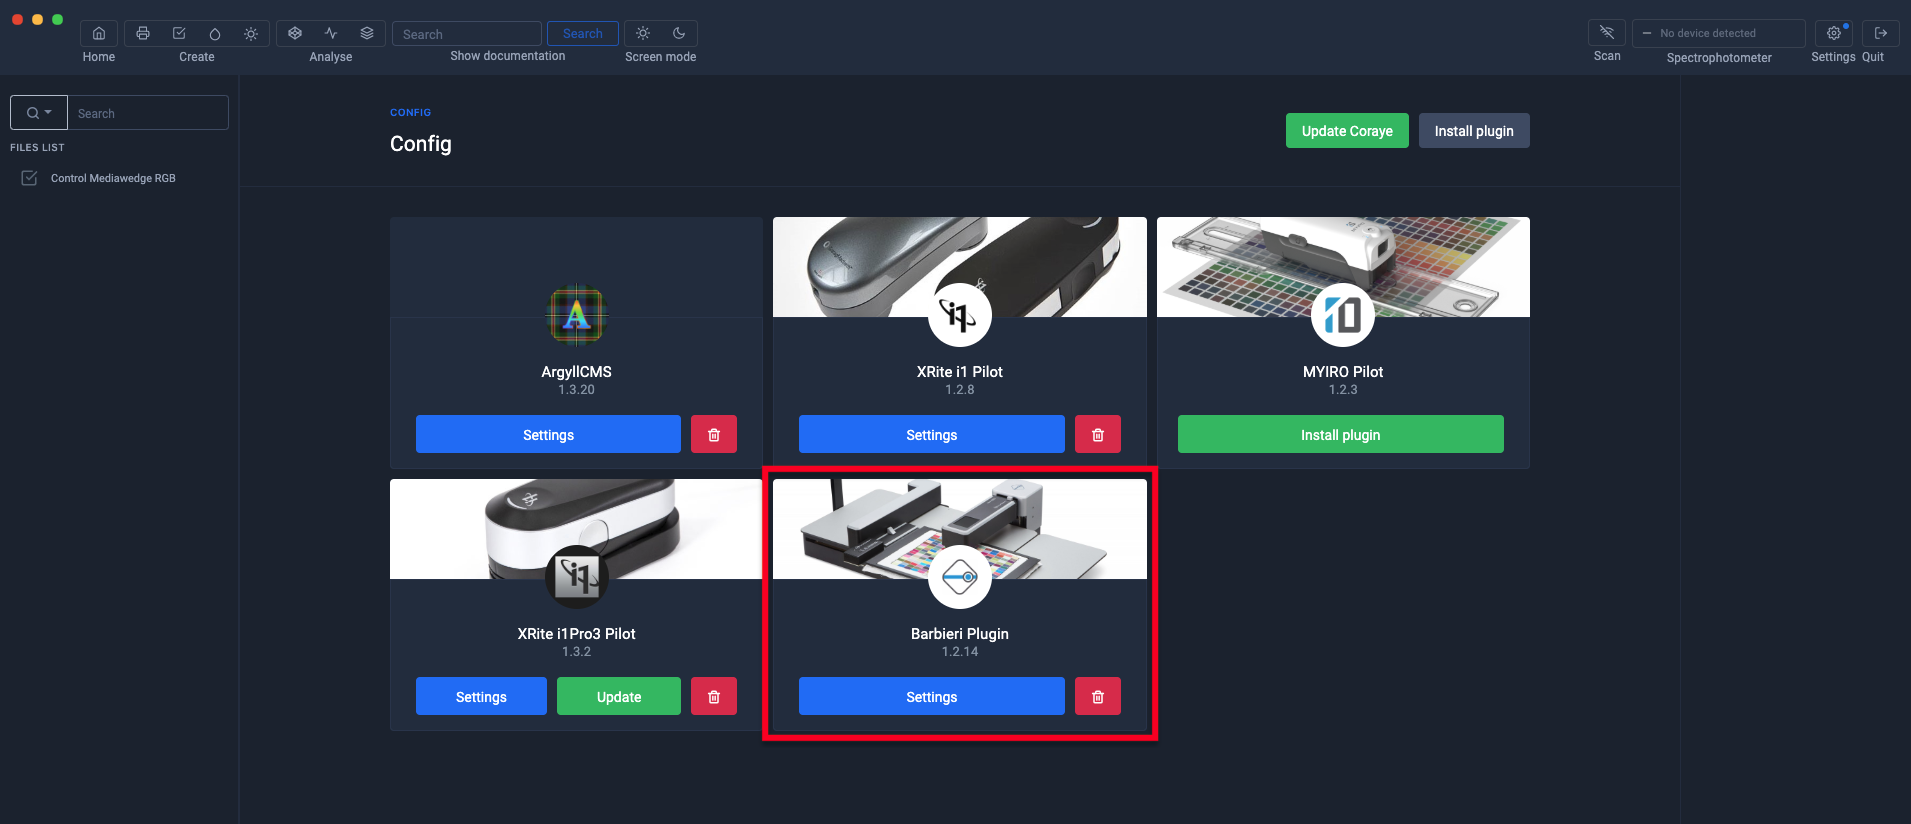
First of all, make sure that the Barbieri plugin is installed and that the Spectroscan is turned on.
USB connection
When your Barbieri Spectroscan is connected by usb, it will be detected and displayed at the top right in the Coraye window. You won't have to do anything else.
WIFI network connection
If you choose to connect your Barbieri Spectropad to a network via a WIFI connection, it is necessary to indicate its IP address.
First step: Retrieve the IP address of the Spectropad:
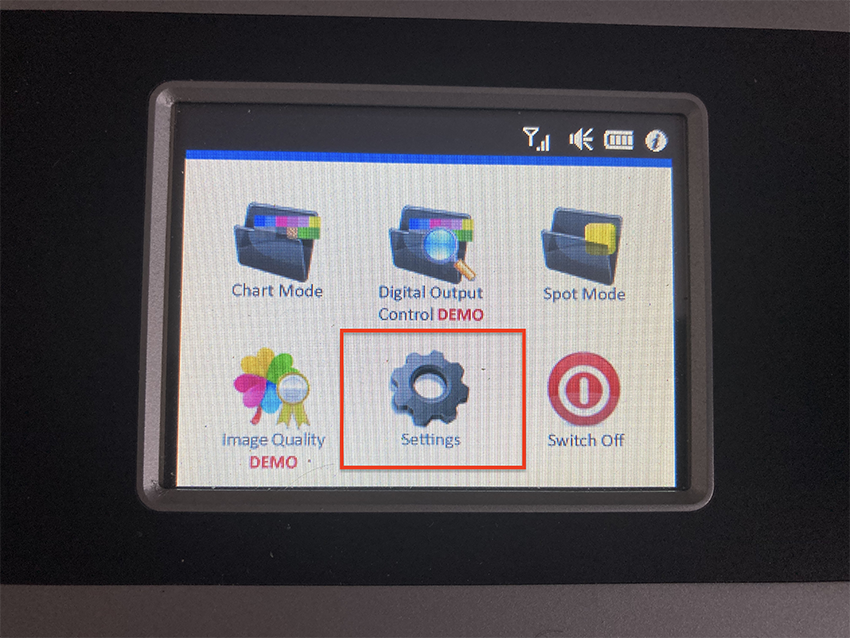
Press the "Settings" cogwheel to access the WI-FI icon.
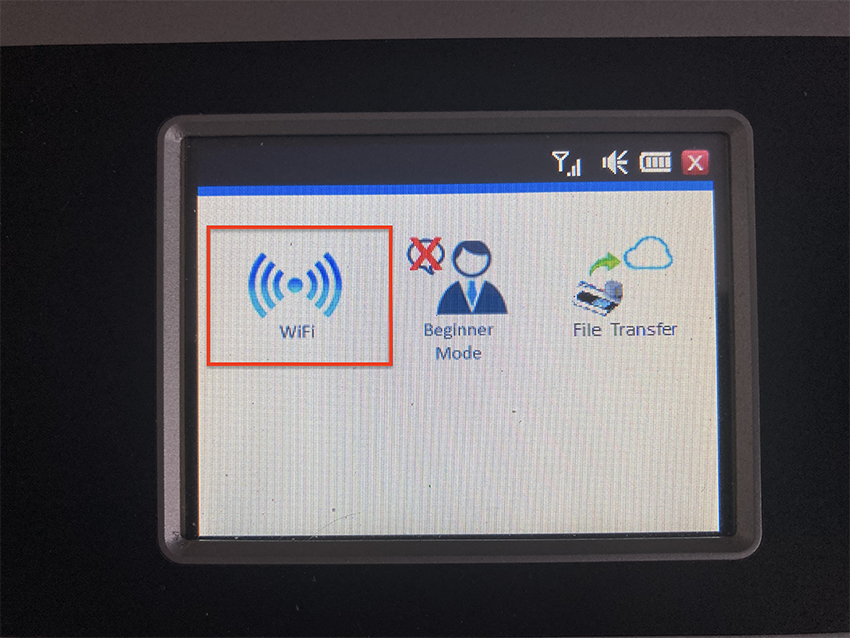
Select the "Wi-Fi" icon
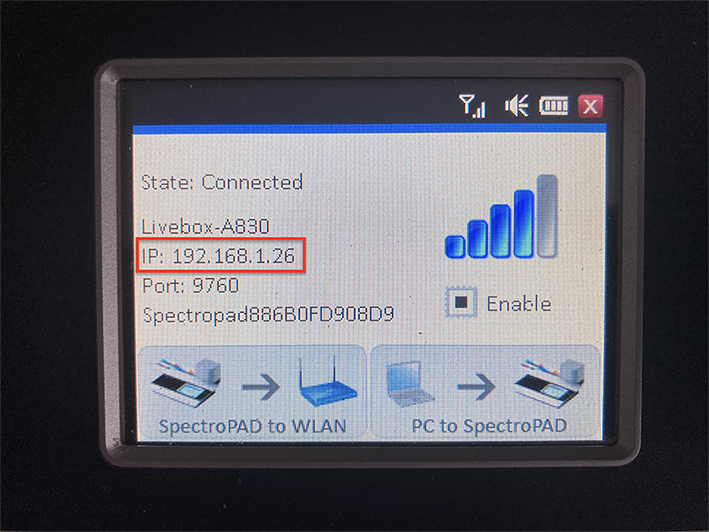
The IP address appears on the screen
The Wi-Fi parameters are configurable by clicking on the button "SpectroPAD to WLAN"
Second step: transfer the IP address in Coraye
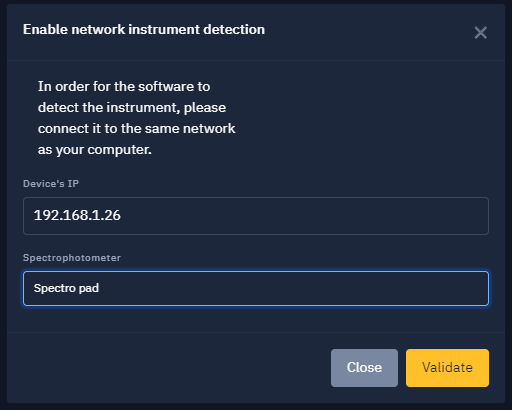
Click on the "Enable network instrument detection" button located at the top right of the Coraye window
In the window that appears, enter the IP address of the Barbieri LFP Sensing Unit (Ex: 192.168.1.27) then select the model of the spectrophotometer (In our example: Spectro LFP qb unit).
Click on the "Validate" button
Congratulations your Barbieri Spectropad is ready to use
Range measurement
To find out more, see the chapter: Creating a profile from a standard test pattern
For more information, refer to the chapter: Printing control
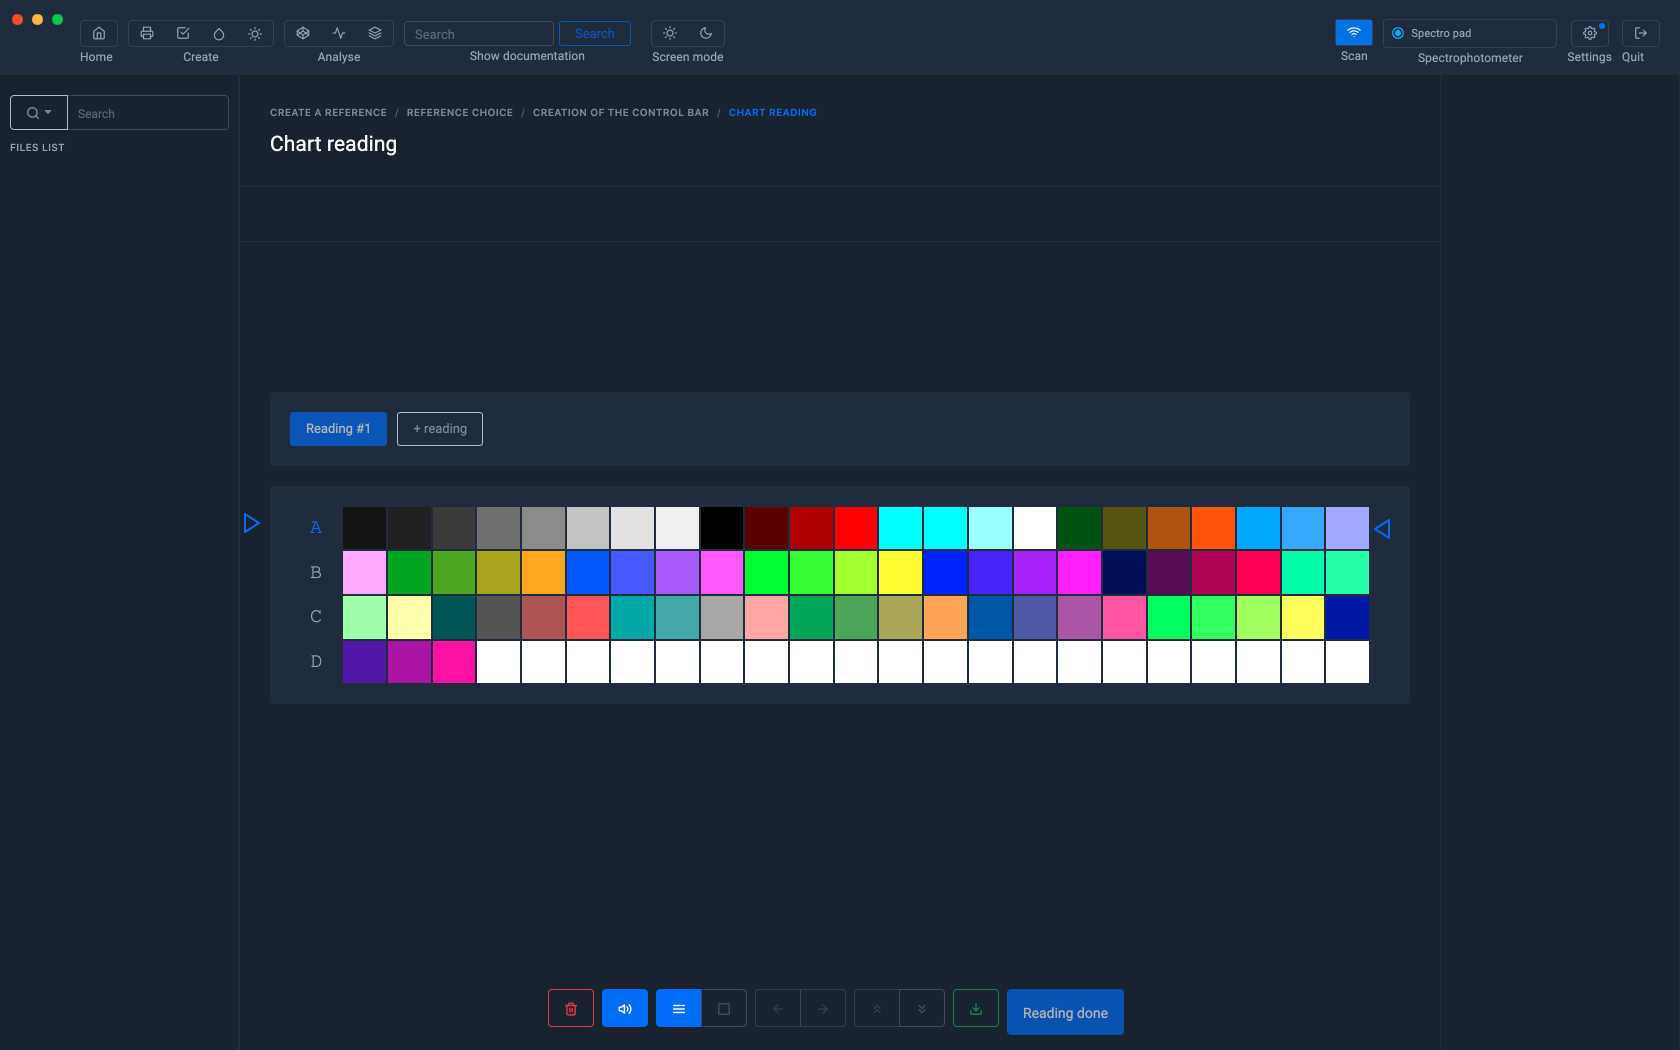
The interface for measuring ranges is the same as for other instruments
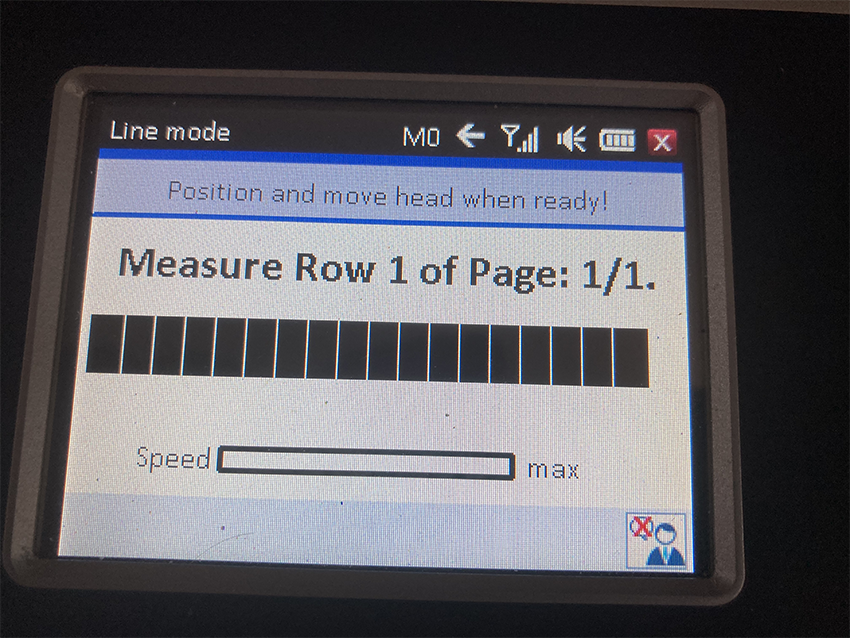
When you start the measurement, the SpectroPad goes into Line Measurement mode.
Follow the measurement instructions
