Prepare a color chart for metallic printing
Do you have a machine capable of printing with "Metallic silver" ink?
Here's how to create color swatches with metallic colors with Coraye.
For the purposes of this tutorial, we used an Epson SC-S80600 printer using 9 inks + 1 "Metallic" ink to "metallic" the colors.

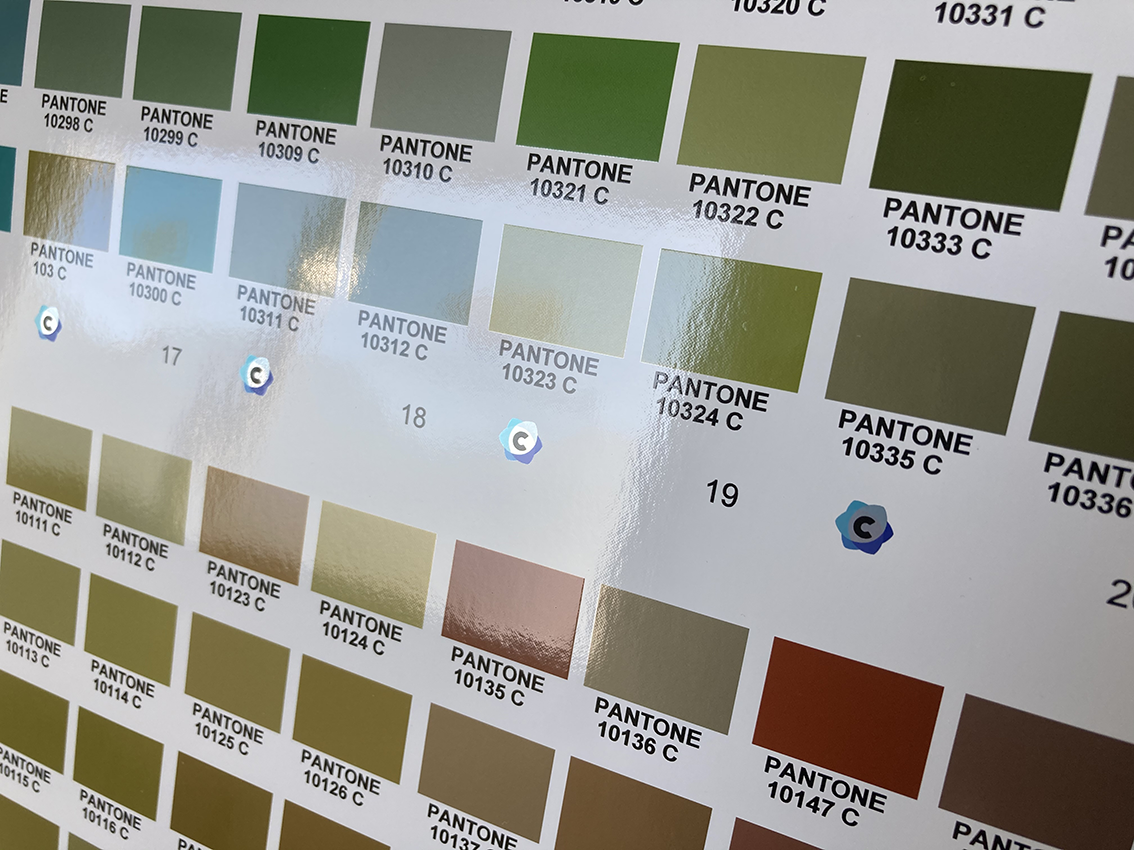
The exercise consists of creating a metallic PANTONE C color chart
For nesting and printing we used the RIP Caldera v14
Creation of the color chart and export in pdf format
This first step is described in the chapter "Preparing to print and cut a color chart":
For more information, see the chapter: Preparing to print and cut a color chart
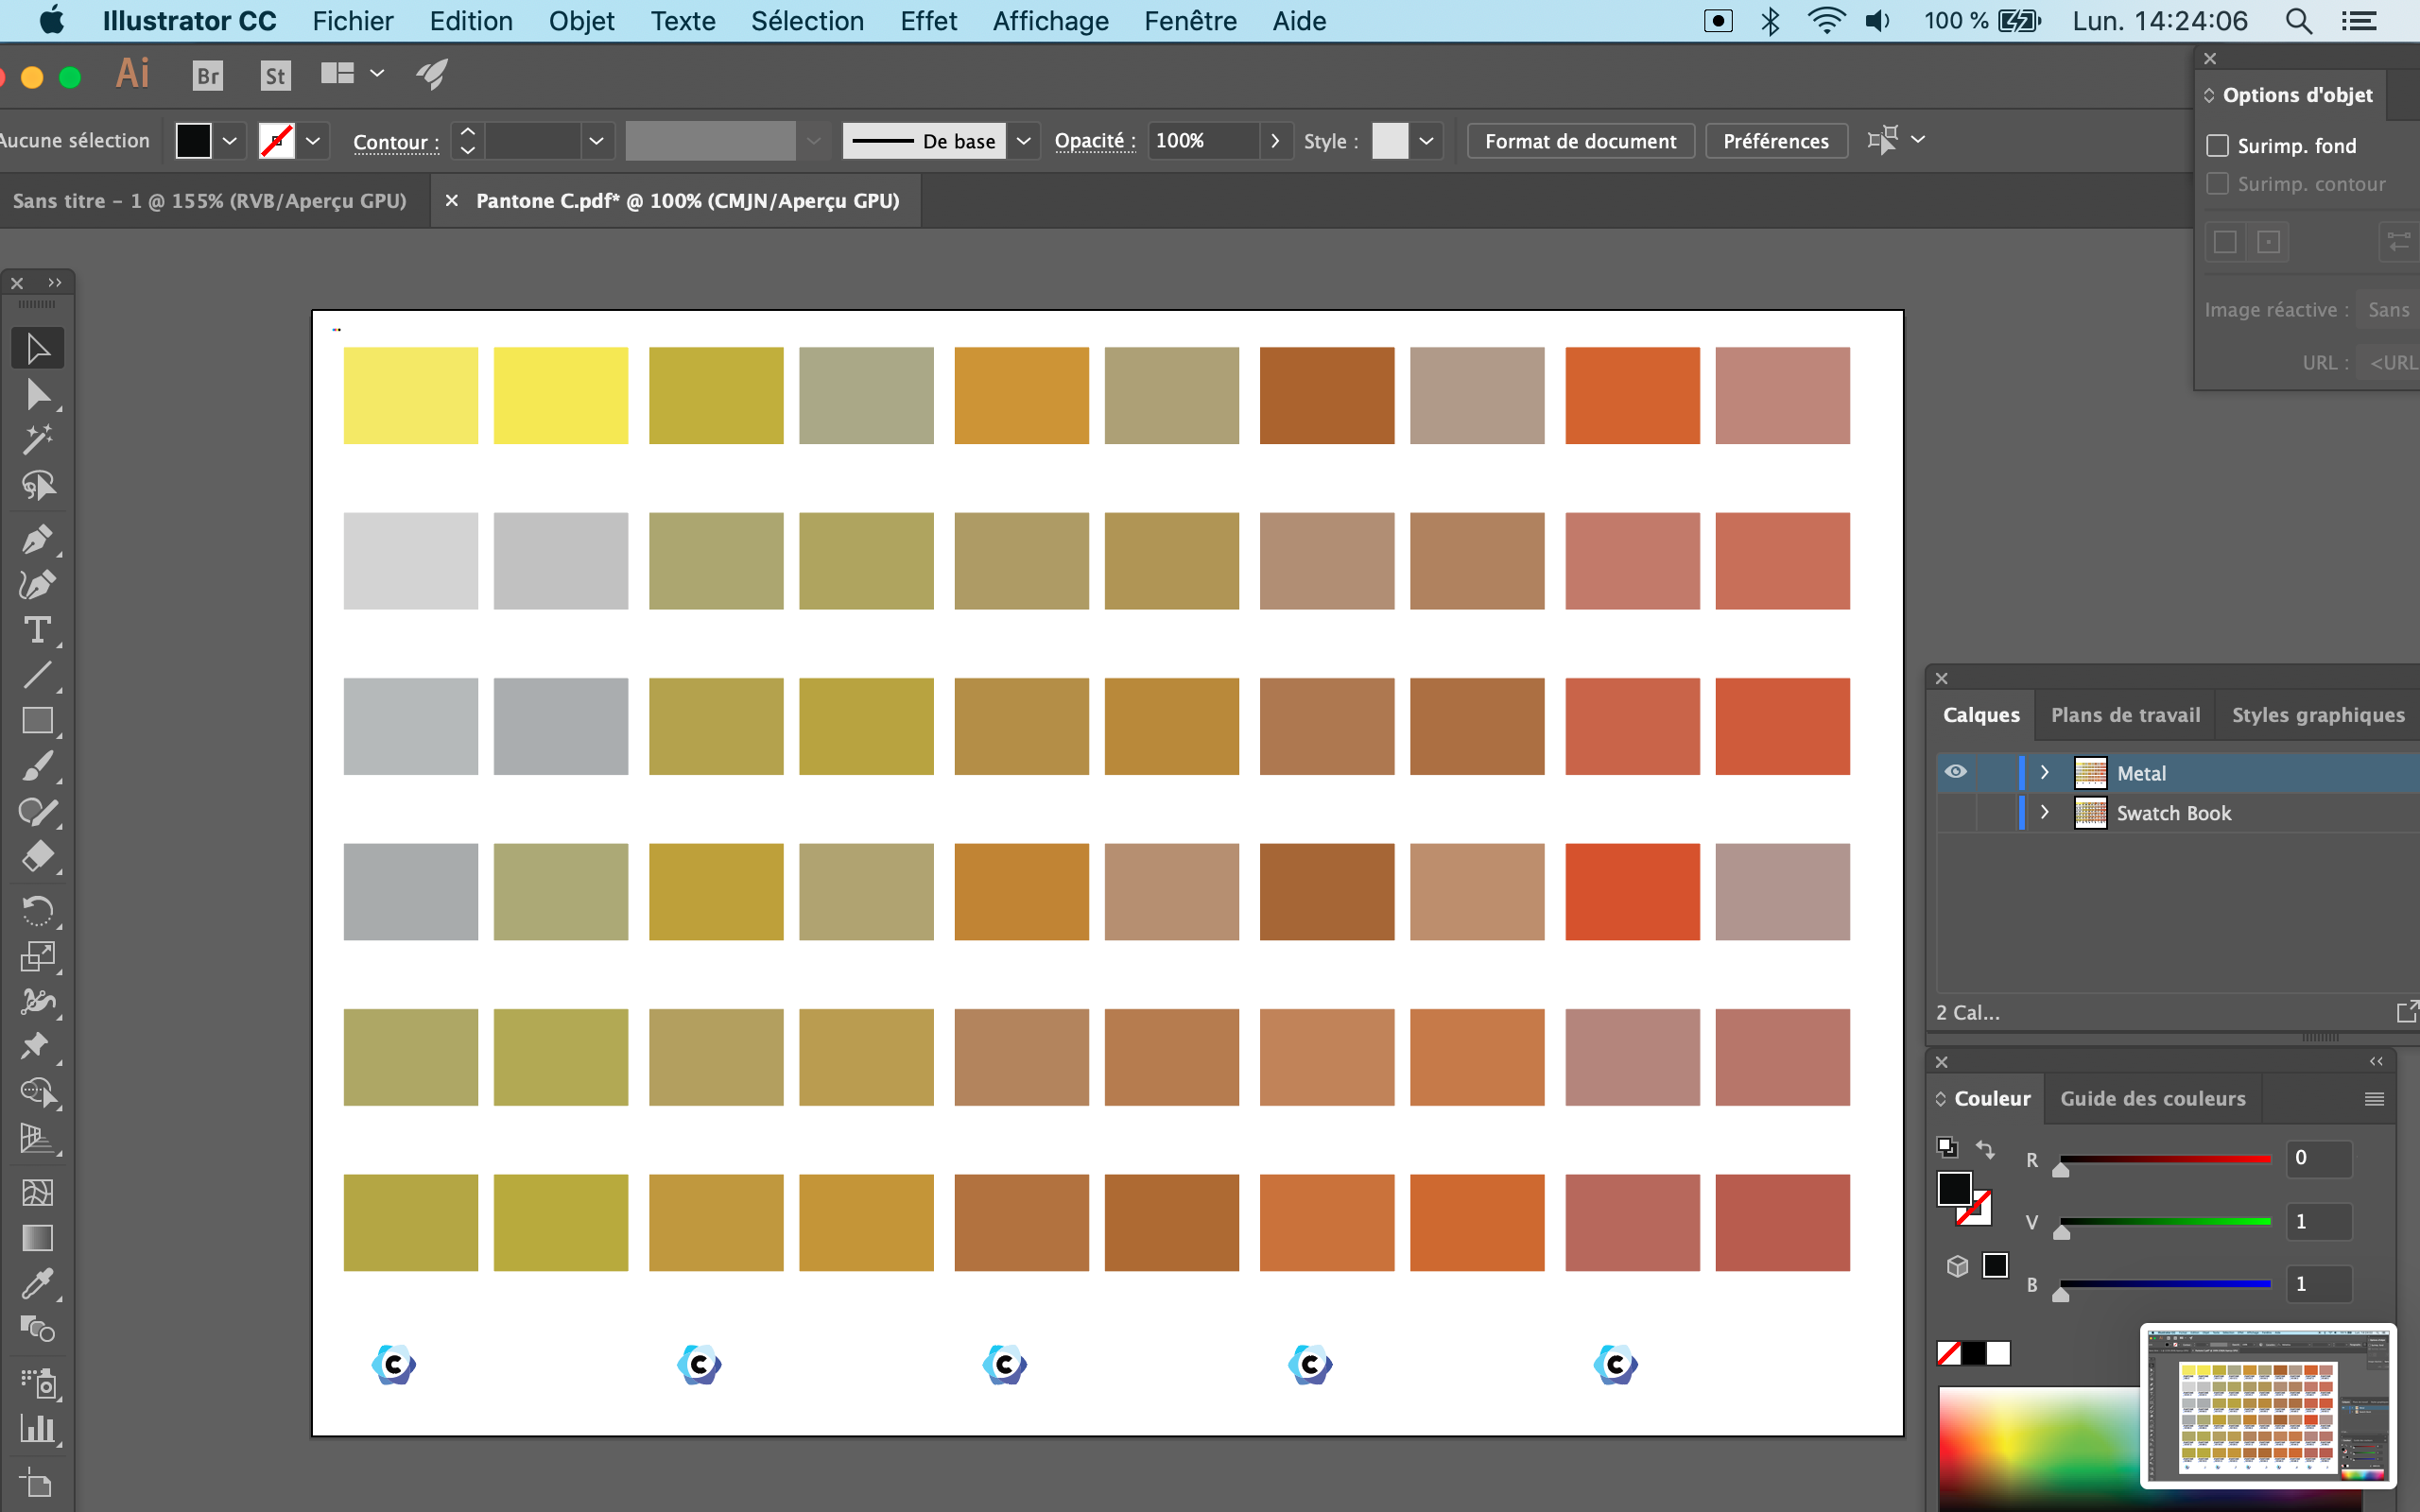
Import the pdf into Illustrator
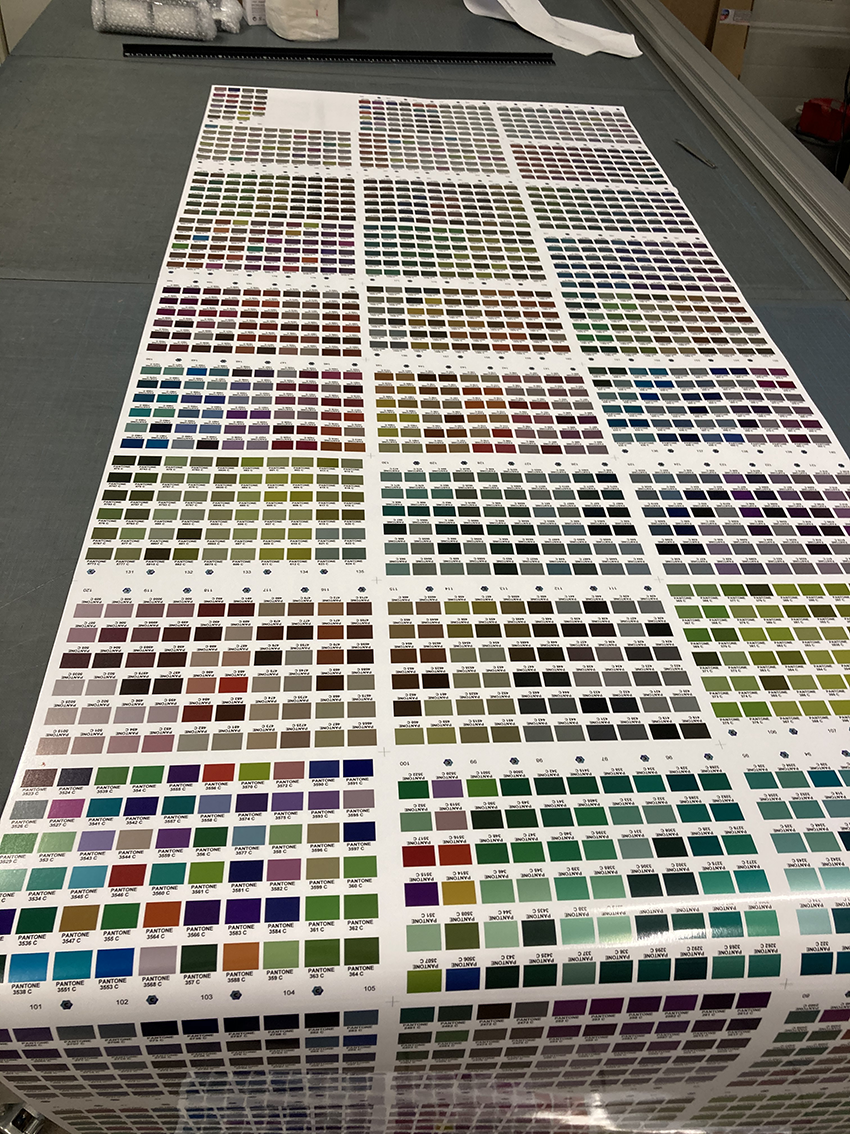
Once the swatch is generated, import it into Illustrator. We have created a 45 page color chart in A4 size, containing 60 PANTONE Colors per page.

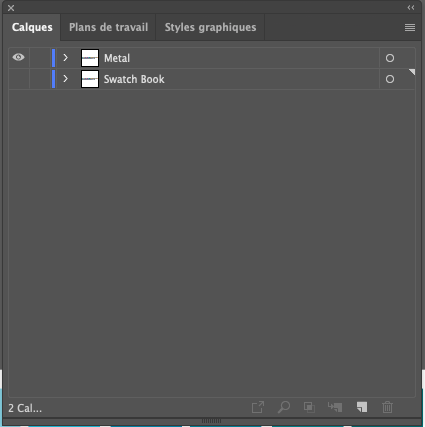
Create a layer containing the Metal Silver ink layer
Duplicate the main layer

Rename the two layers, then deselect the main layer that we named "Swatch Book" We are going to work only on the layer that we named "Metal".
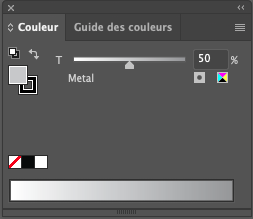
Management of the percentage of "Metallic silver" ink used to create the metallic effect.
The first step is to create a new "Metal" shade defined in a spot color.
https://helpx.adobe.com/illustrator/using/using-creating-swatches.html

It is important to define this shade in a spot color
The CMYK value with 50% black will only be used for display and will not allow you to manage the amount of Metallic ink.
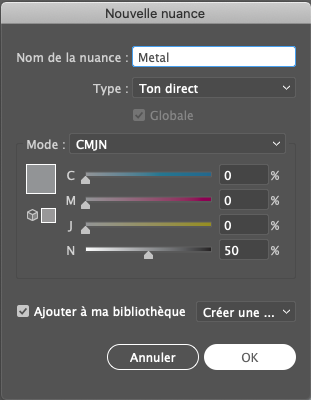
Metallic ink percentage management
When the shade is created, a window appears and will allow you to define the percentage of metallic ink:
In our case, the value to obtain the desired result is 50%.
Creation of the areas on which we will apply the metallic ink
To do this, select all the texts with the option: Selection> Object> All text objects
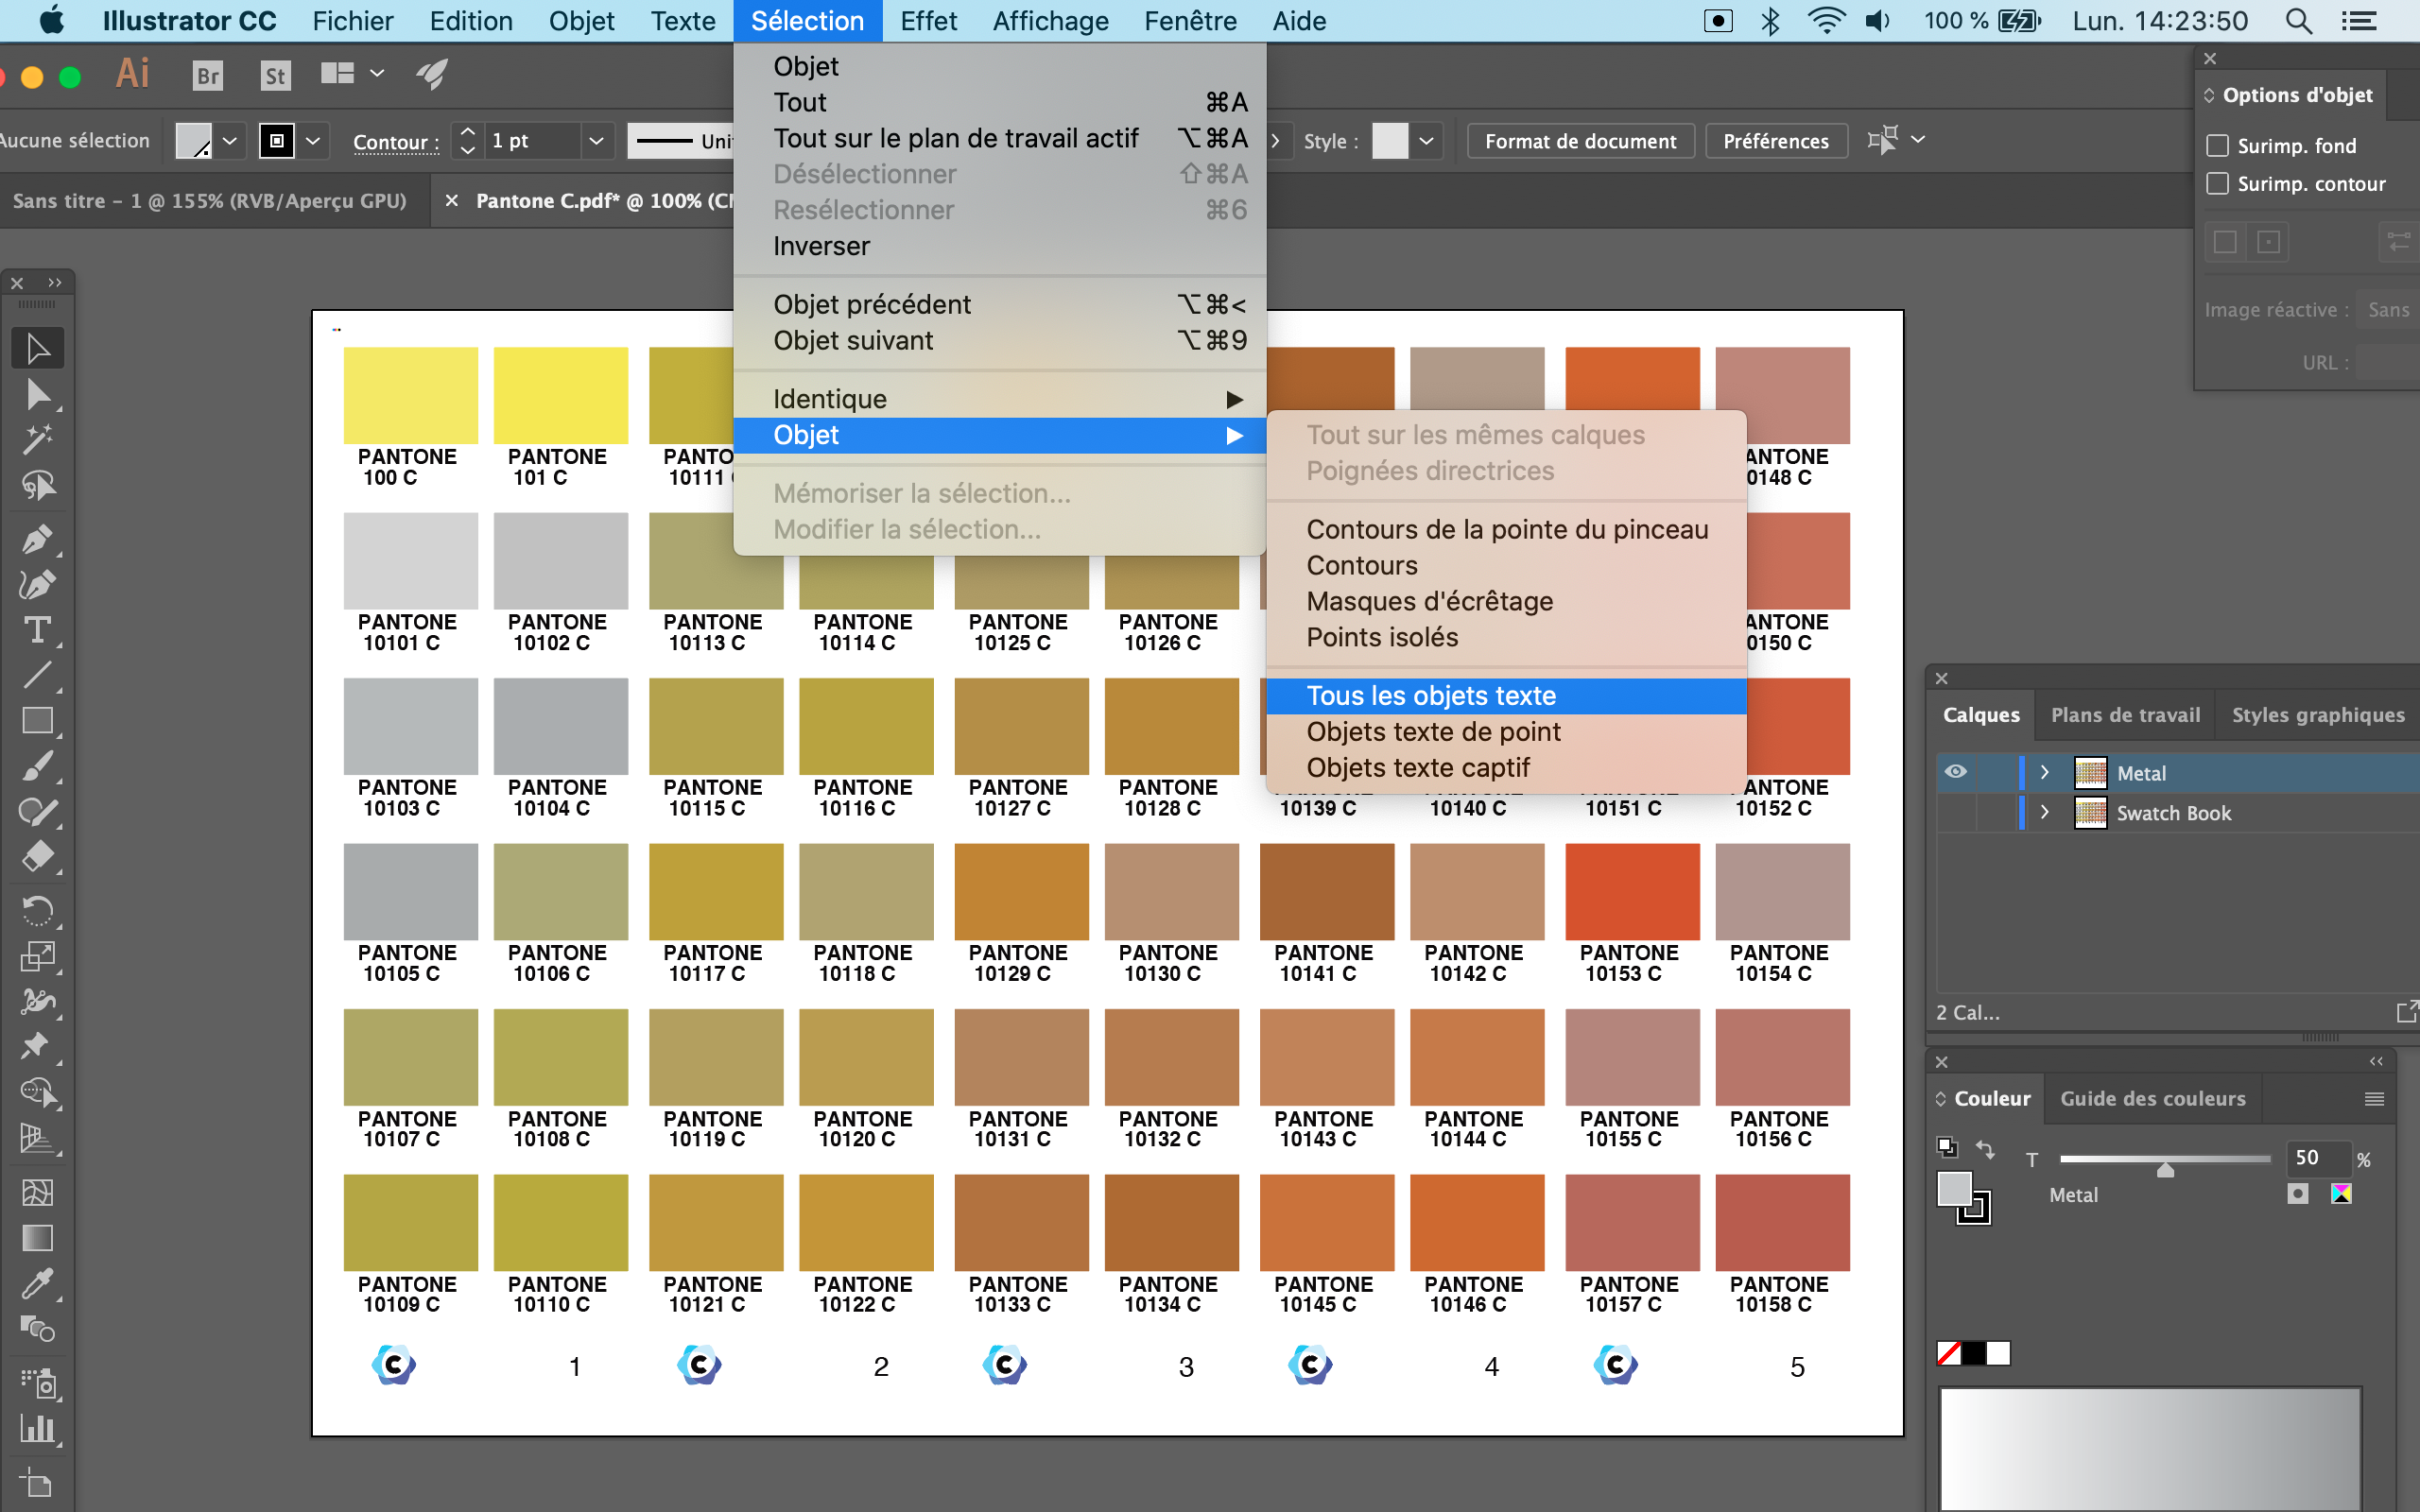
Delete selected texts
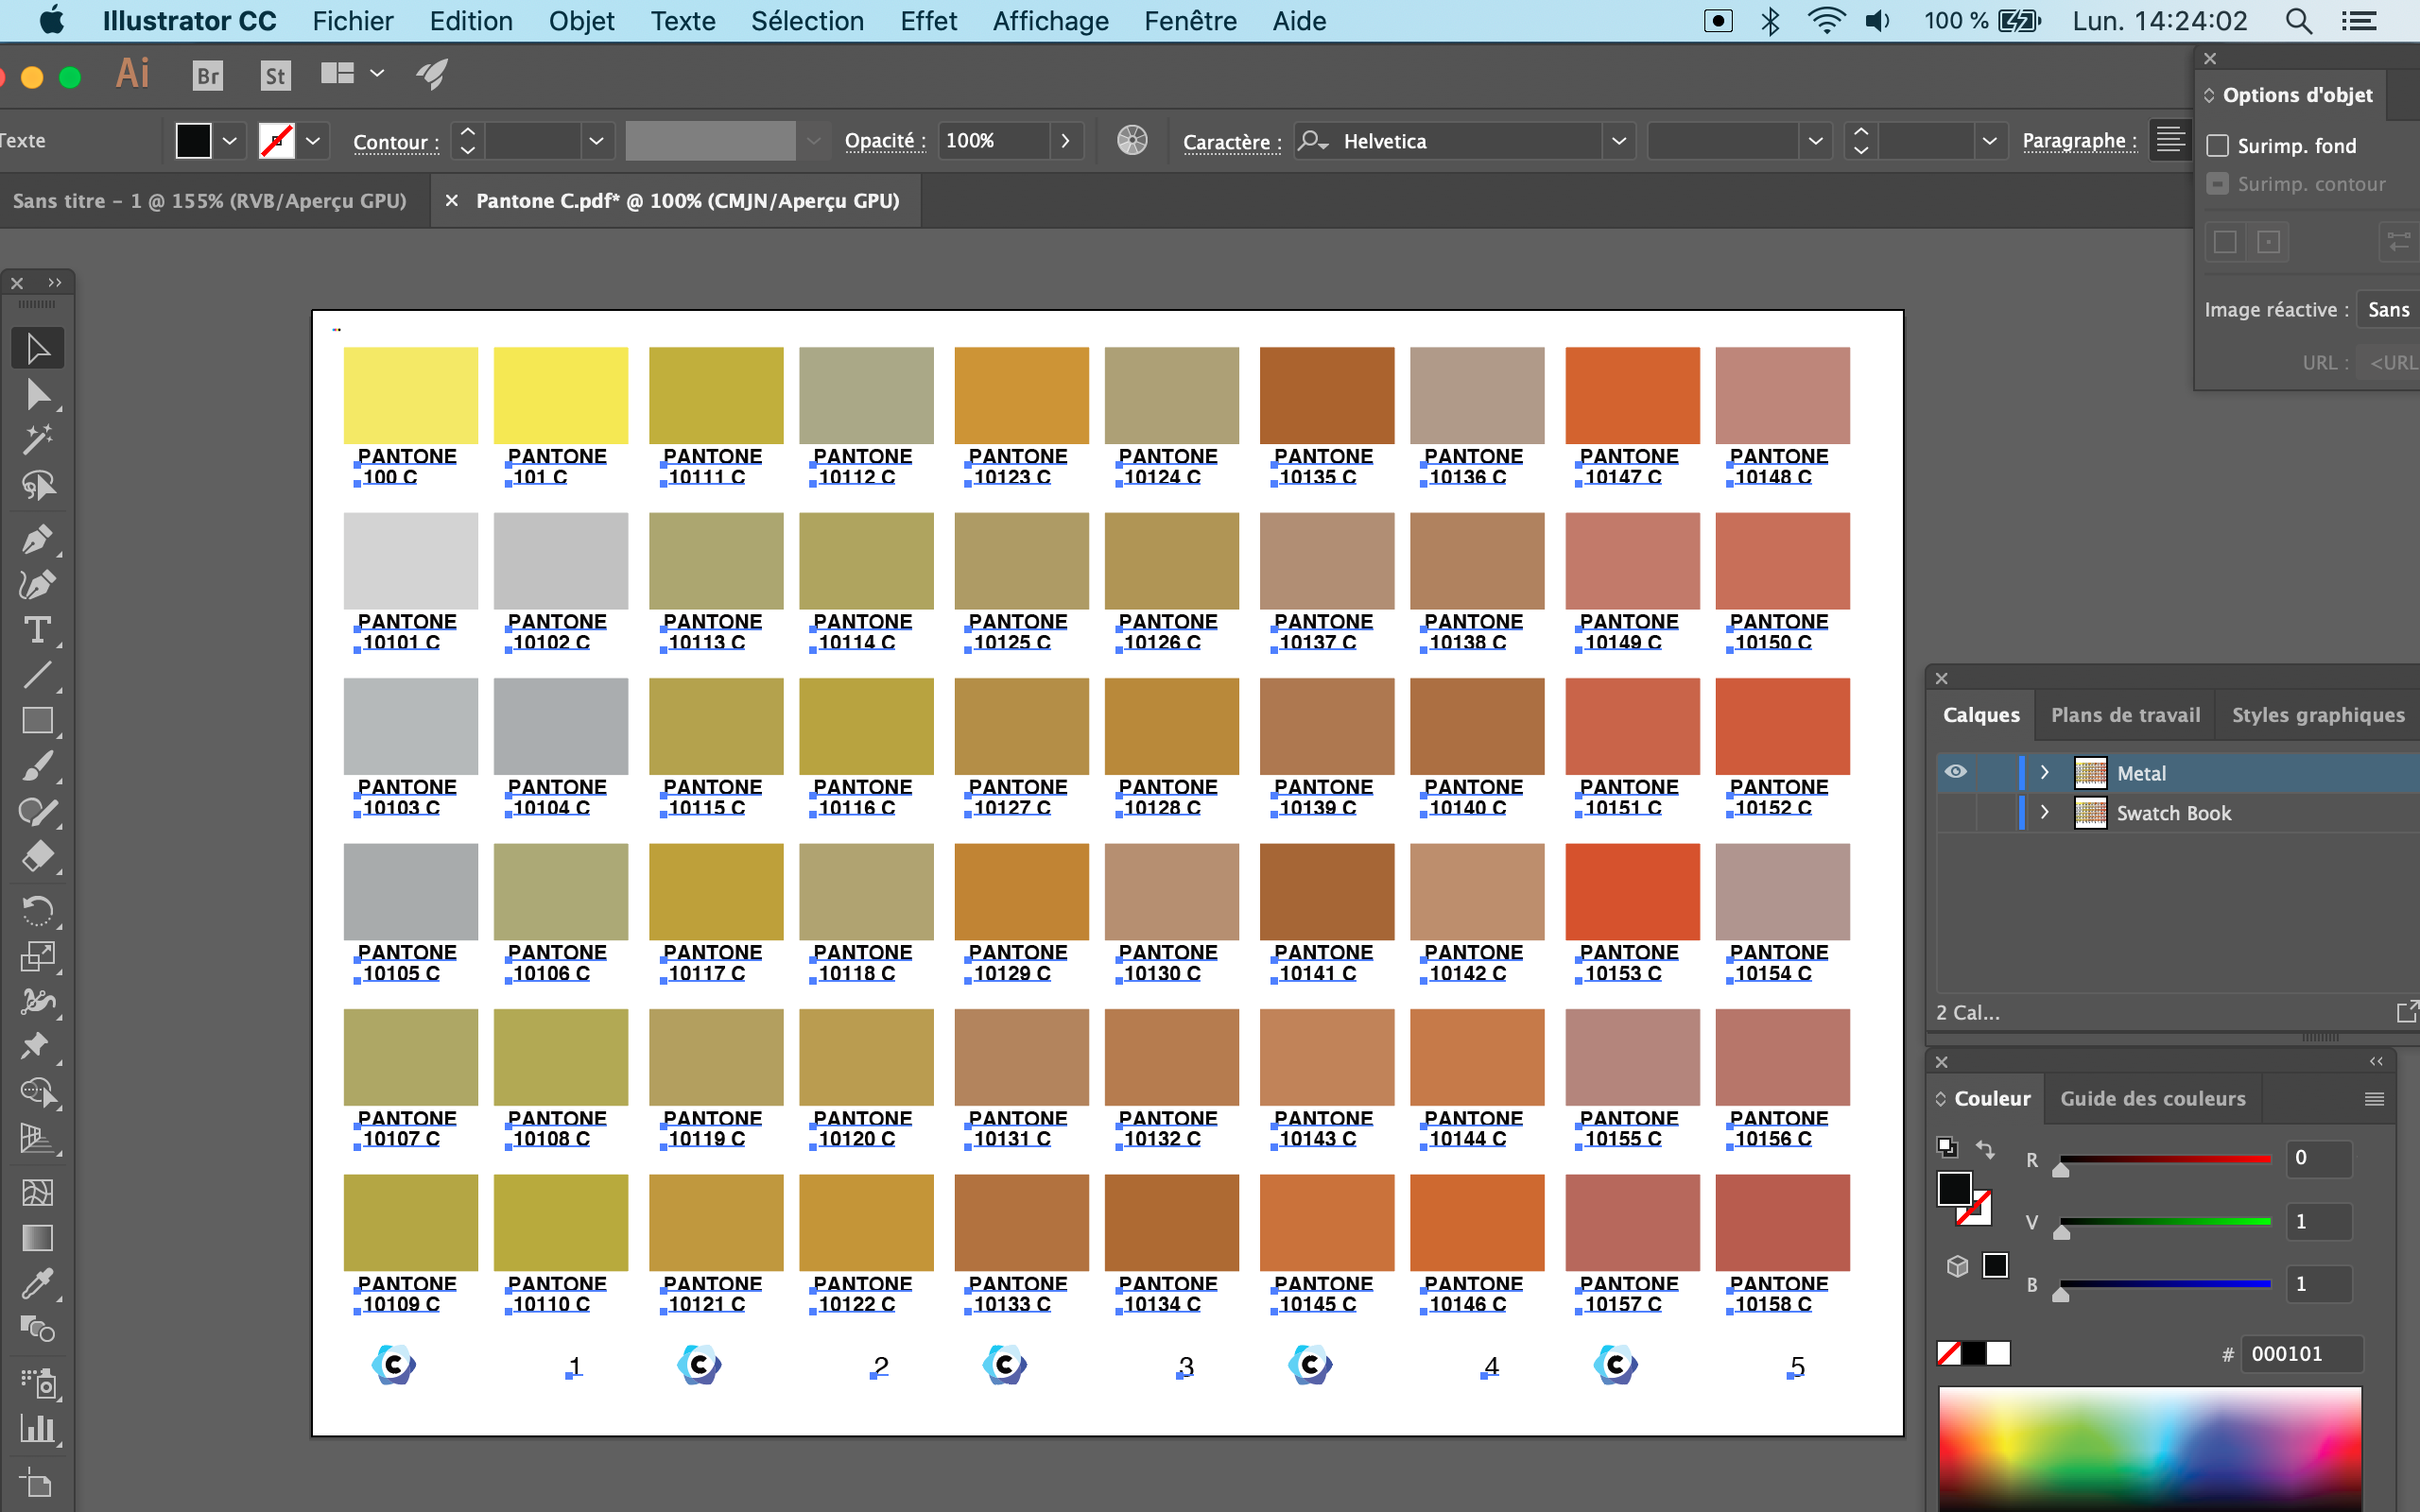
There are only the objects that you want to "metallize"
Creation of the areas on which we will apply the metallic ink
To select the areas on which we will apply the Silver Metal ink, we will use the "magic wand" tool with a tolerance set to 100%
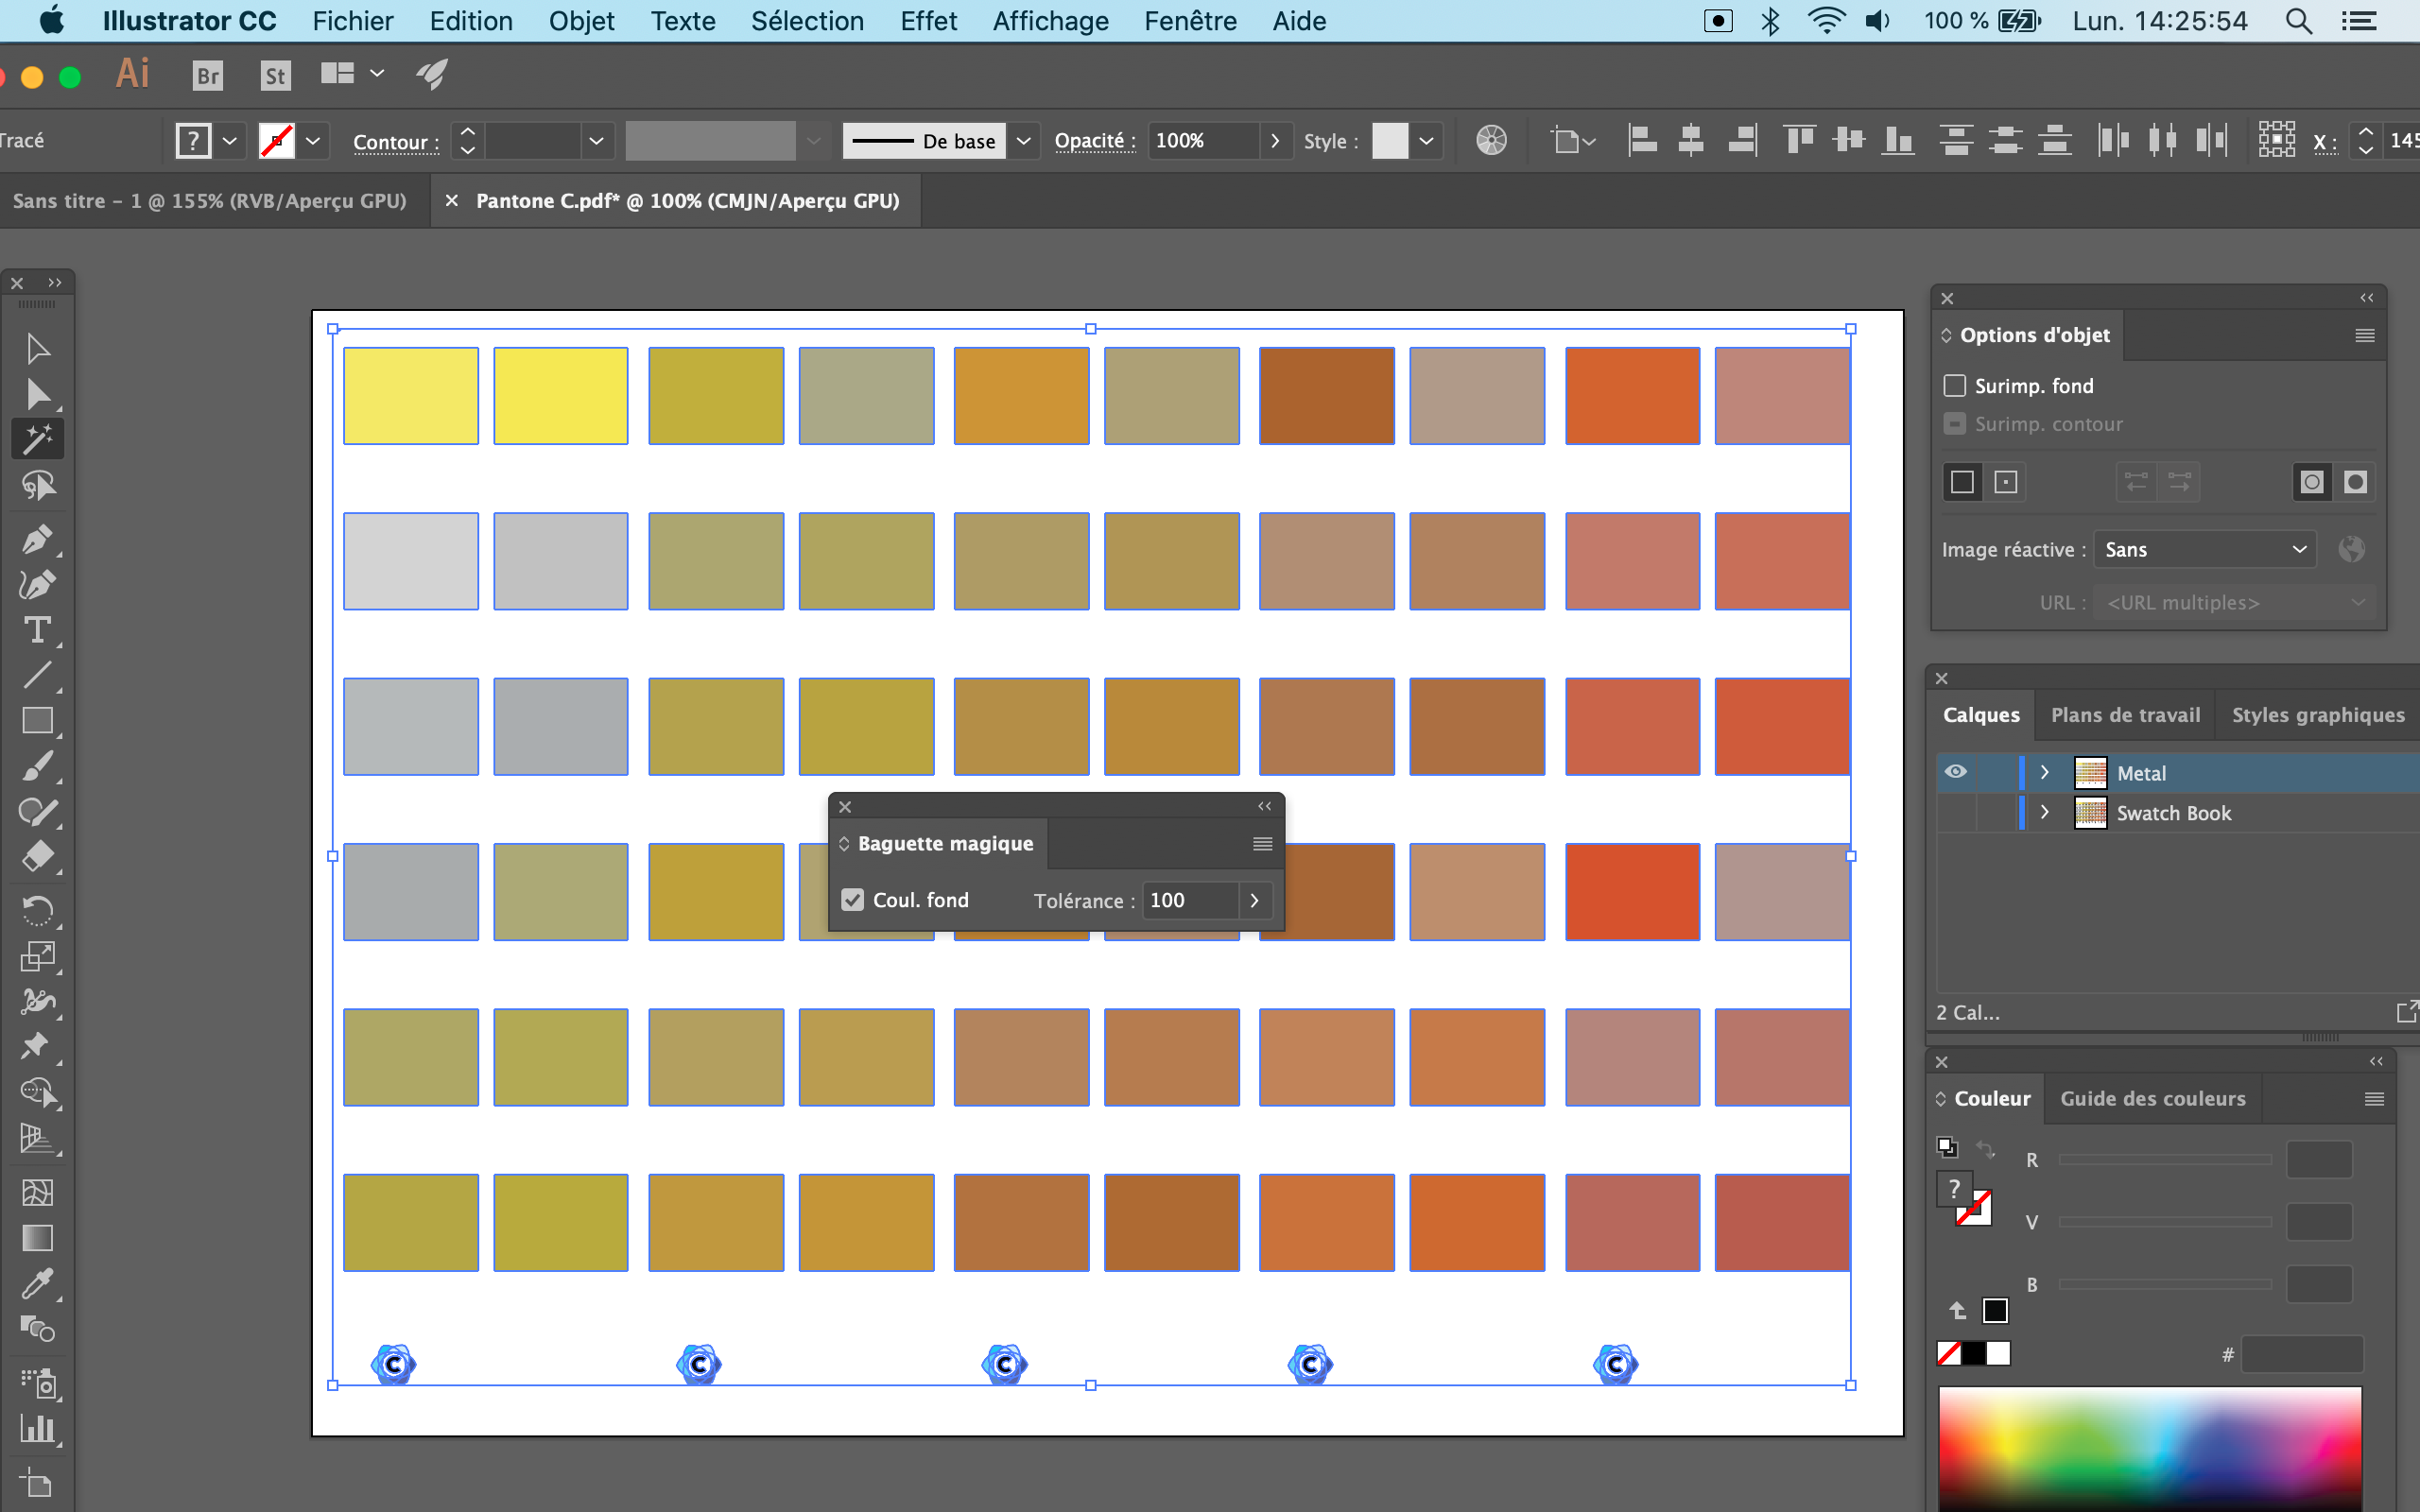
Select one of the patches with the "magic wand" tool.
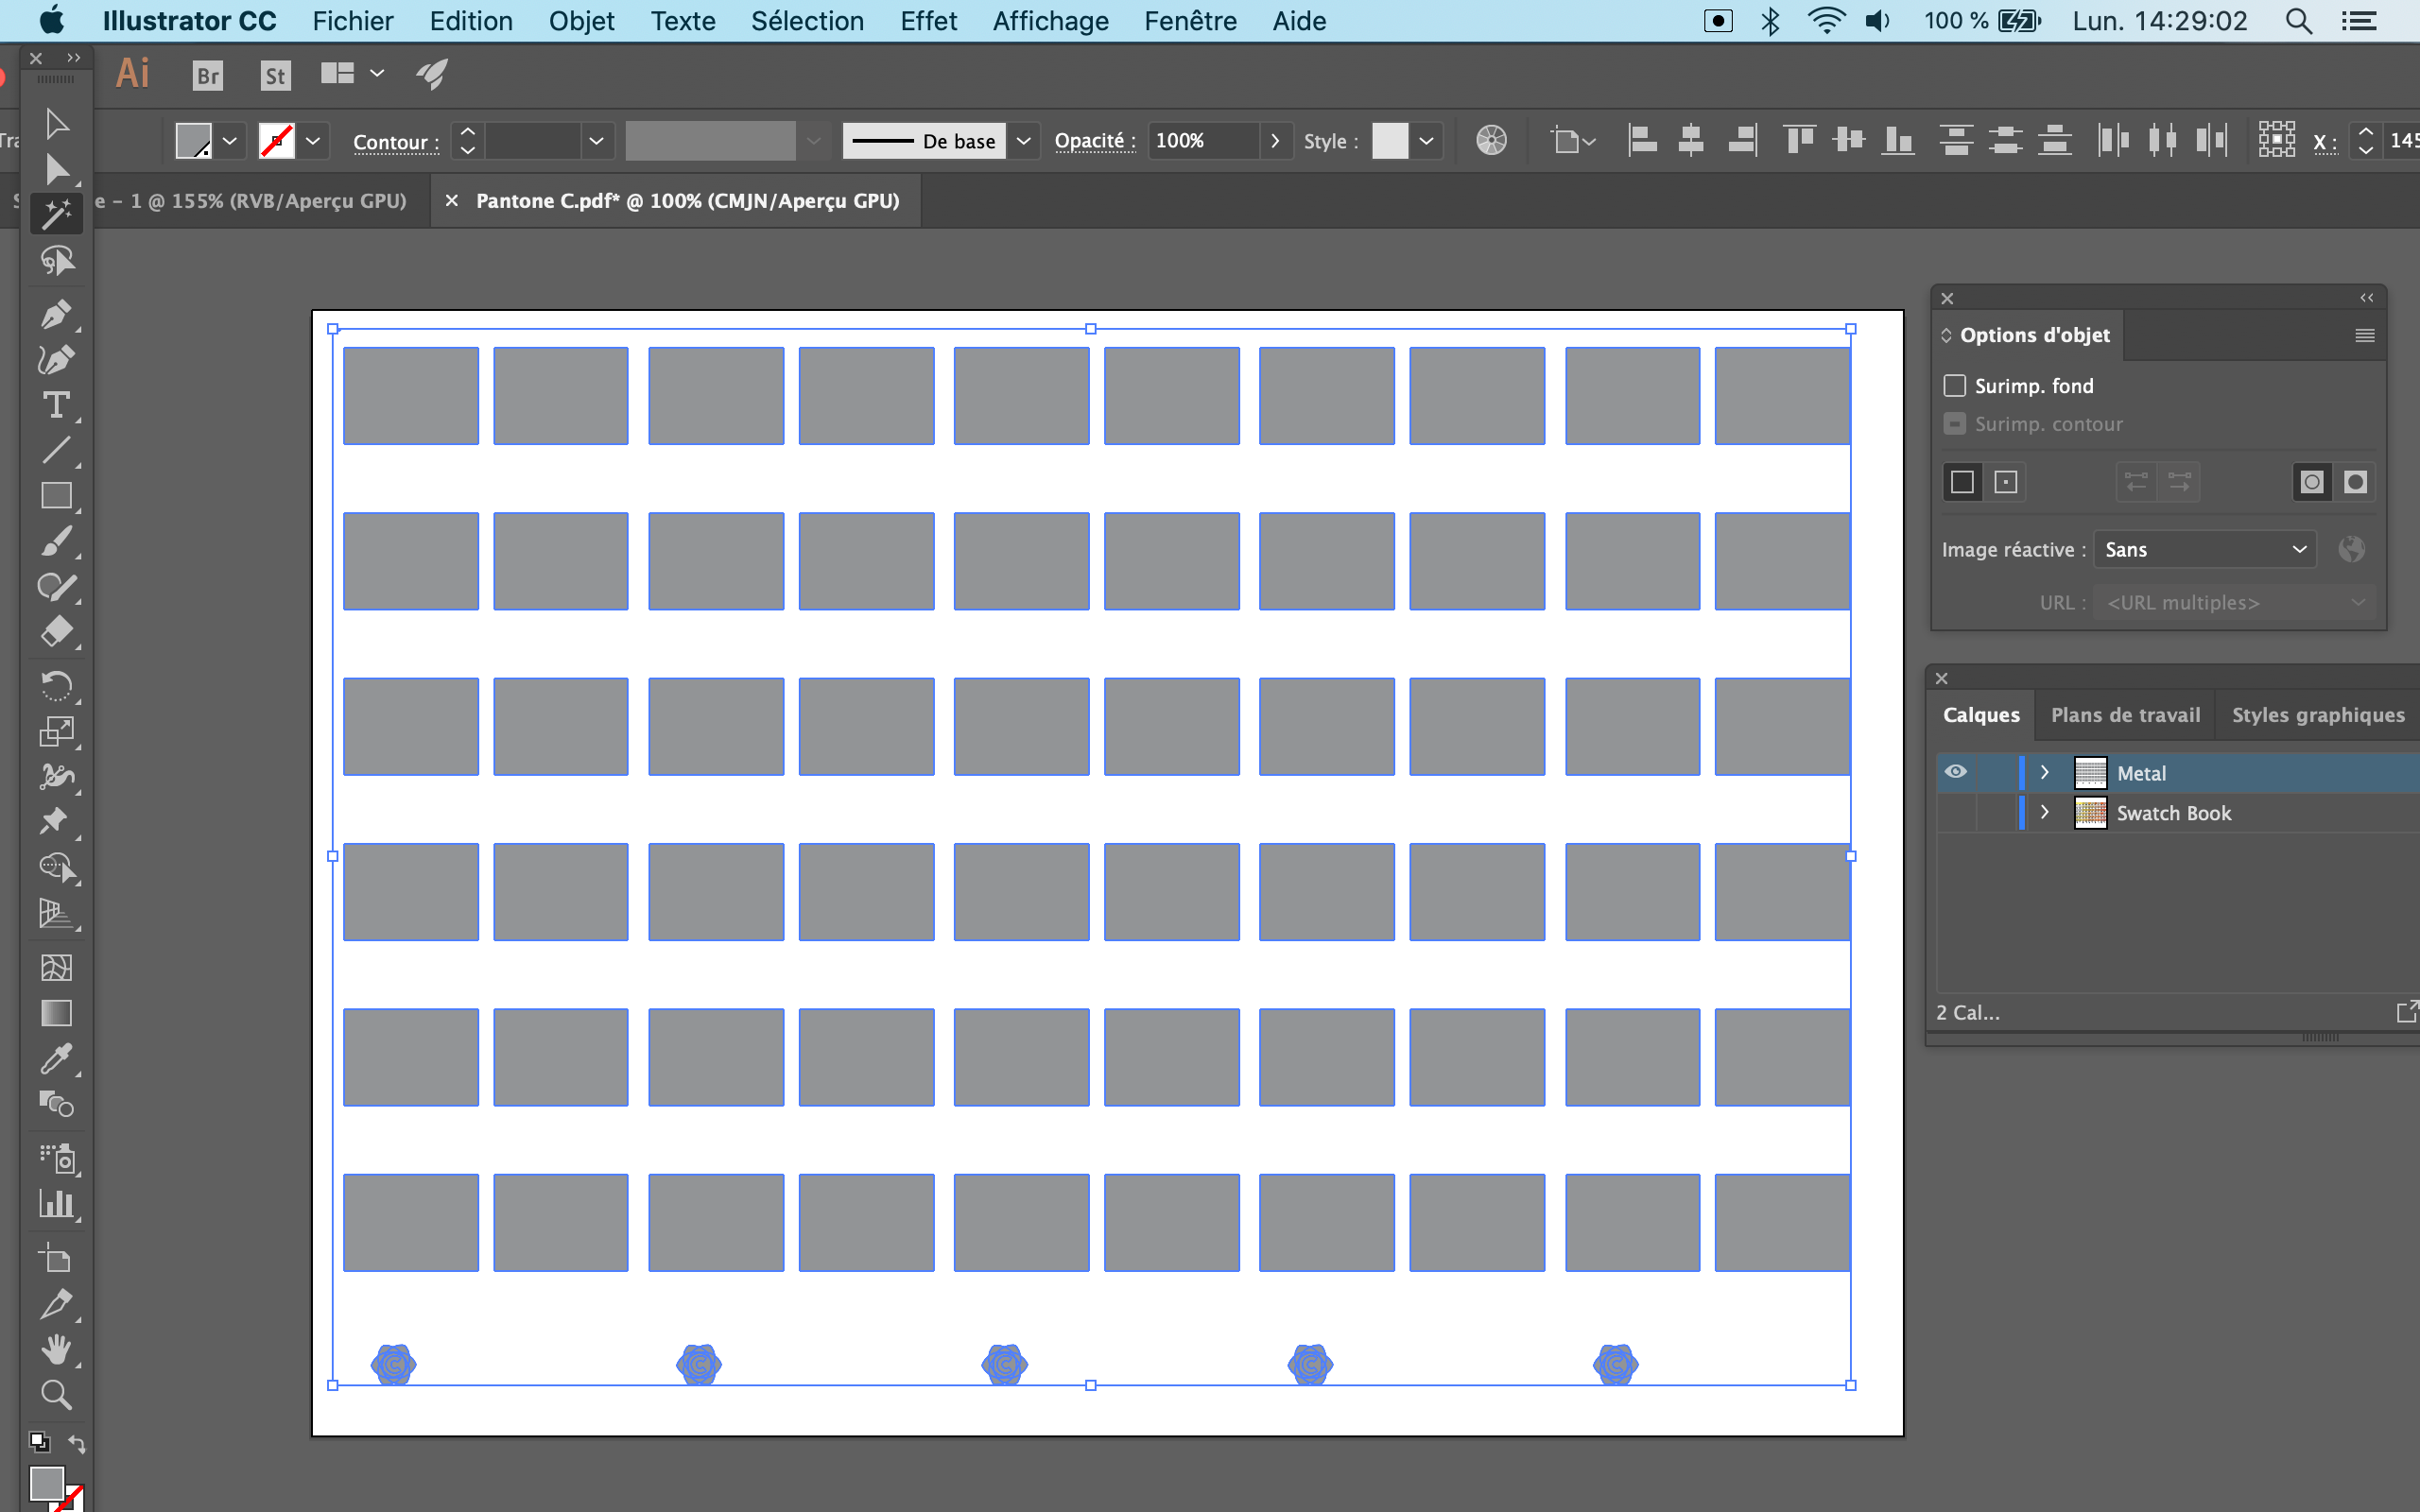
Once all the patches have been selected, assign the "Metal" shade.

All the gray "Metal" patches will correspond to the "metallic" areas.
In our example, all the colored patches and the Coraye logos will be metallic.
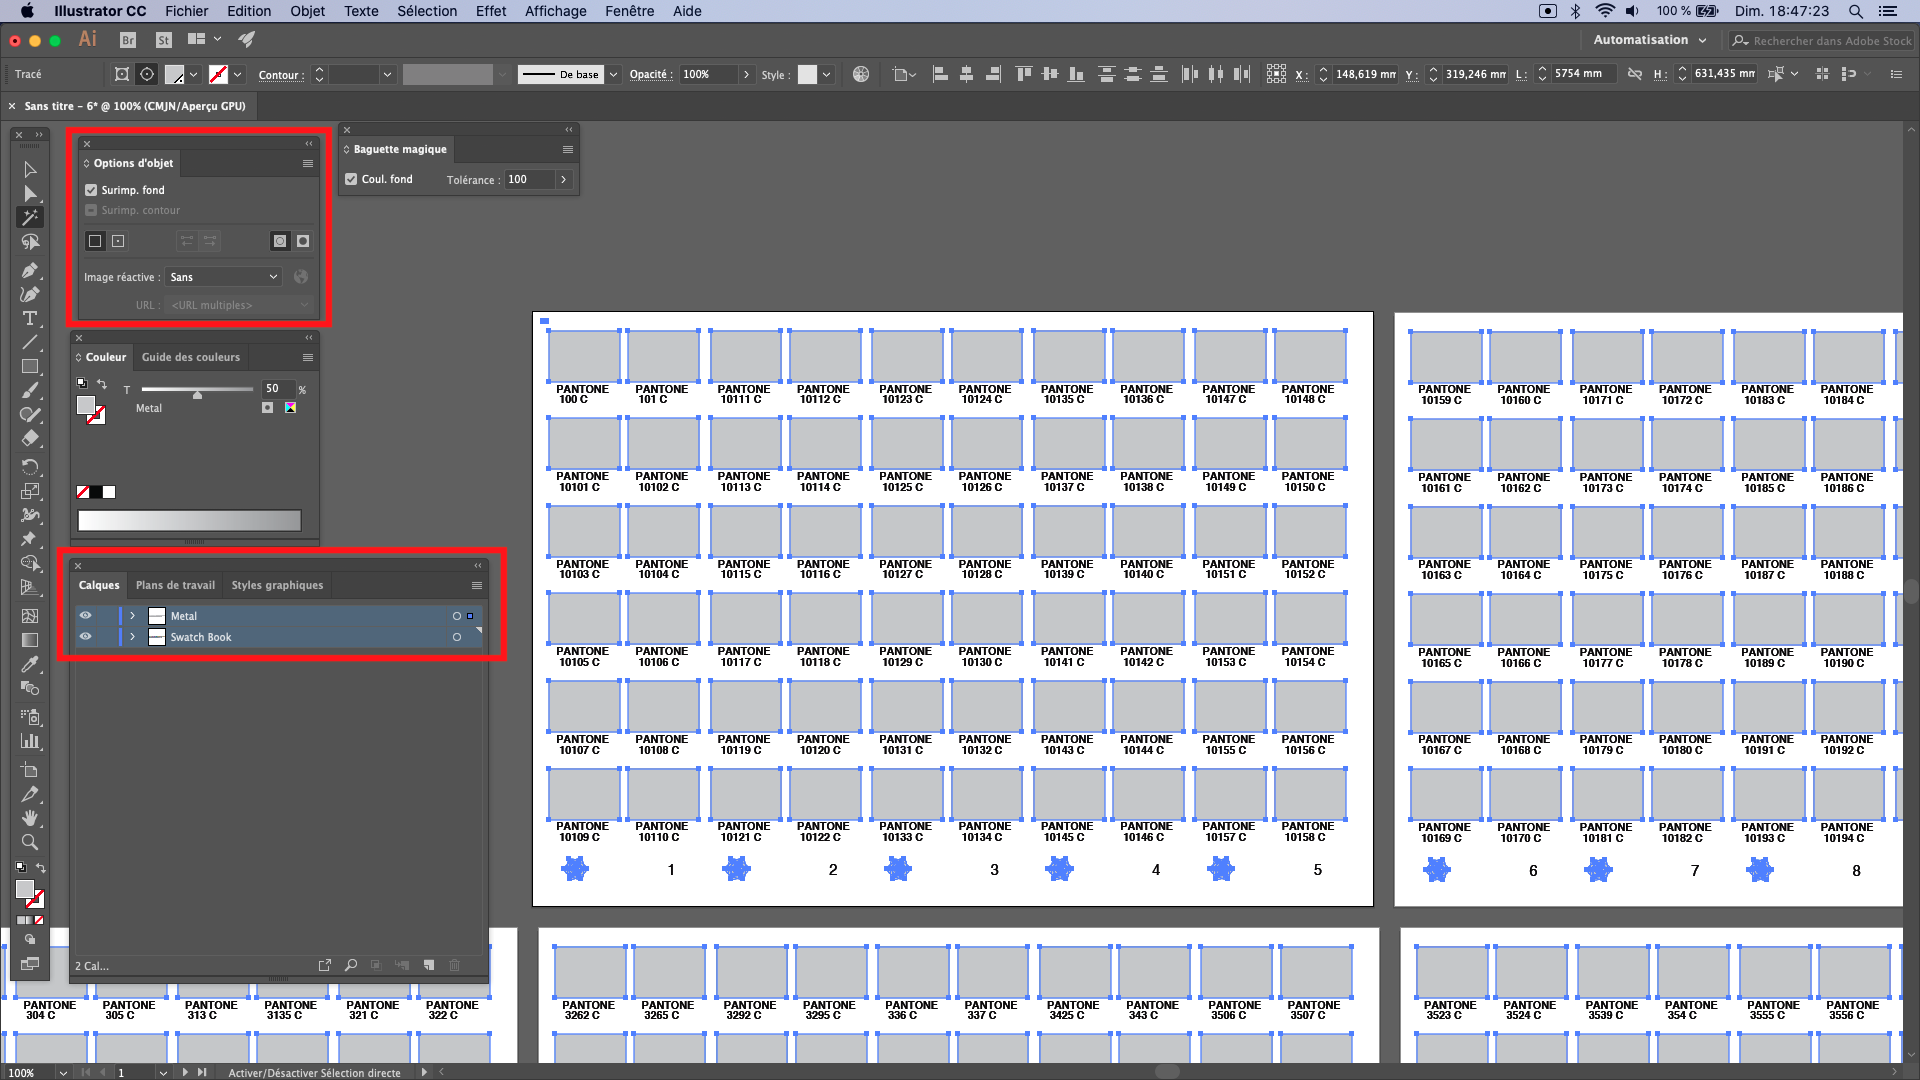
Overprint management
To allow mixing of the "Metallic Silver" ink with the other inks, it is necessary to print in overprint mode.
To do this, you must select the two layers (Swatch Book and Metal) Display the "Objects option" window and check "Background overlay"
To display the "Object Option" window in Illustrator: Tab: Window> Object Options
Change the order of layers
When you are going to display the pdf of the color chart, by default you will display the first layer (unless you simulate the overprint).
If you want to display the colored patches rather than the gray patches, position the "Swatch Book" layer at the top.

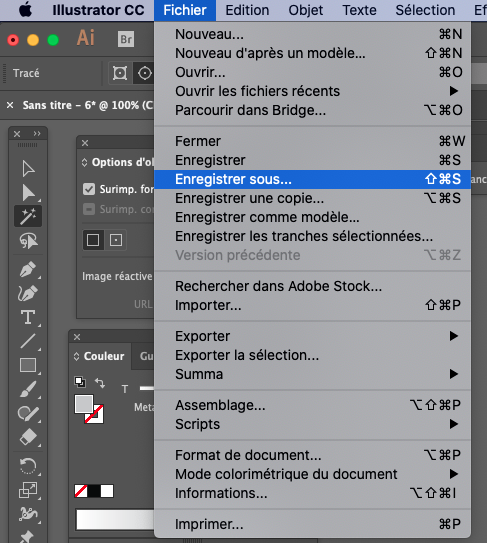
Save in pdf format
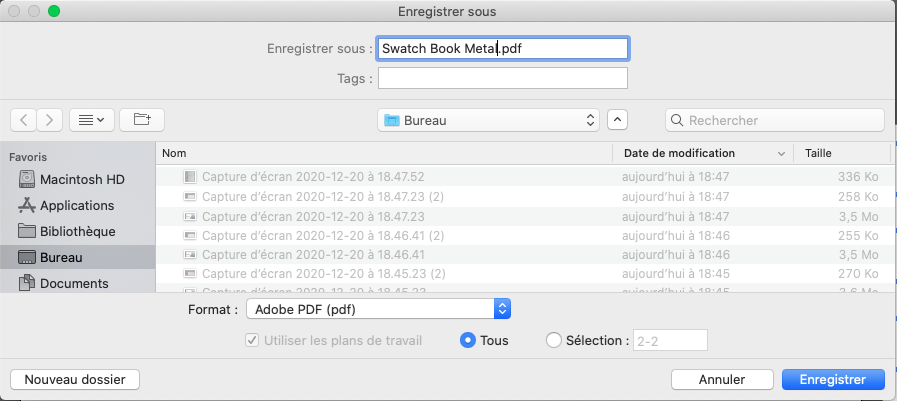
Now all you have to do is print your color chart with your favorite RIP.
Make sure the spot colors used in your pdf document are defined in your RIP's spot color table.