Control a charter
In this tutorial, we will learn how to control an IT8 type chart by measuring the lines in one or more times.
The control of a large chart can be useful in the following cases:
- More in-depth quality control of your prints
- Verification of charts intended for the creation of a profile to characterize an offset machine.
Importing the Print Control file
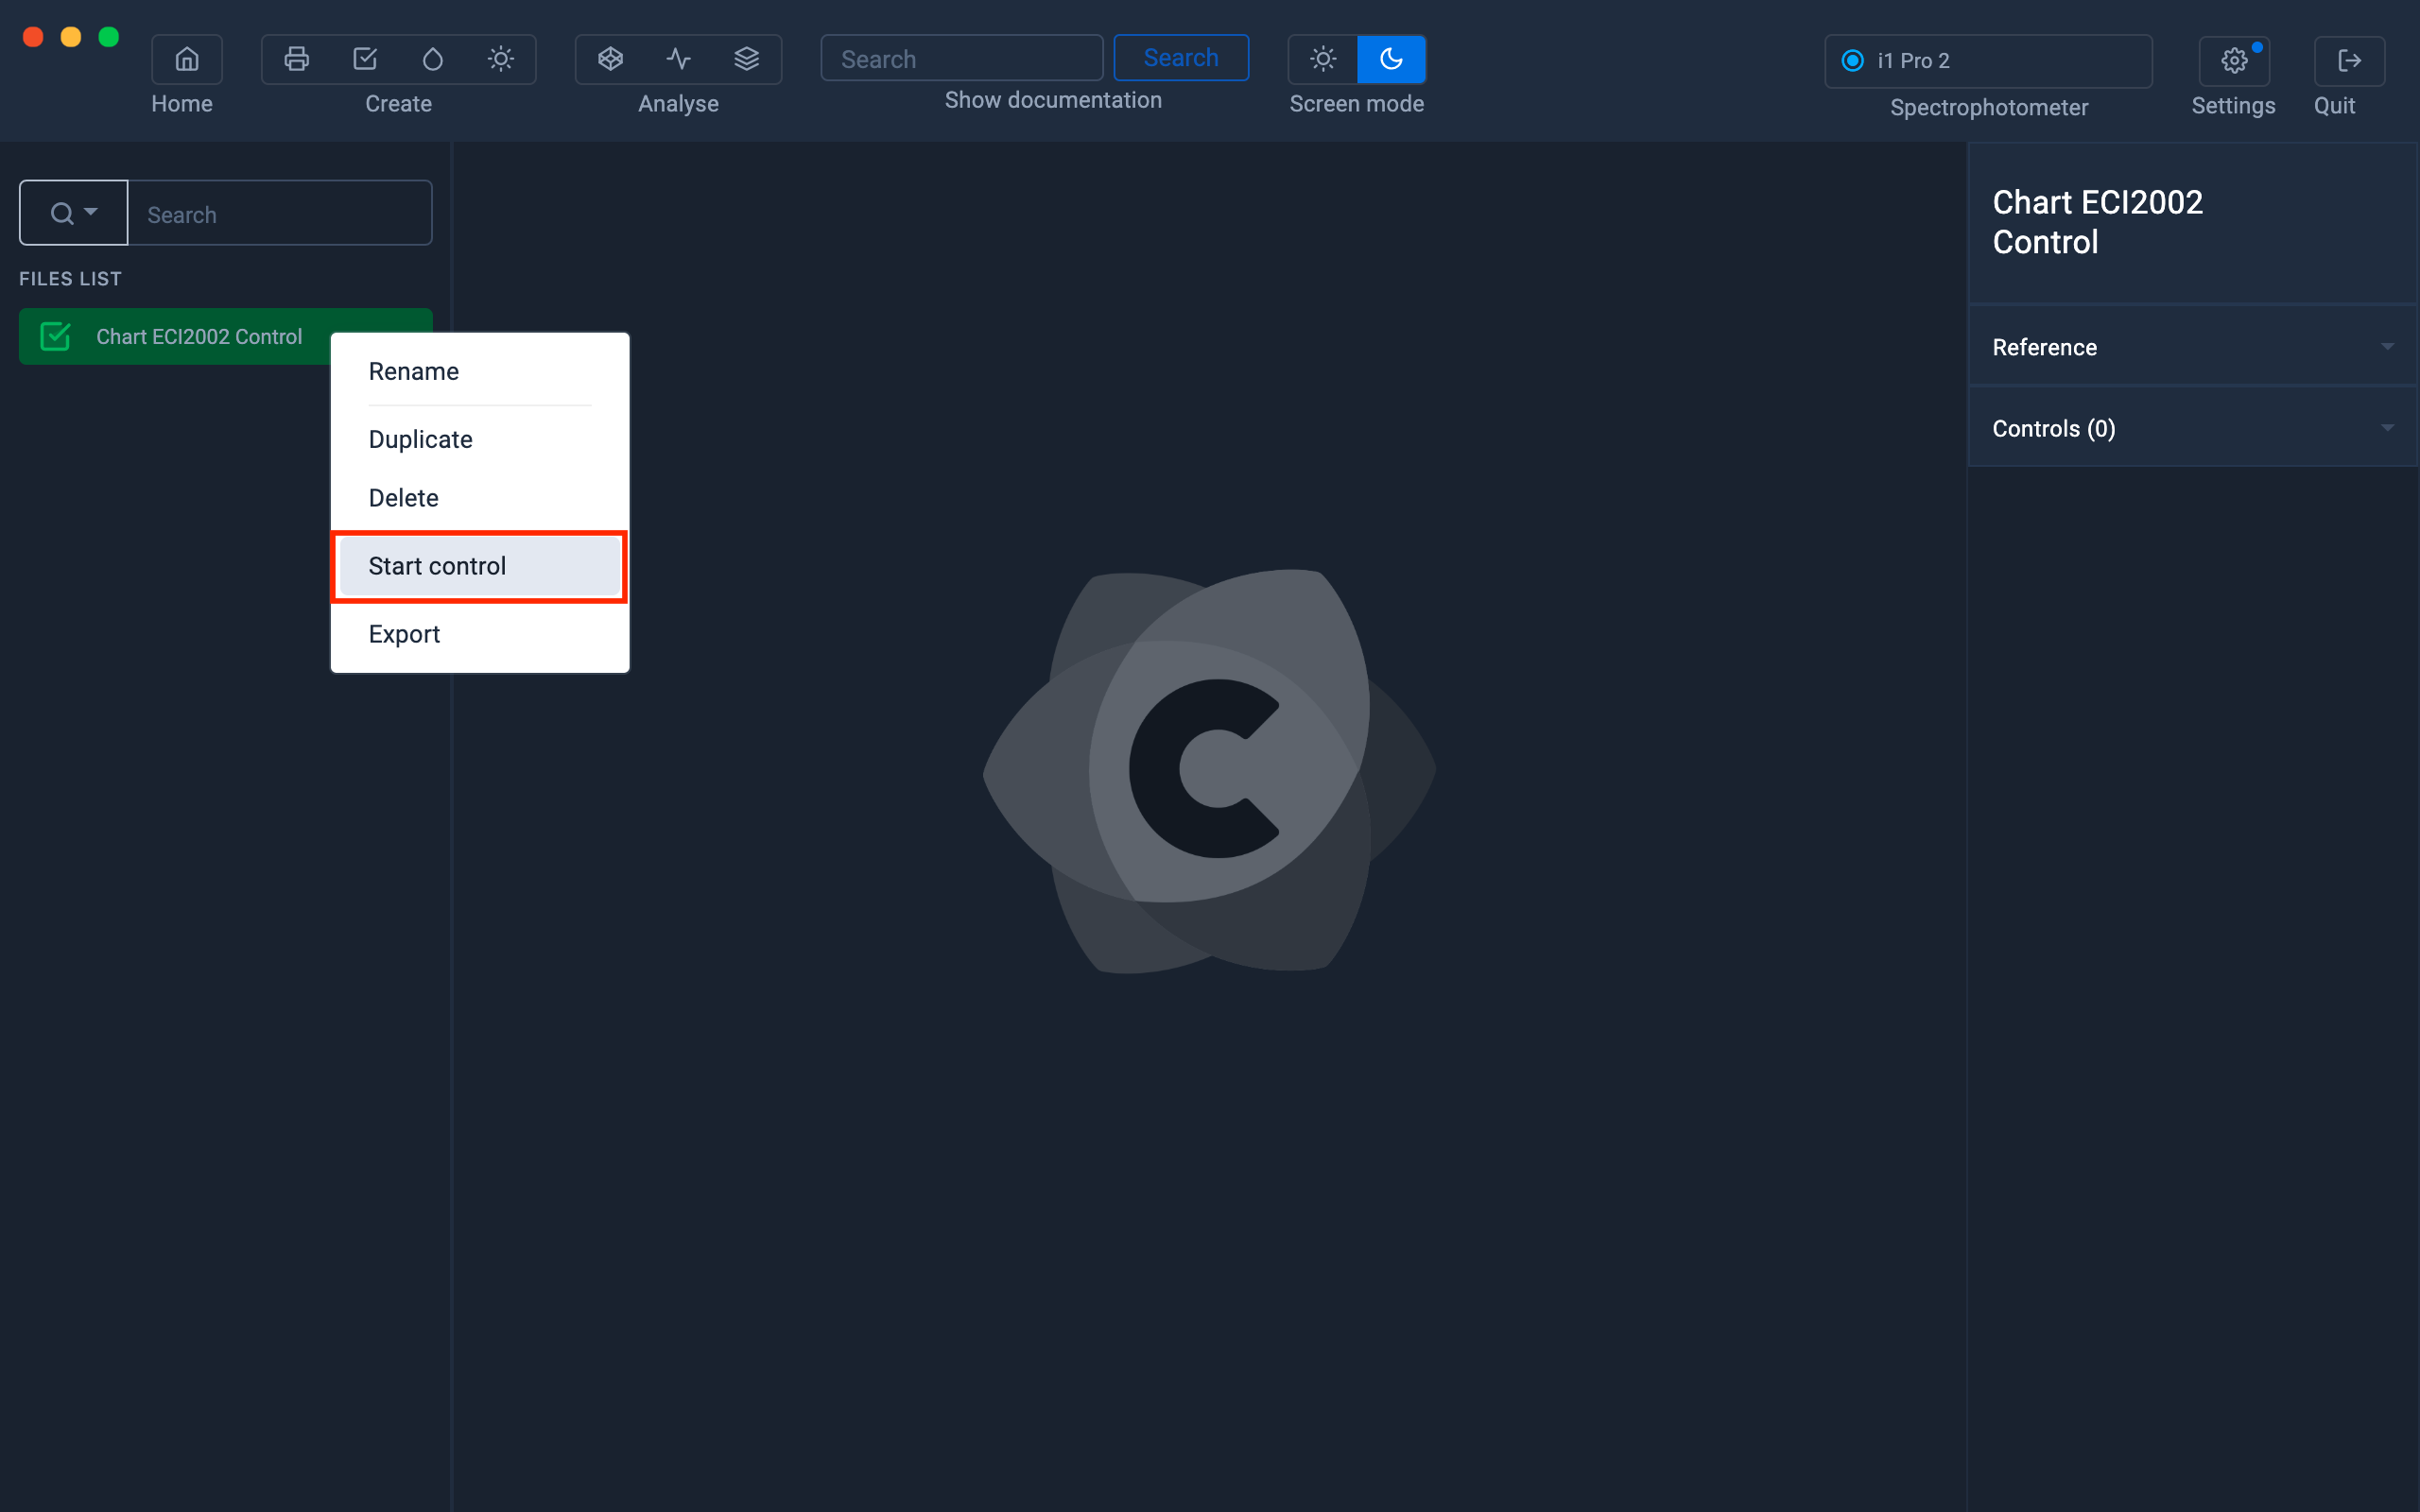
To control a large chart, it is first necessary to import the Print Control file created previously in the " Creating a reference from ... " chapters:
Then select the Print Control file and right click to select the " Start Control " option.
The range used when creating the Print Control file is displayed.
It is possible, at this stage, to modify the format of the test chart in order to print it.
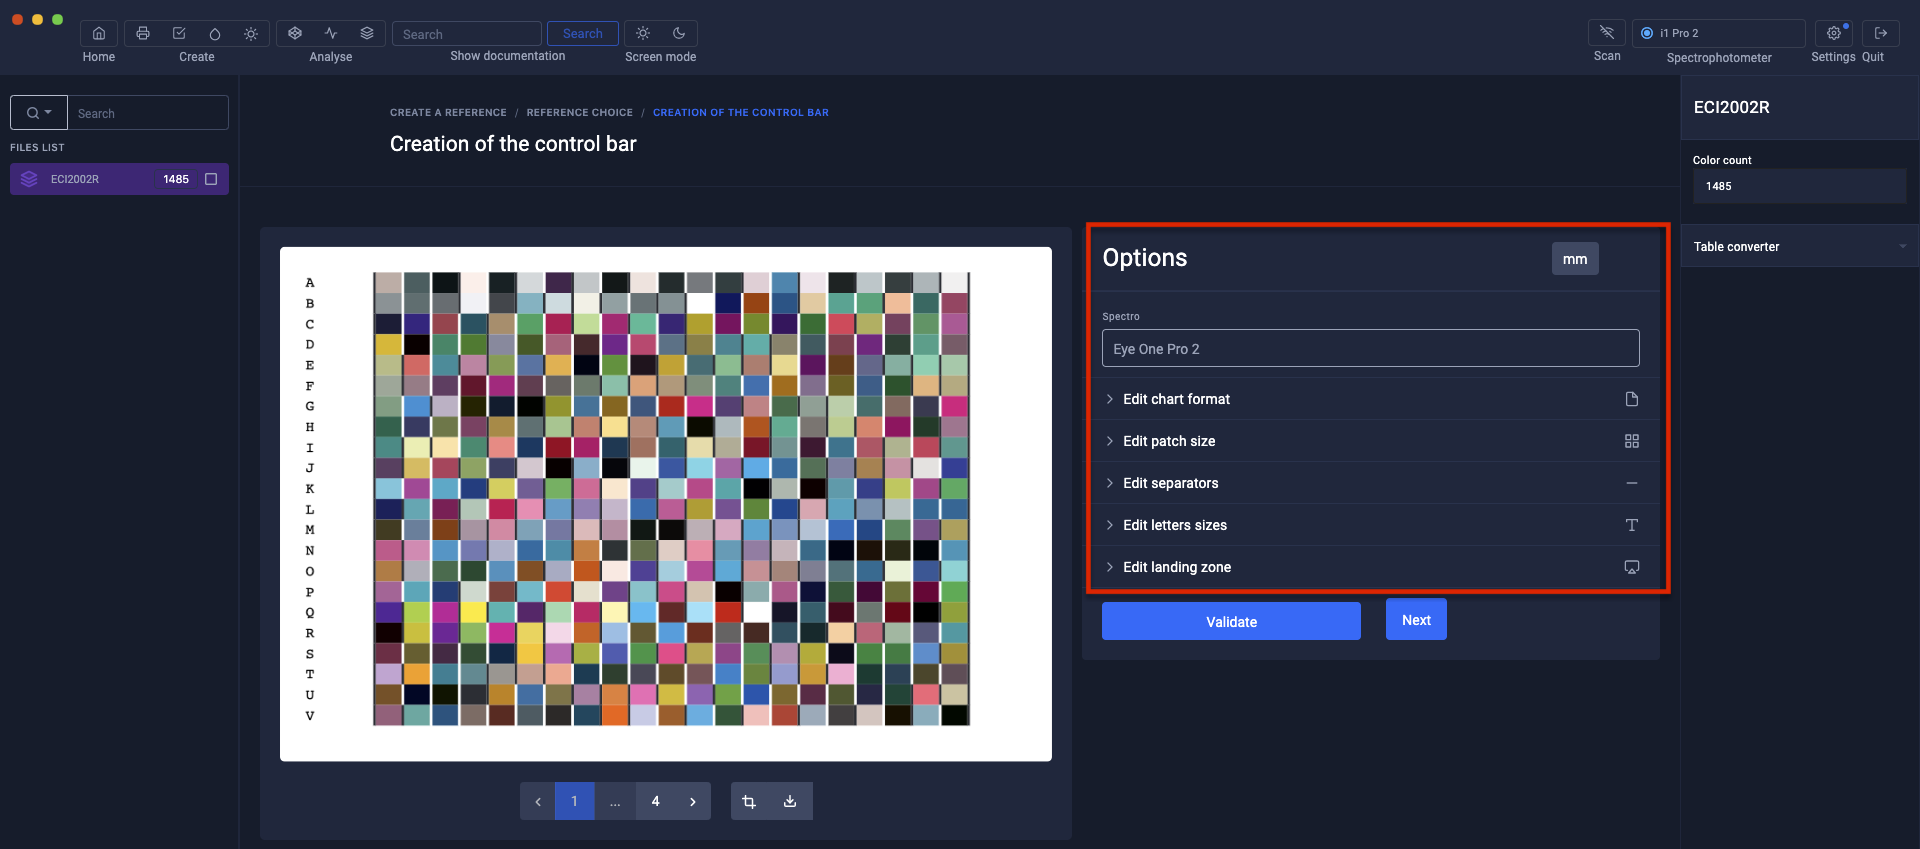
To find out more, see the chapter: Customizing charts
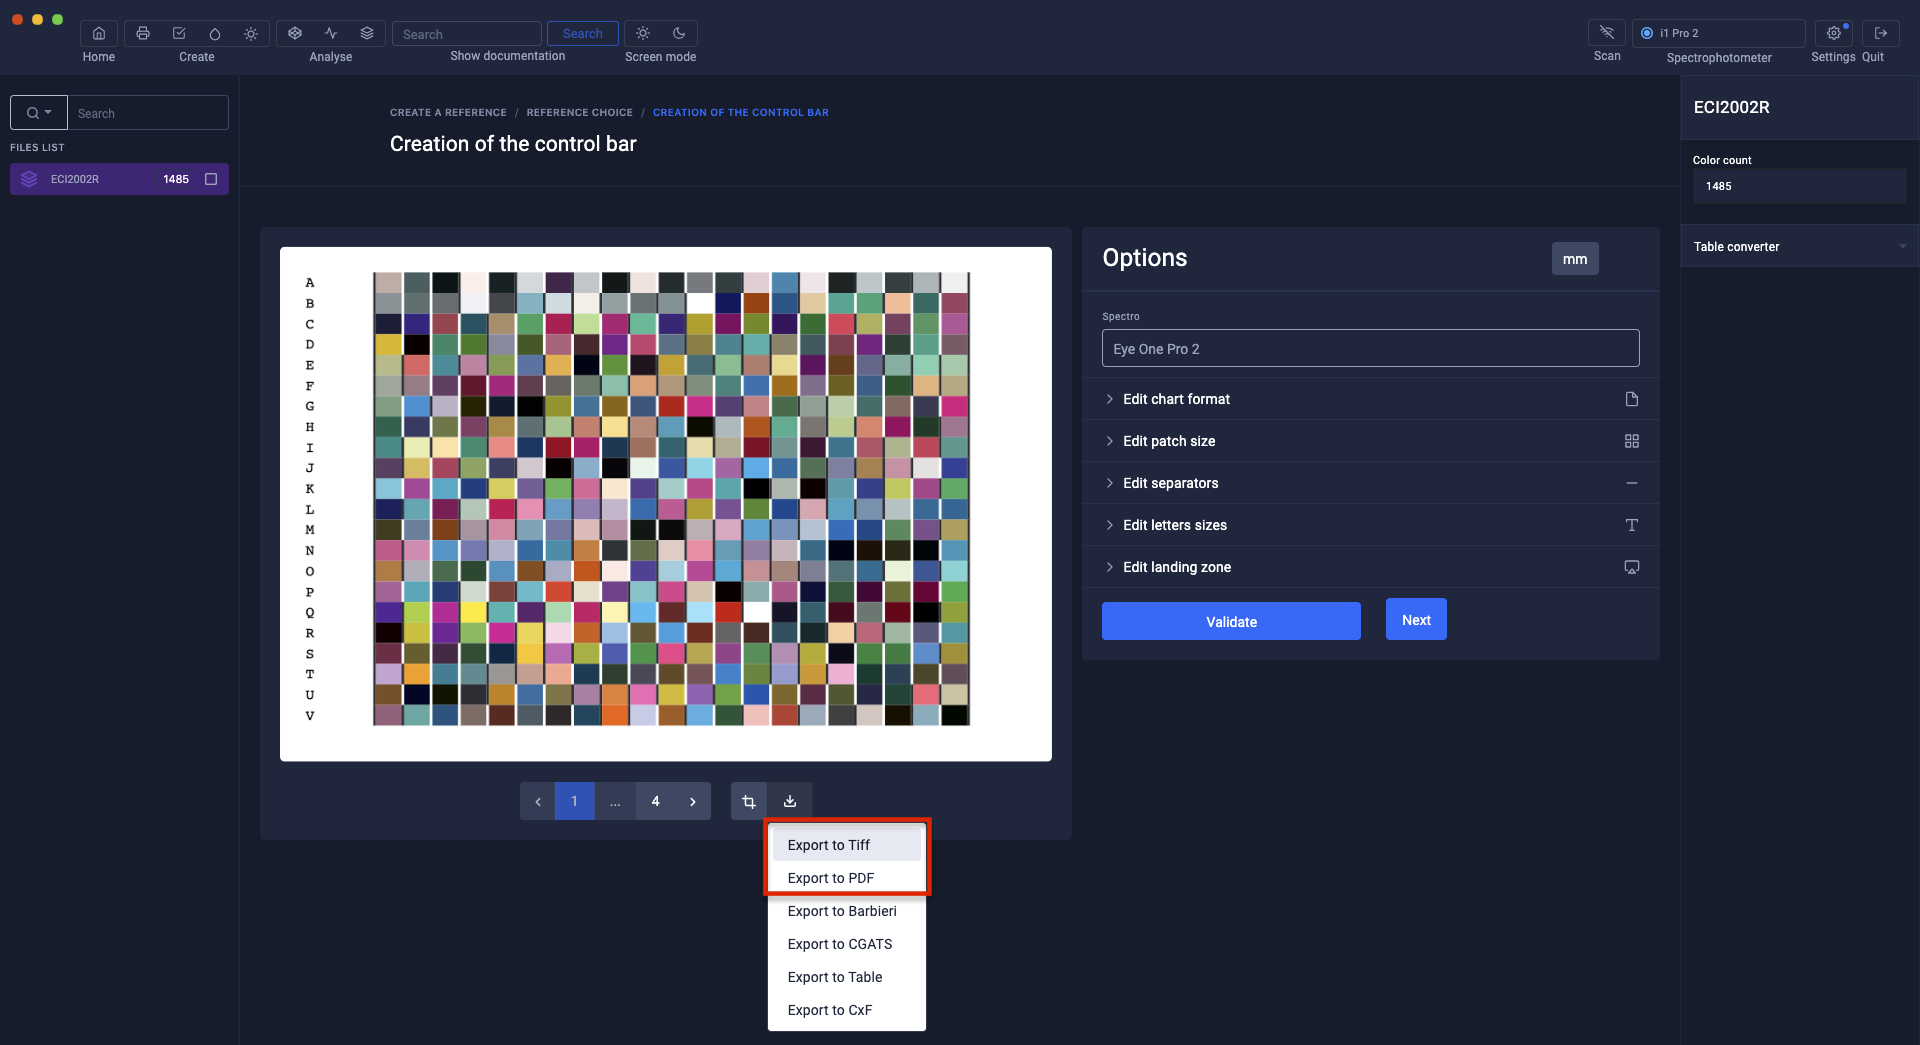
Printing of the charter
If the chart is not already printed, export it in Tiff or Pdf format to print it.
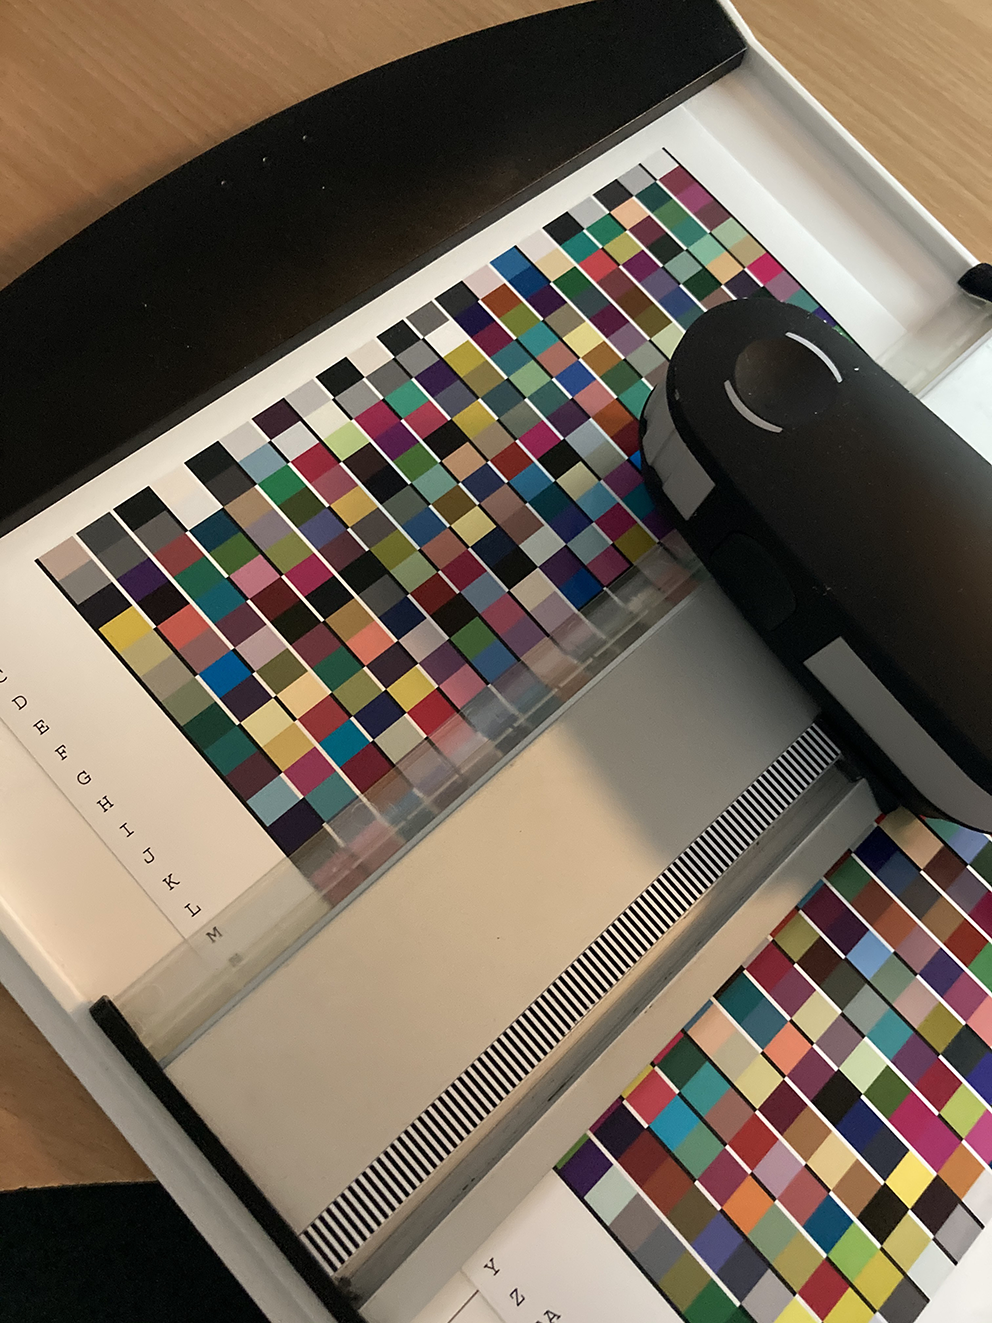
Charter measurement
Once the chart (s) have been printed, let them rest before starting to read.
To start the measurements, click on the " Start measurement " button

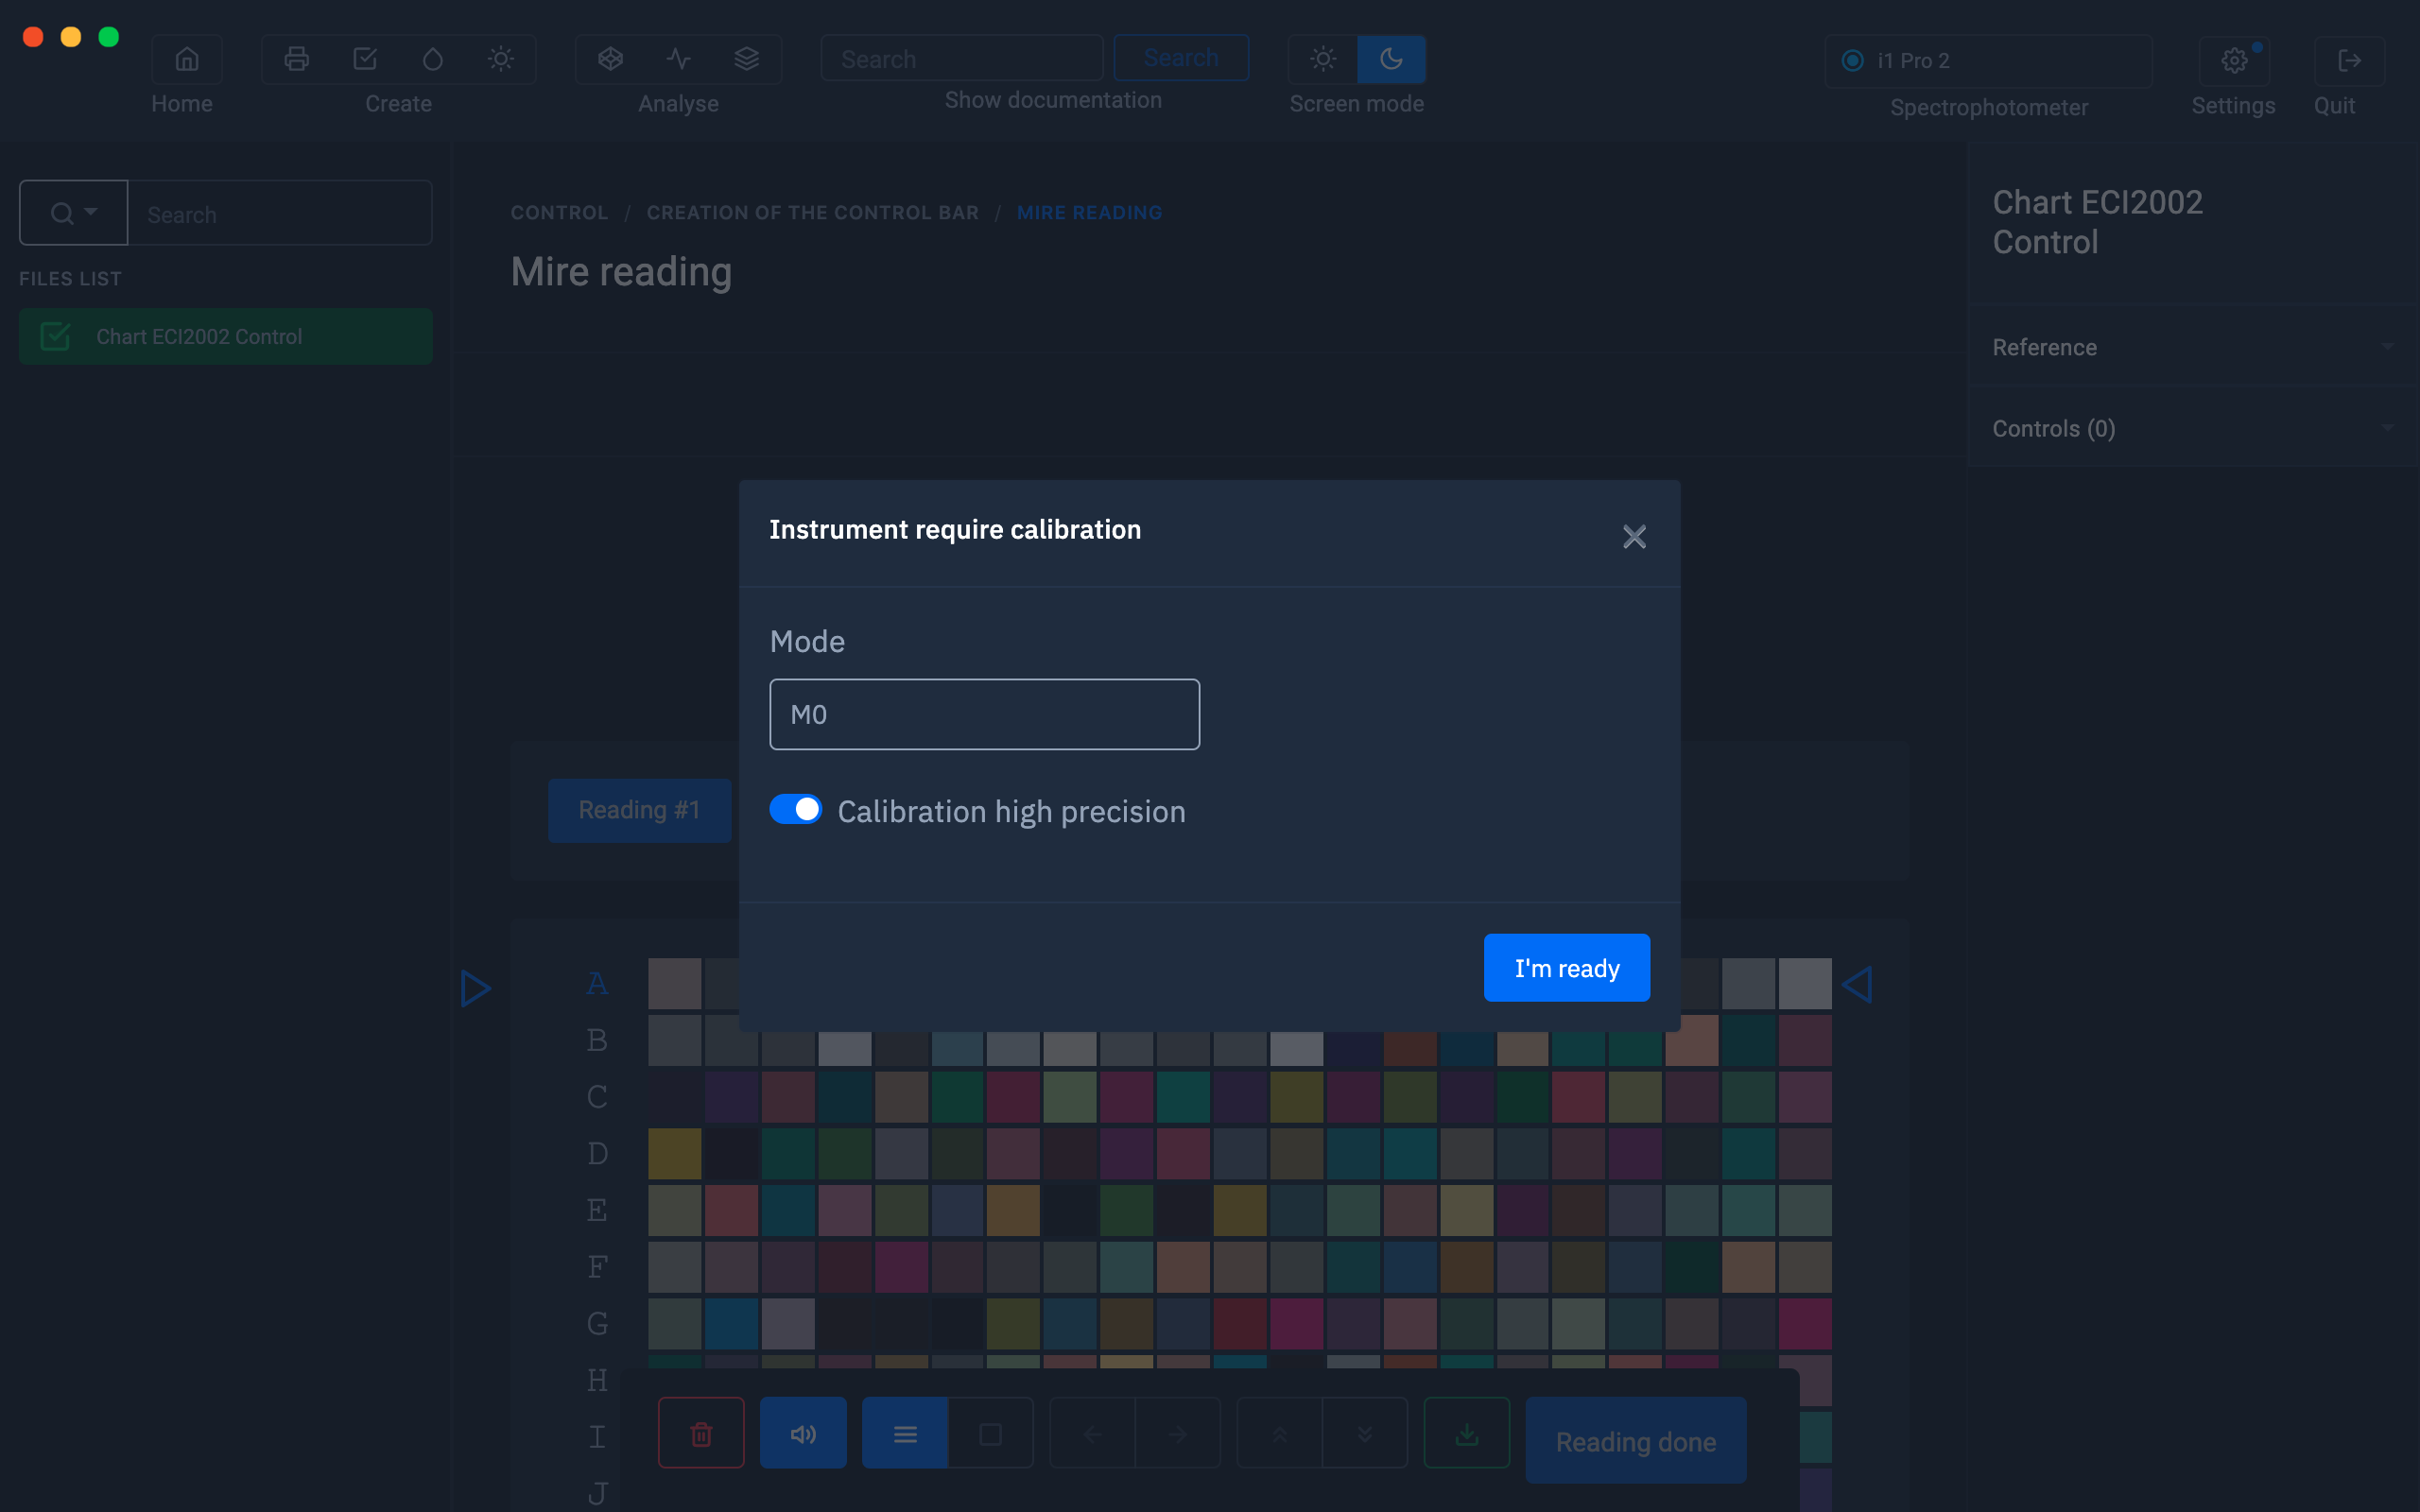
Select the reading and calibration mode, then click on " I'm ready "
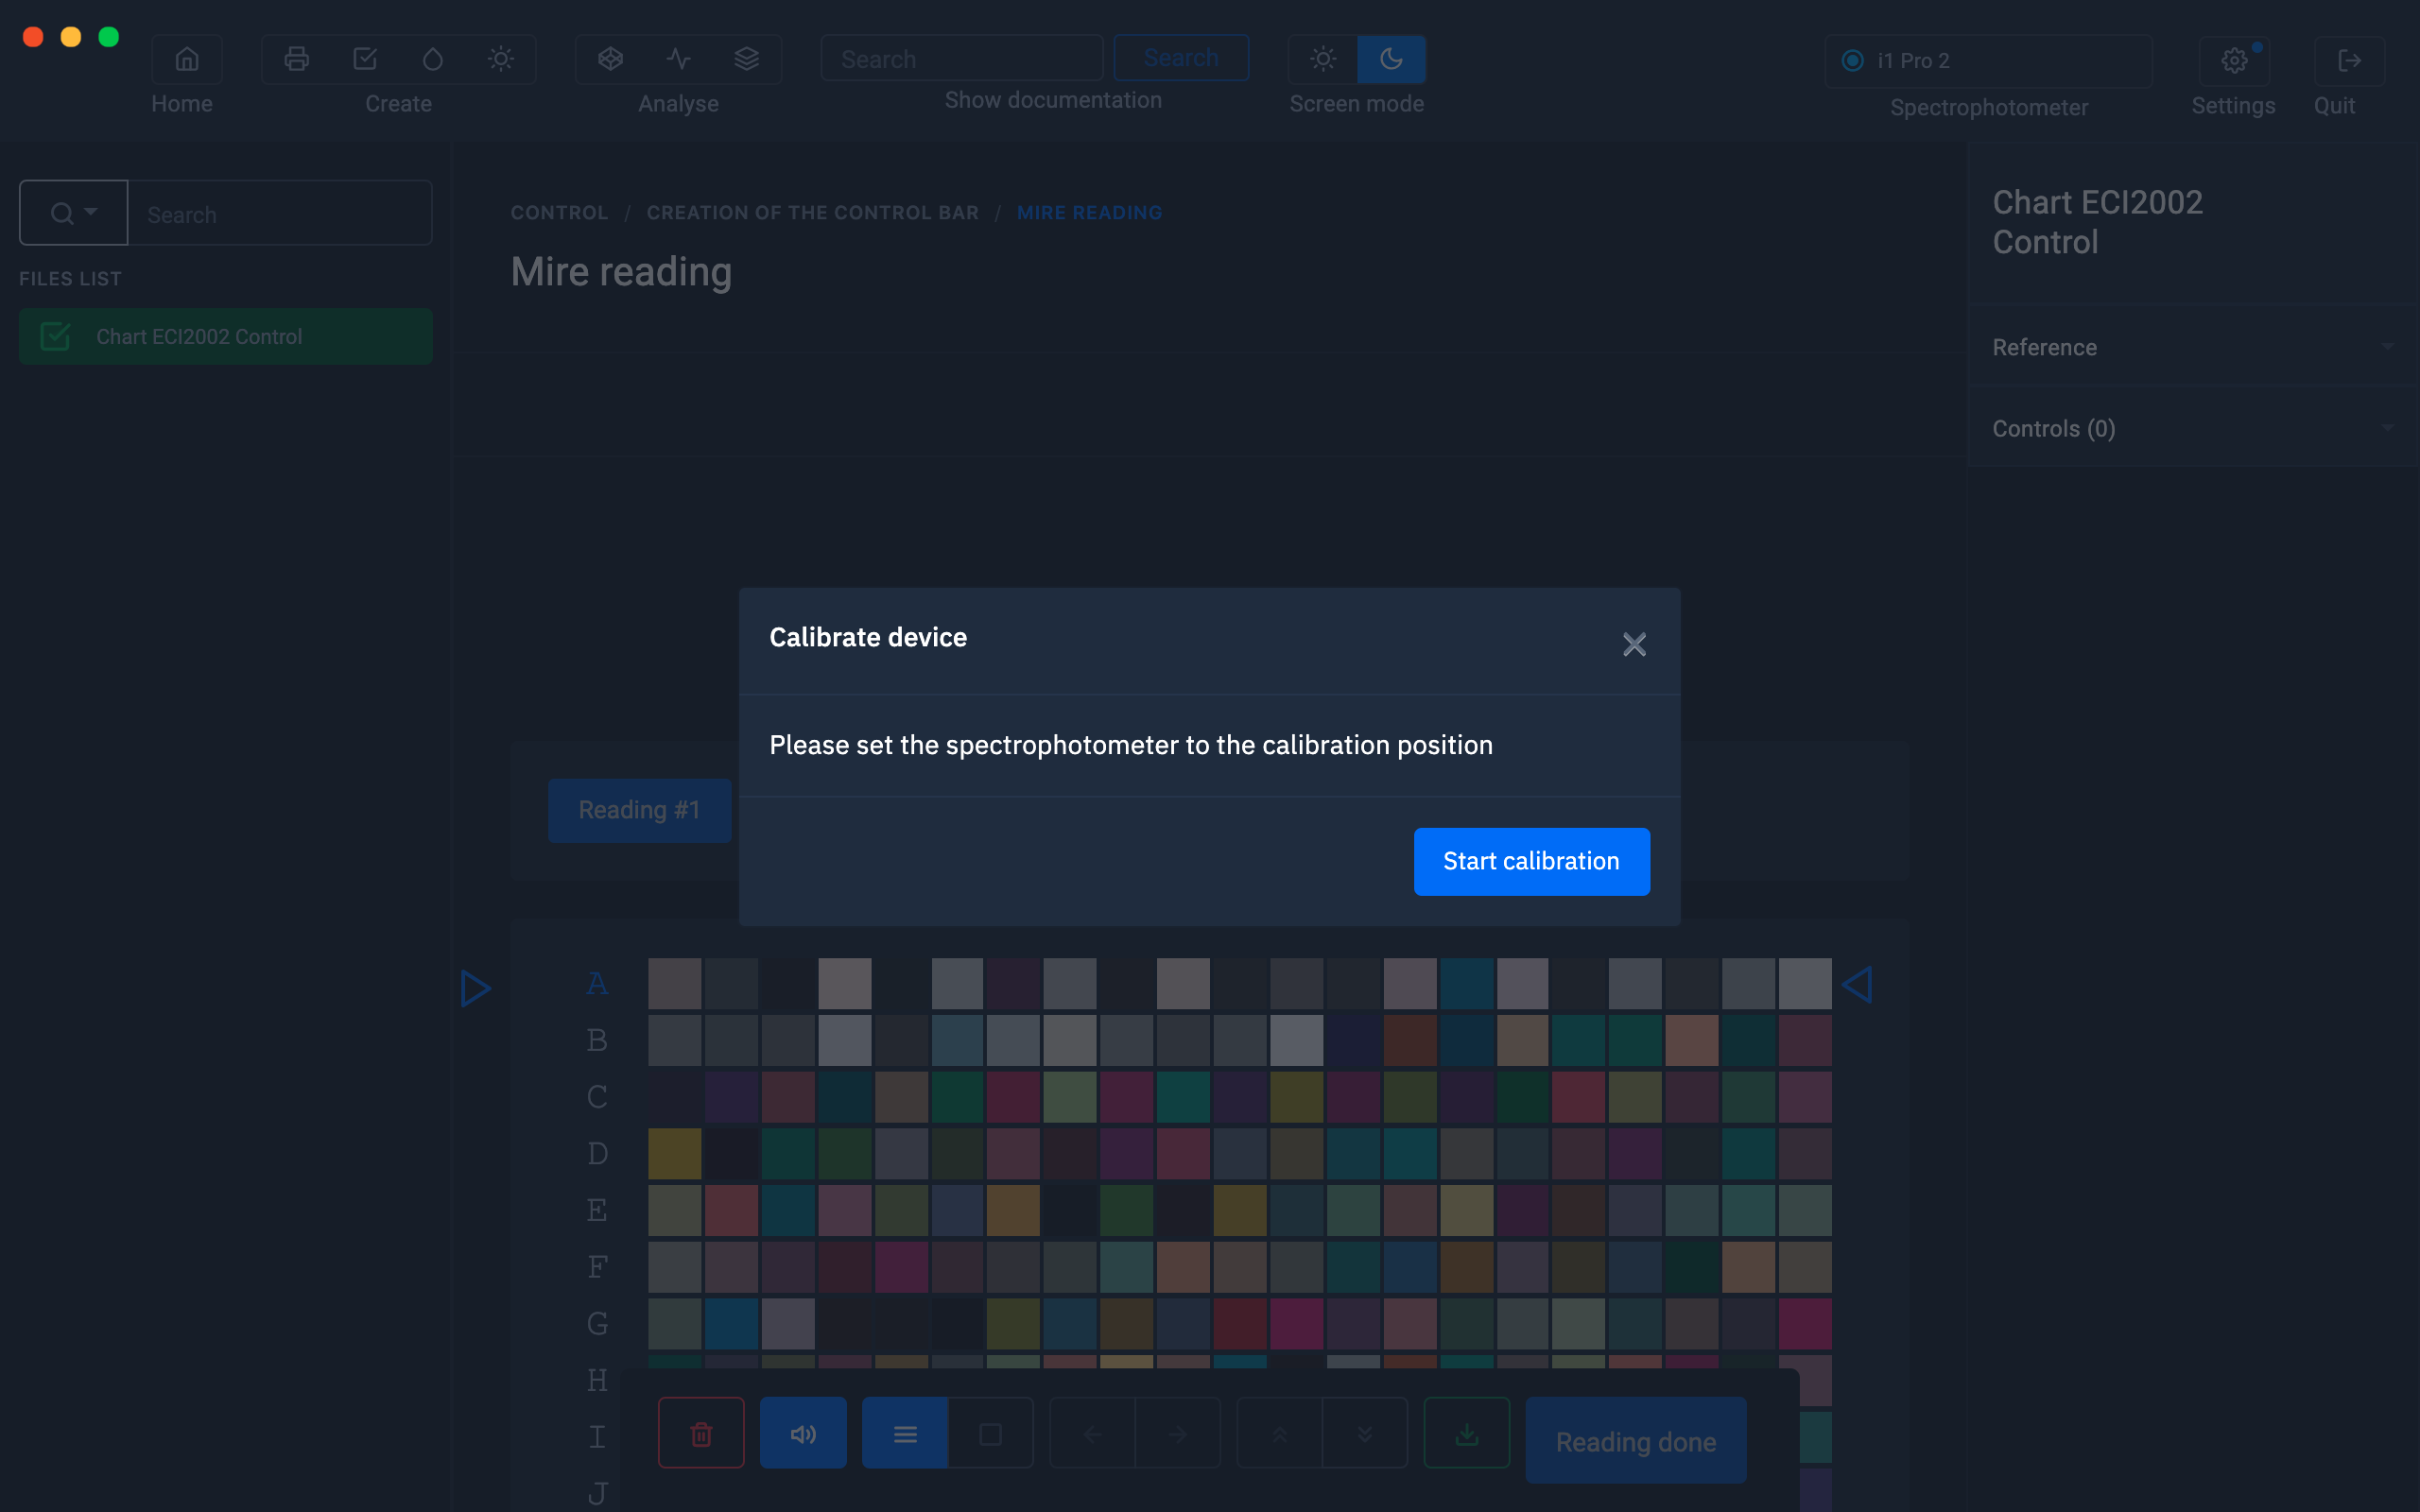
Position the spectrophotometer in its calibration position

Then click on the " Start calibration " button
Multiple measurements
At this step, it is possible to define the number of measurements carried out per line by clicking on the " + reading "
button. This is in order to detect reading errors or to average the measurements for greater precision.

Then start reading the charter.
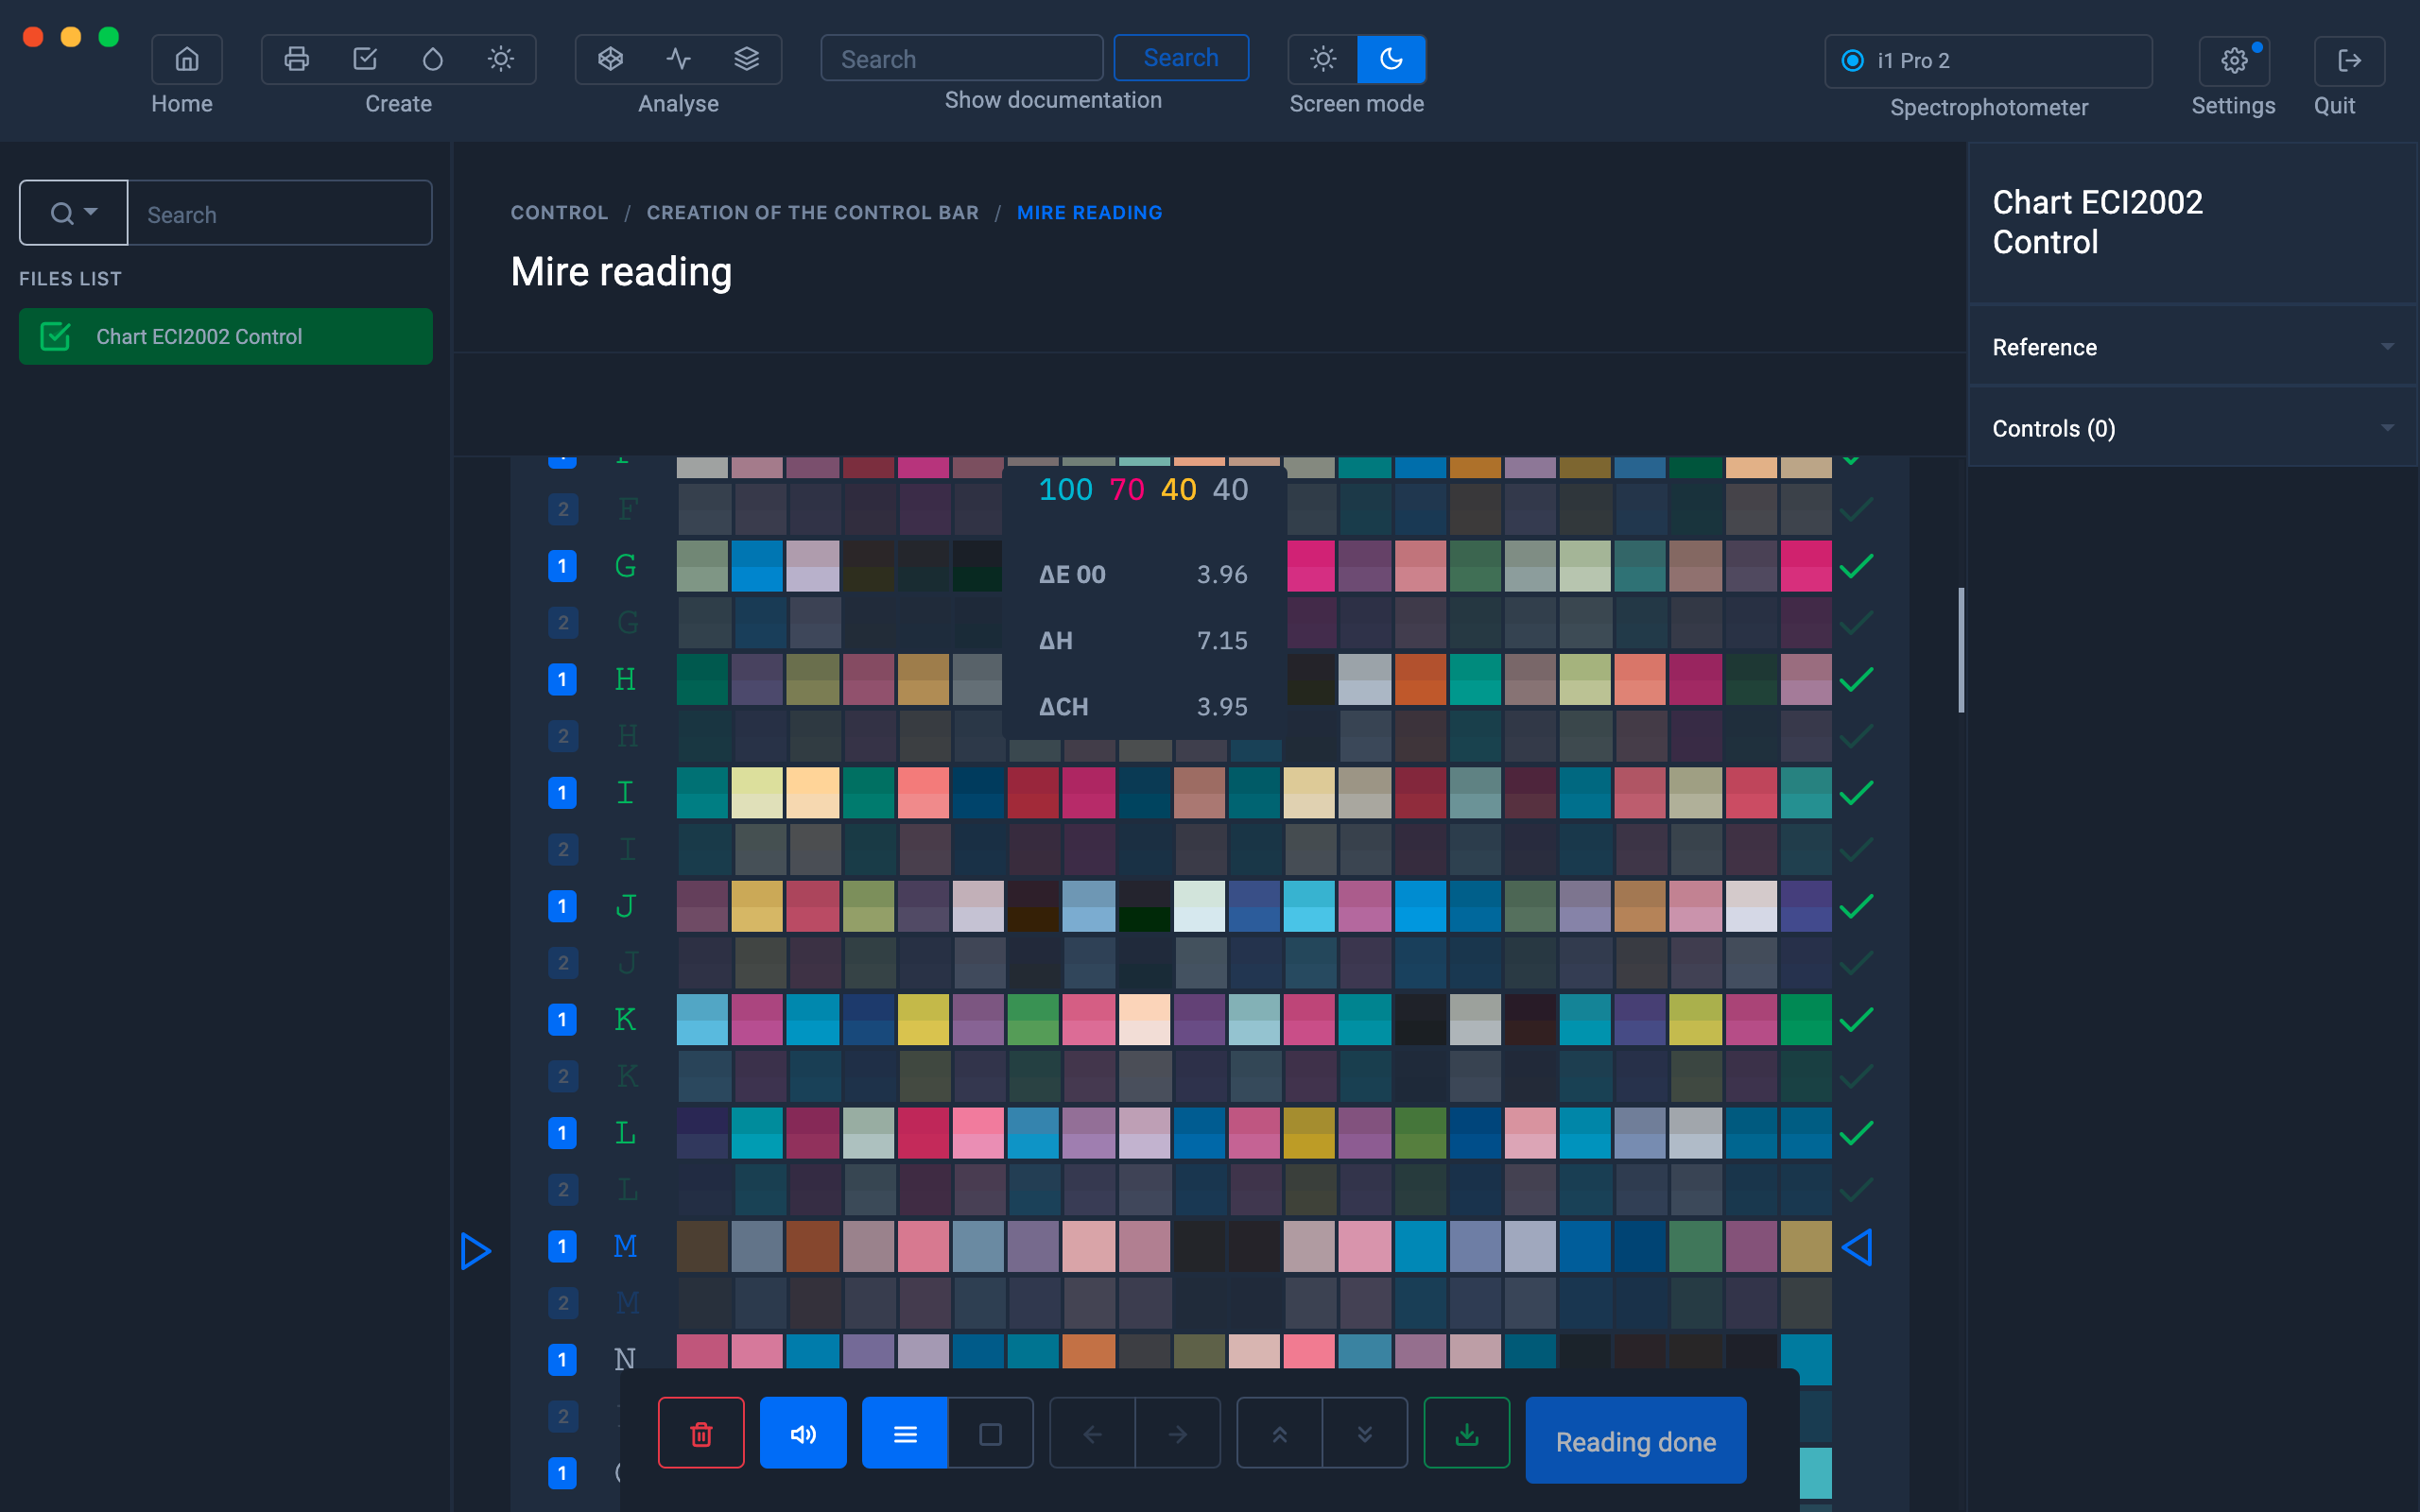
Measure the line framed by the 2 blue cursors

Hovering over the measured patches will show you the values of Delta E, H and Ch
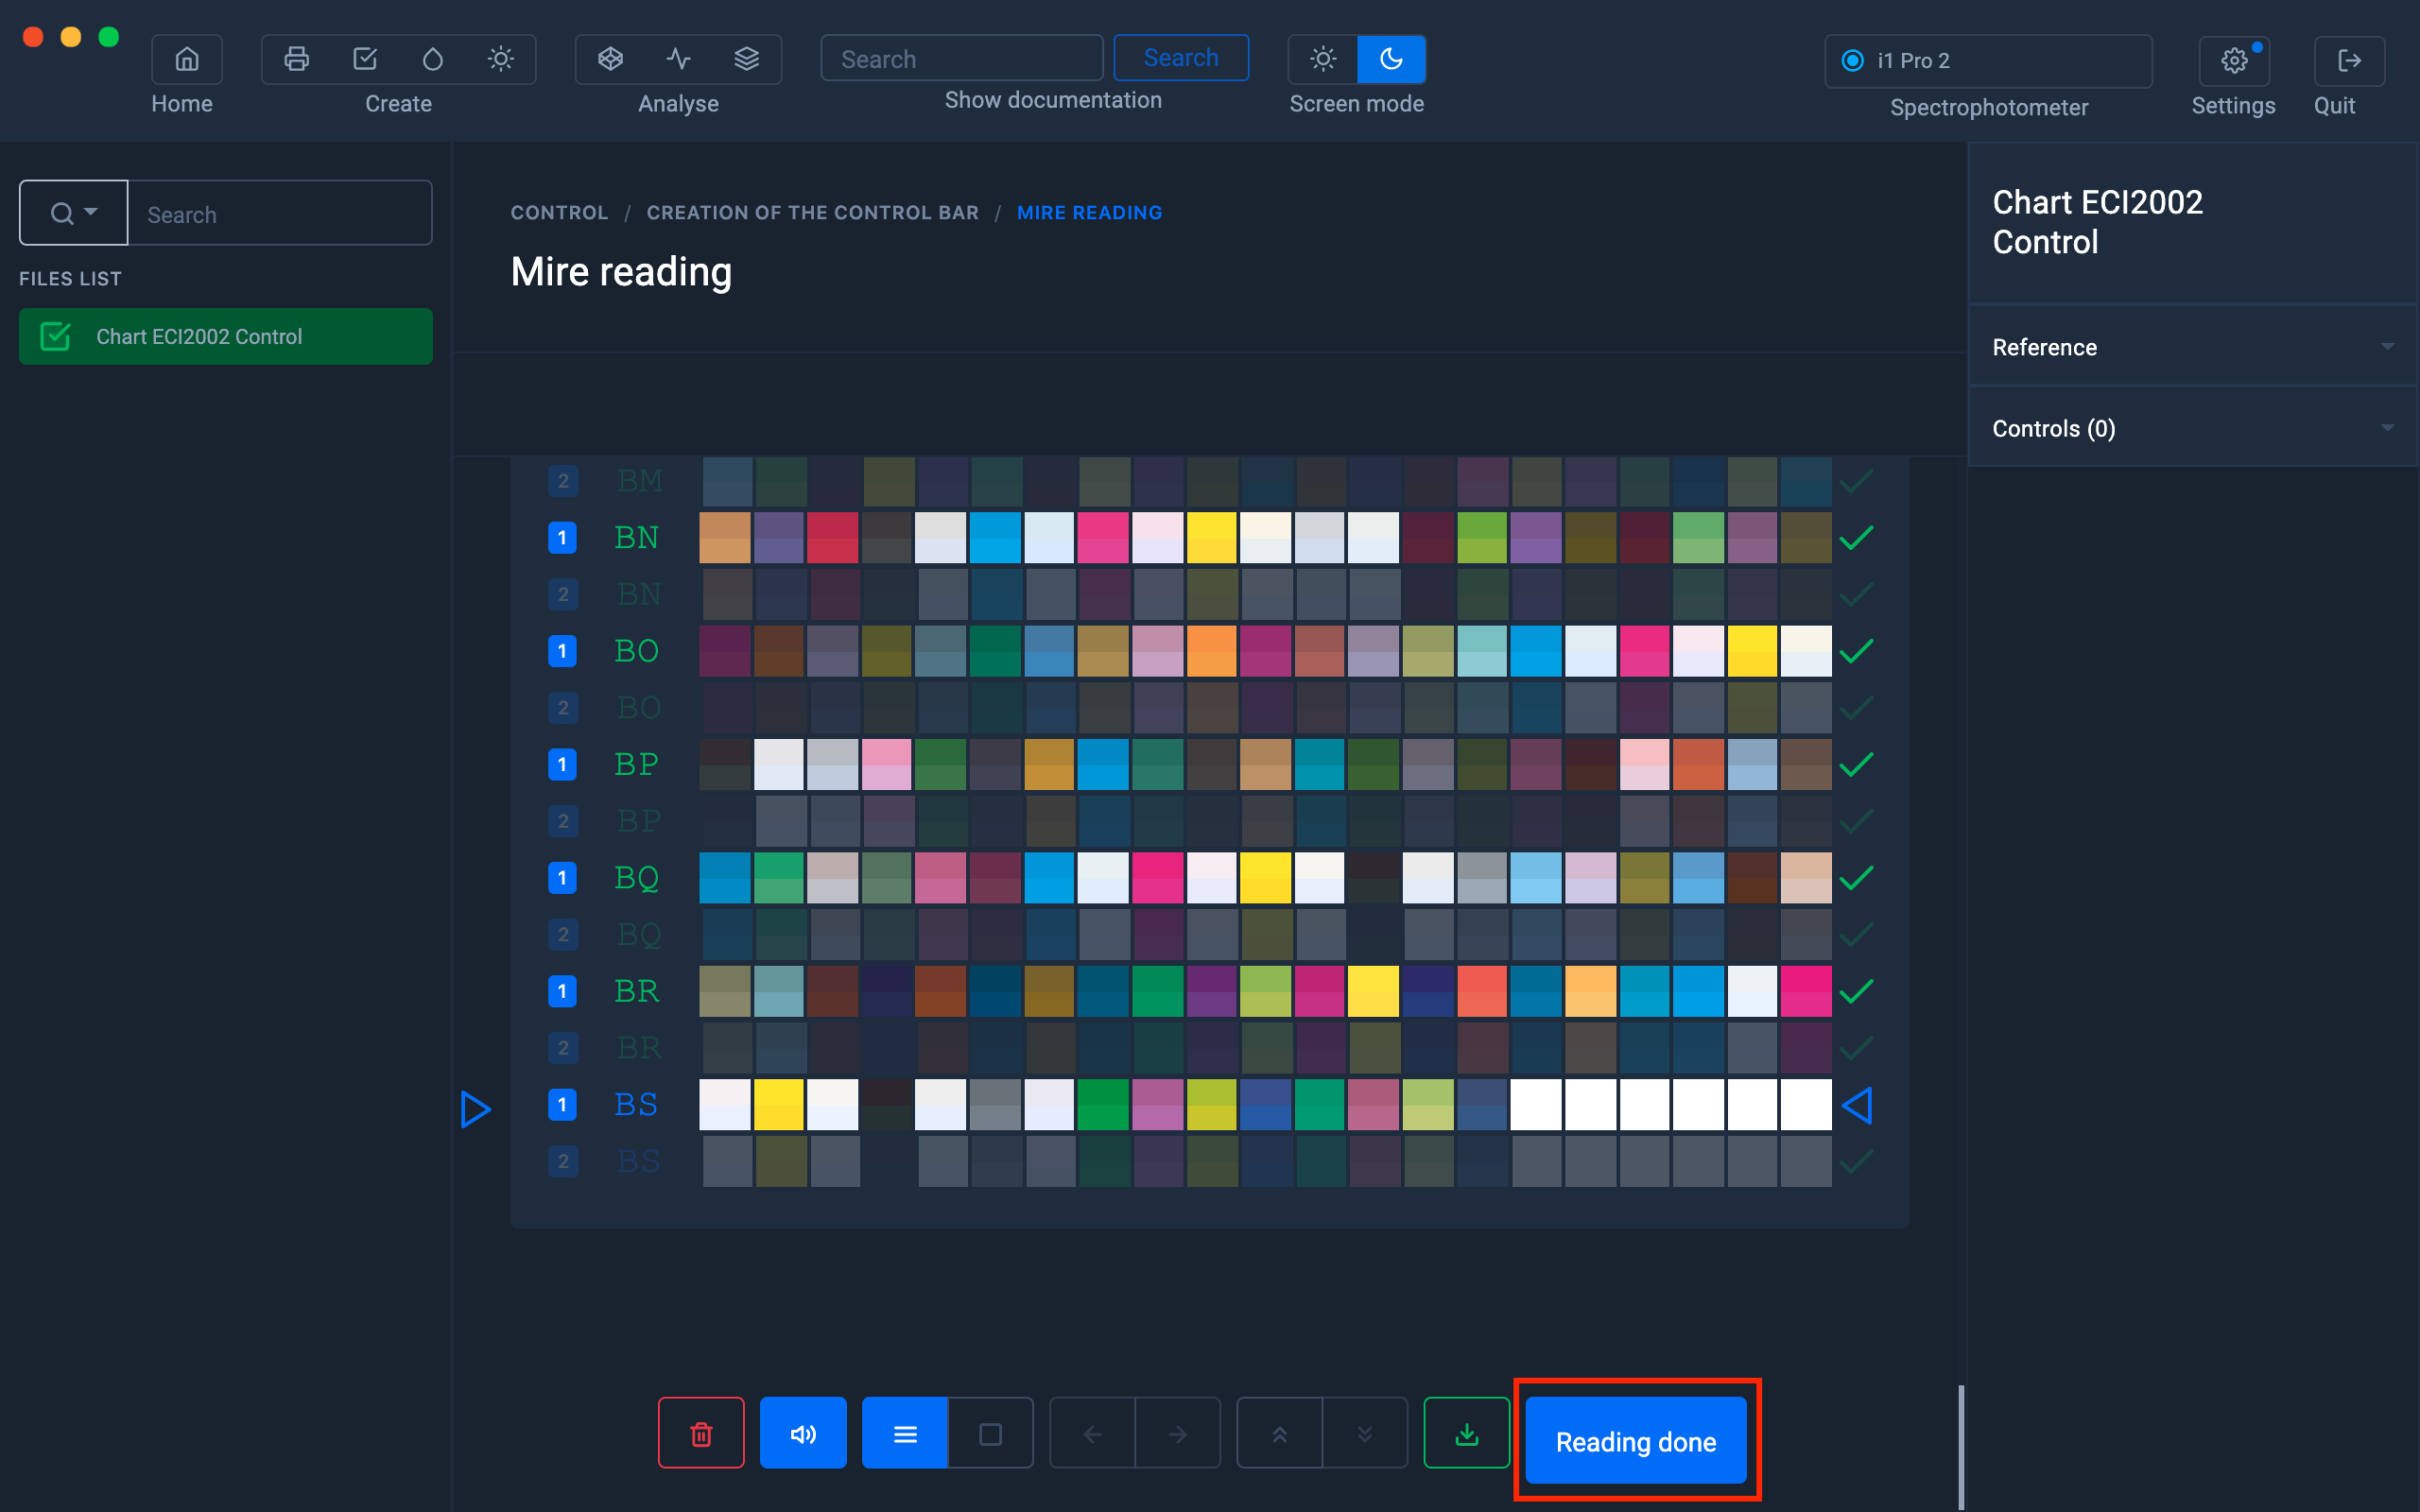
When the staff is completely measured, click on the " Reading done " button.
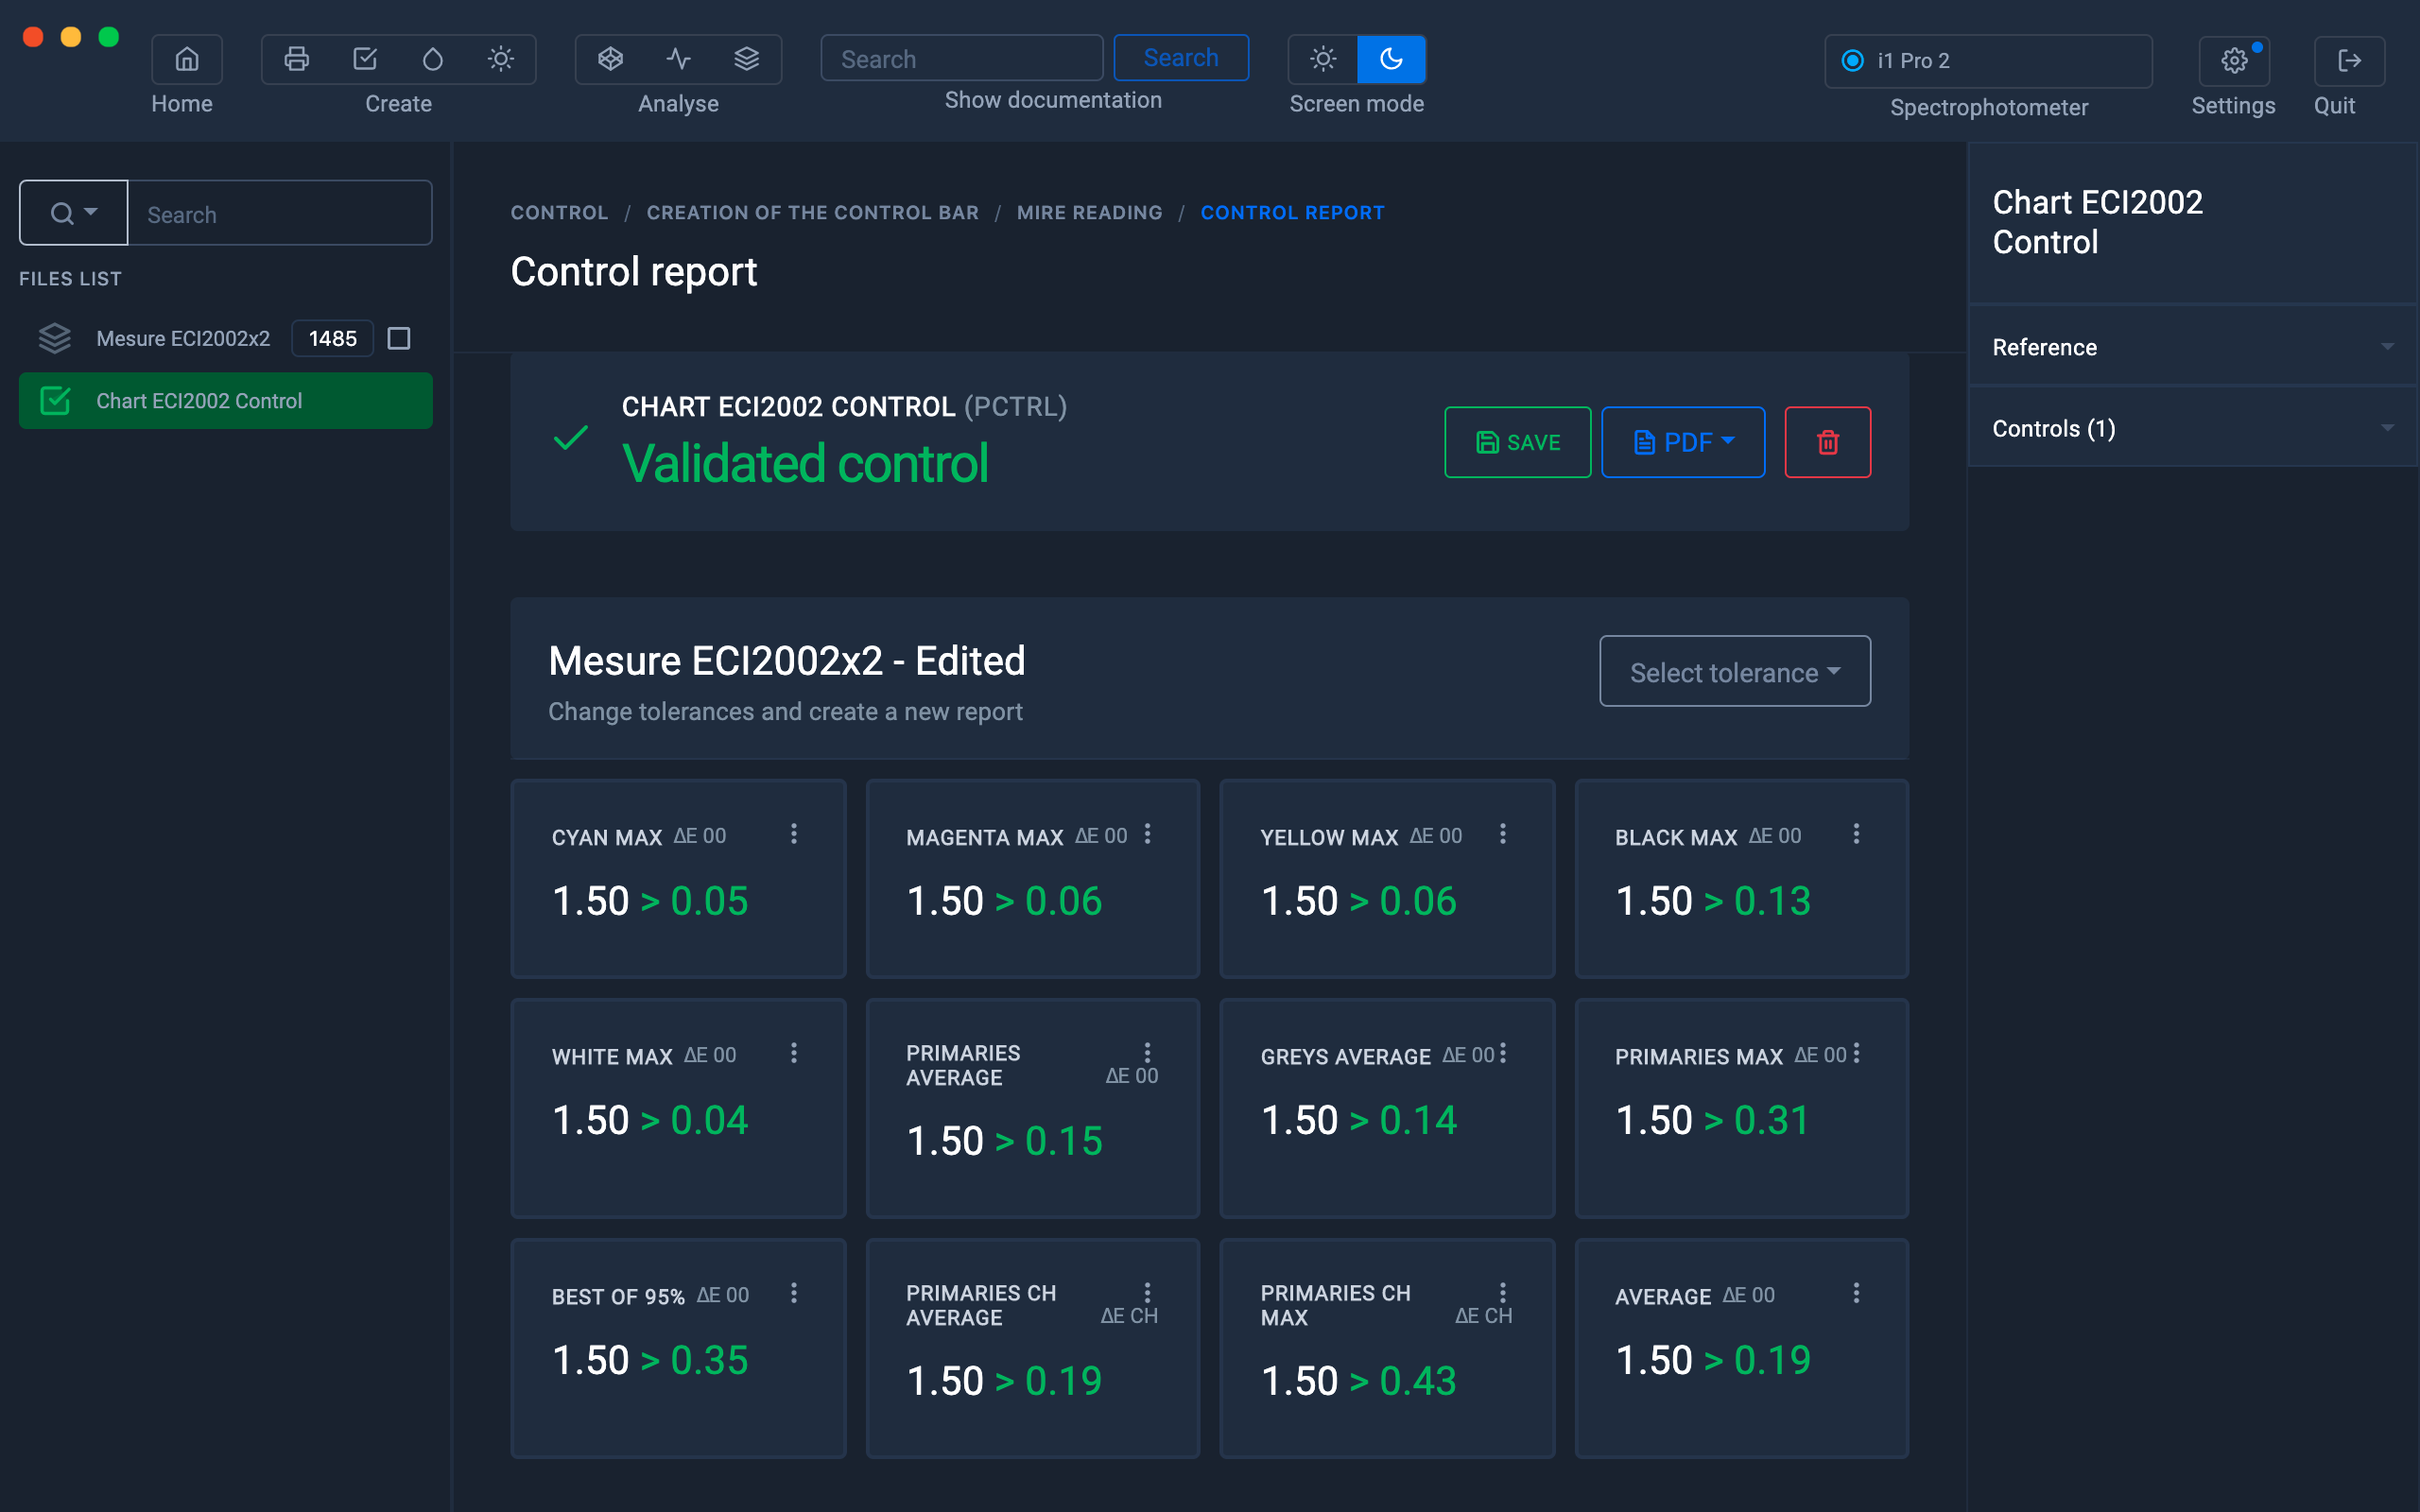
Viewing Reading Report
The measurement report is displayed.
If you wish to measure other ranges, right click on the Print Control file then click on the " Start measurement " button.
Each new measurement will be added to the "Print Control" file and can be viewed later.
To find out more, see the chapter: Carry out a check