Creating a Print Control File for Normalized CMYK Proof
Before checking a proof test, it is necessary to create a "Print Control" .pctrl file corresponding to the type of range to be measured and containing the reference values.
Launch of the Print Control module
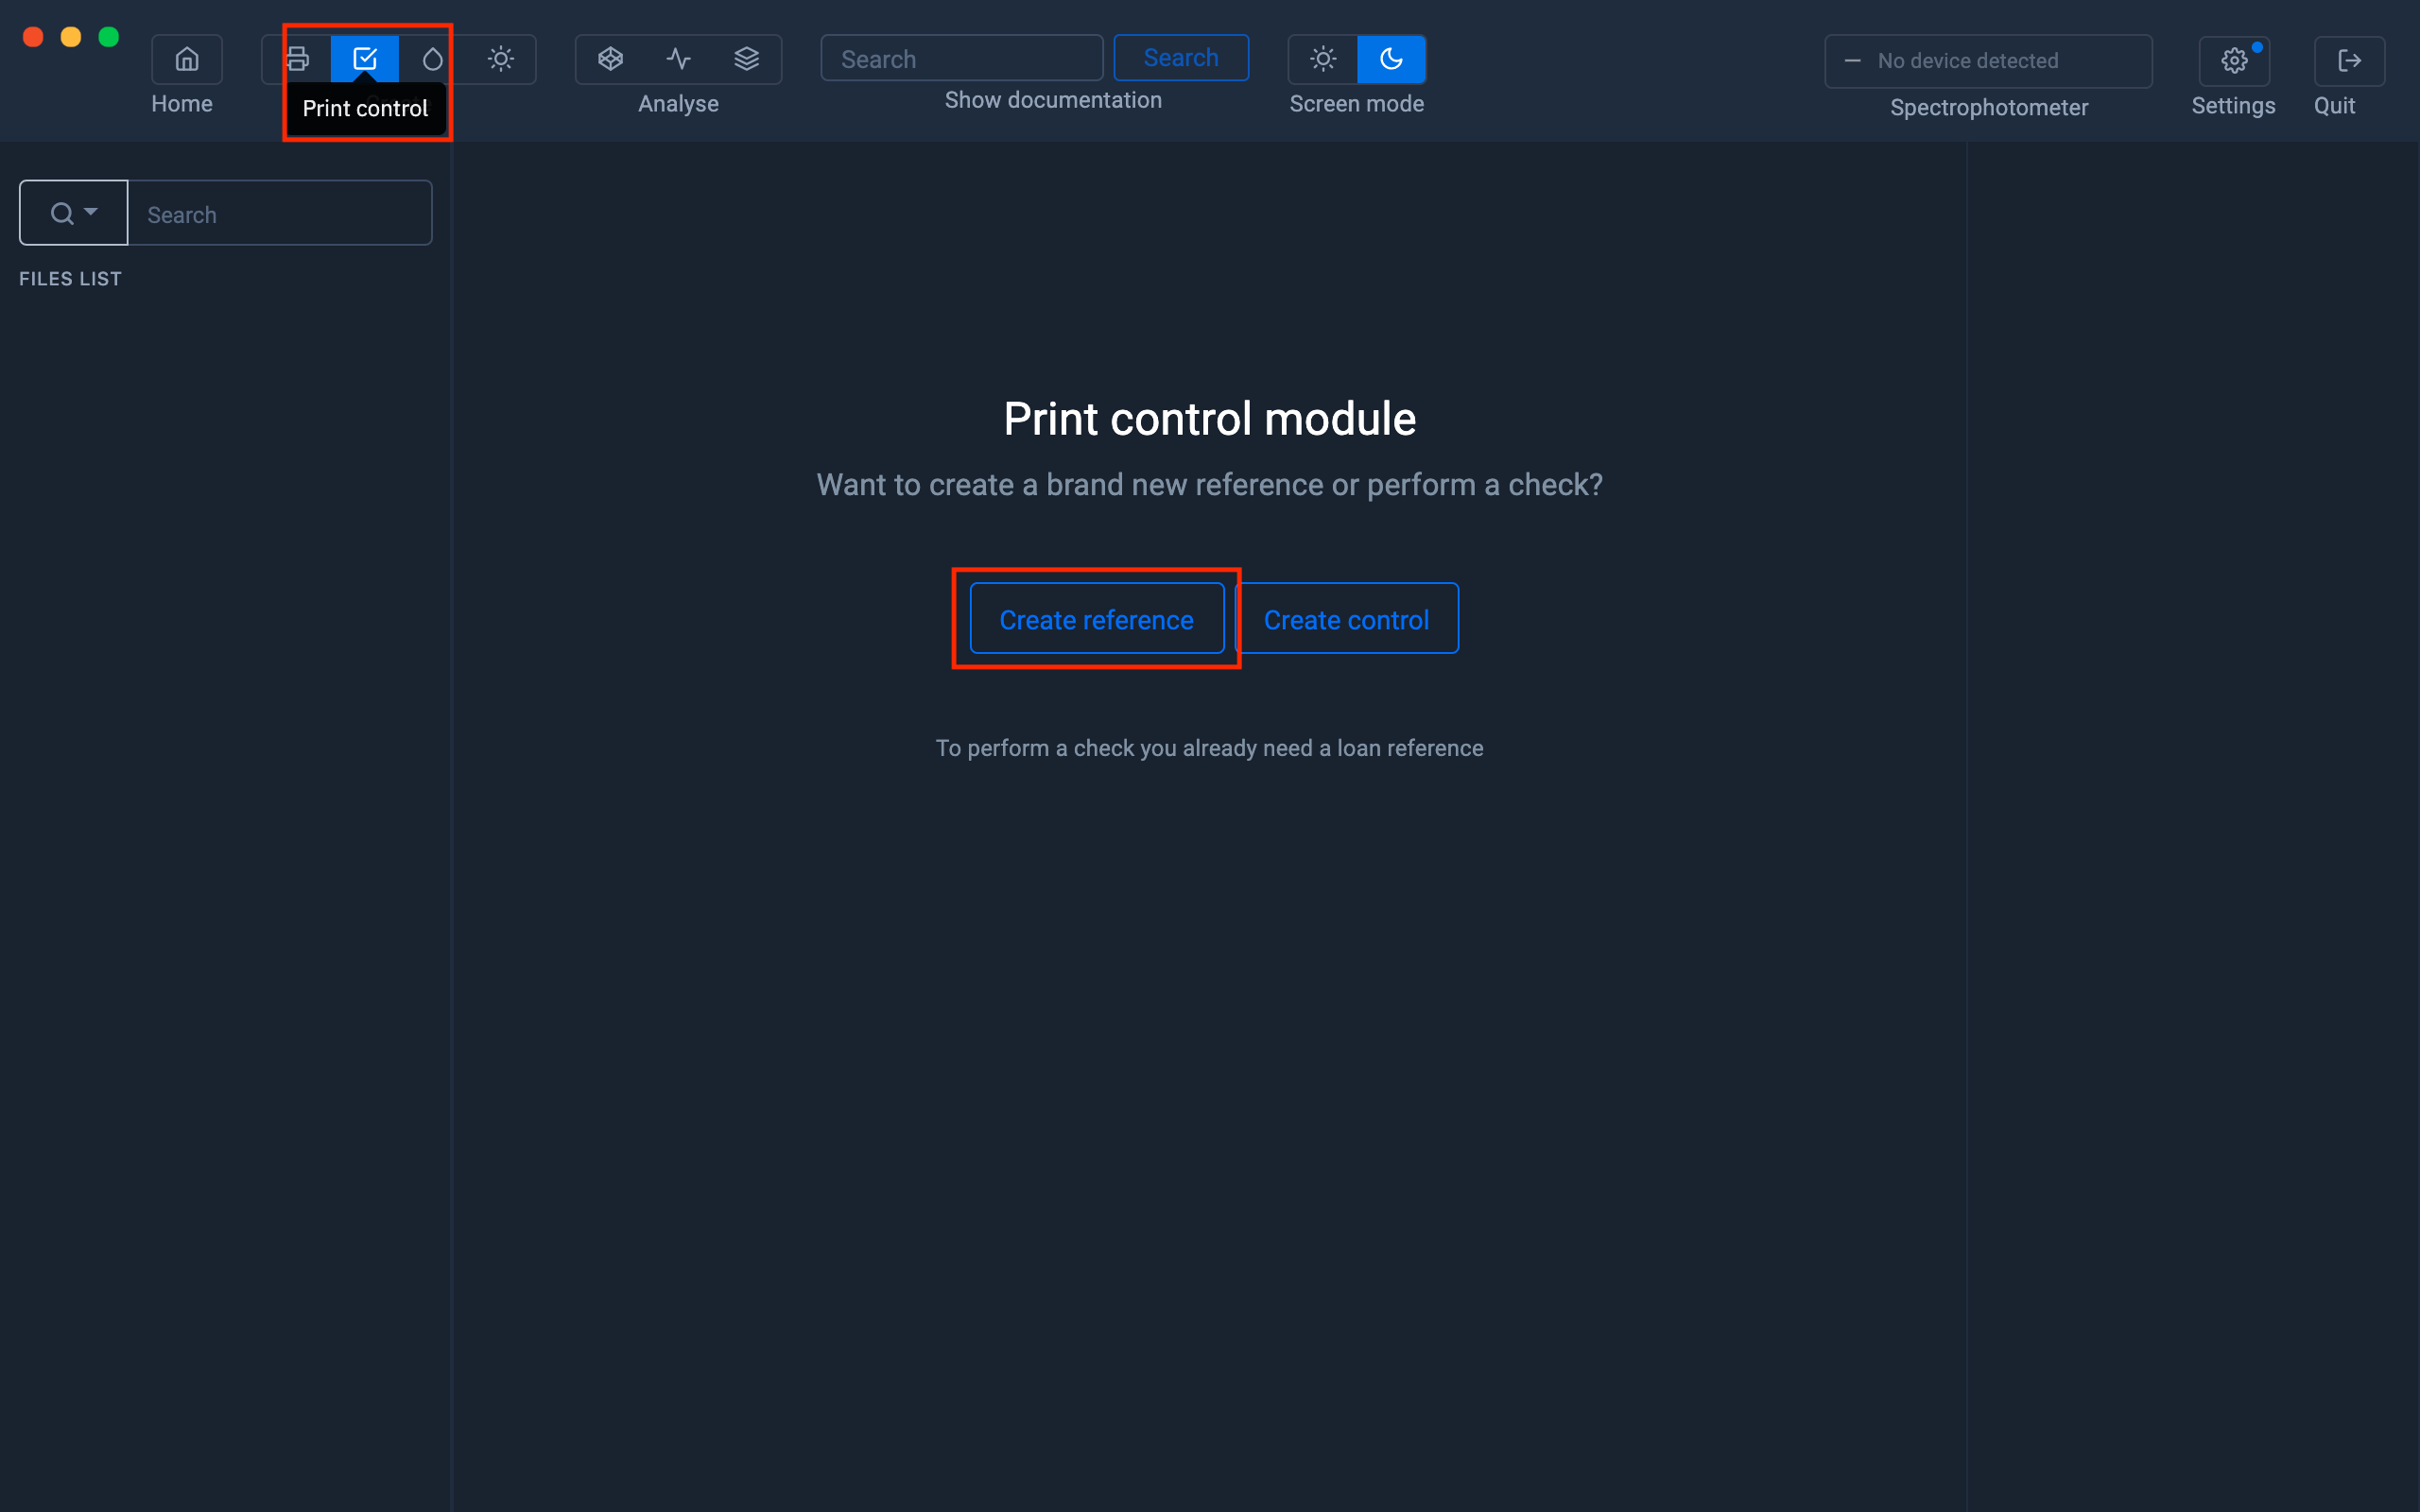
Click on the " Print Control " icon located at the top left
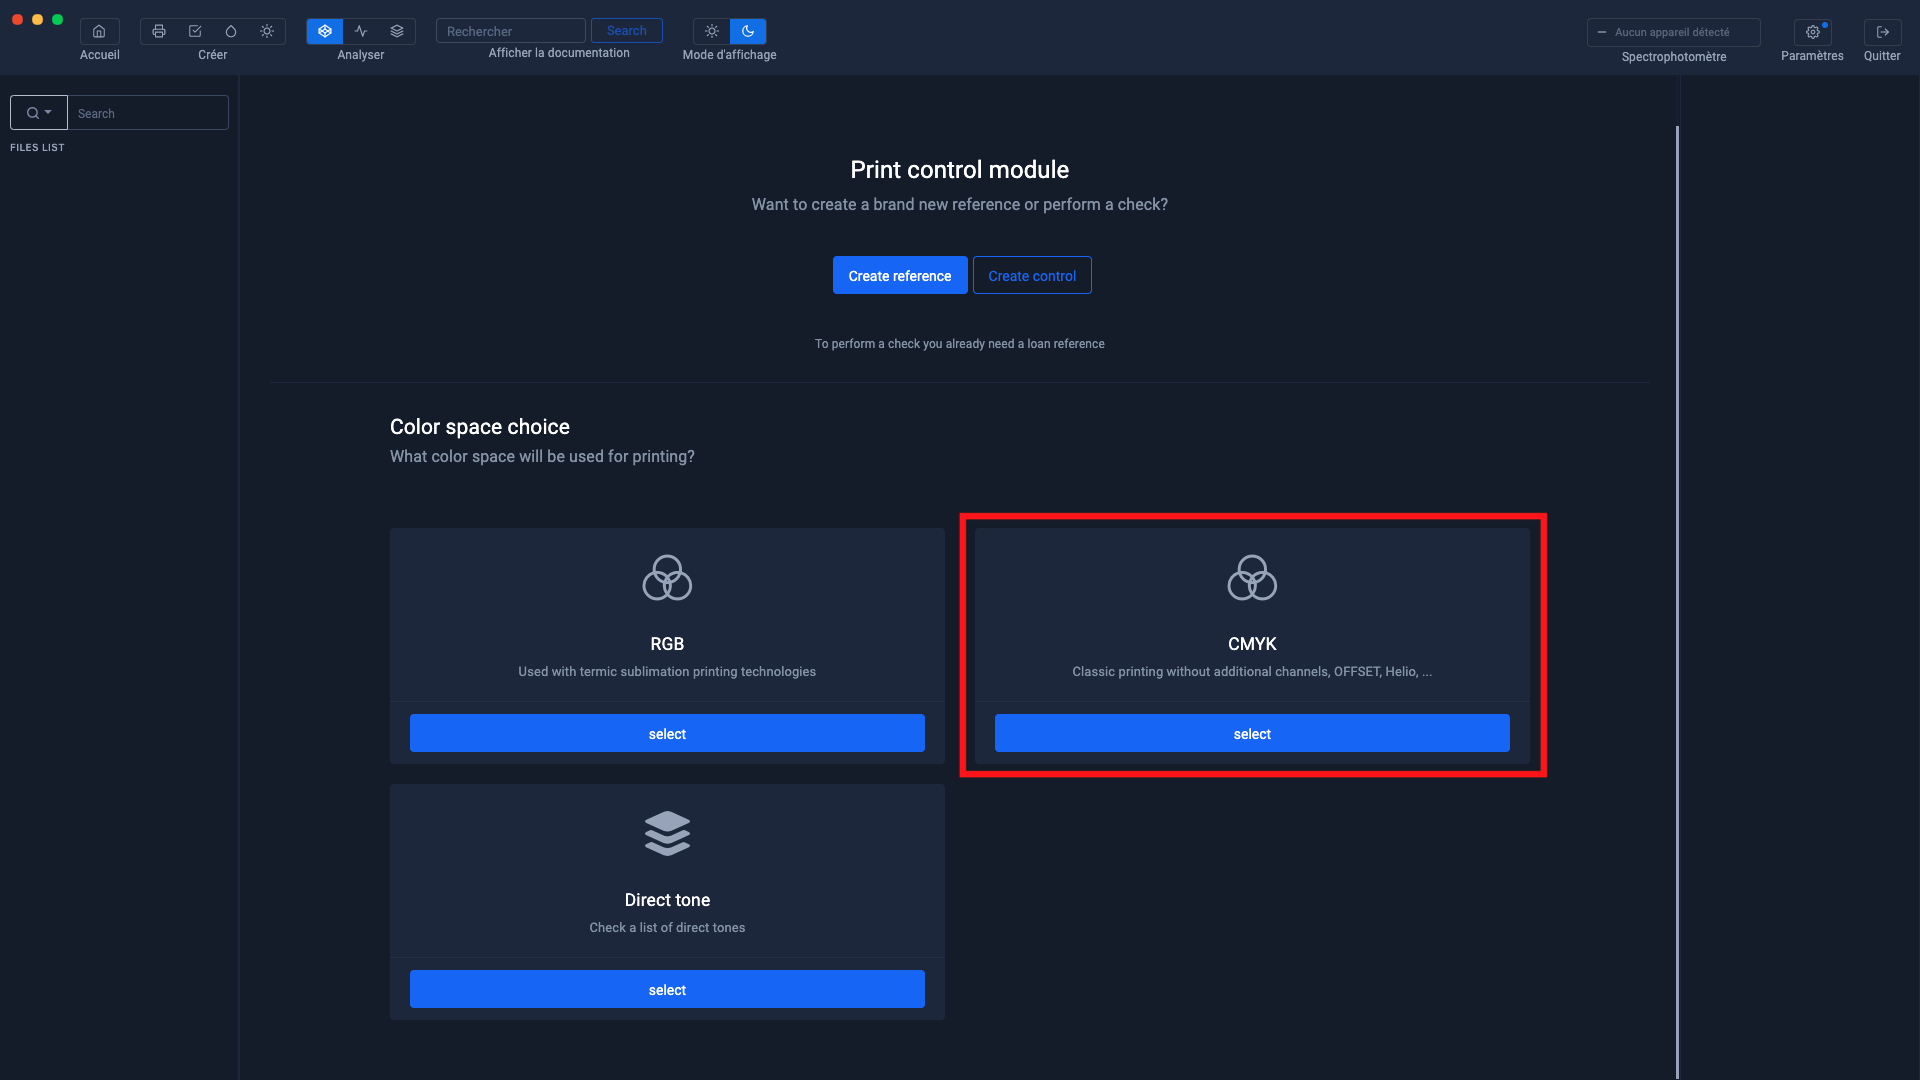
Select the CMYK color space
Printing standards in Graphic Arts are defined in the CMYK color space
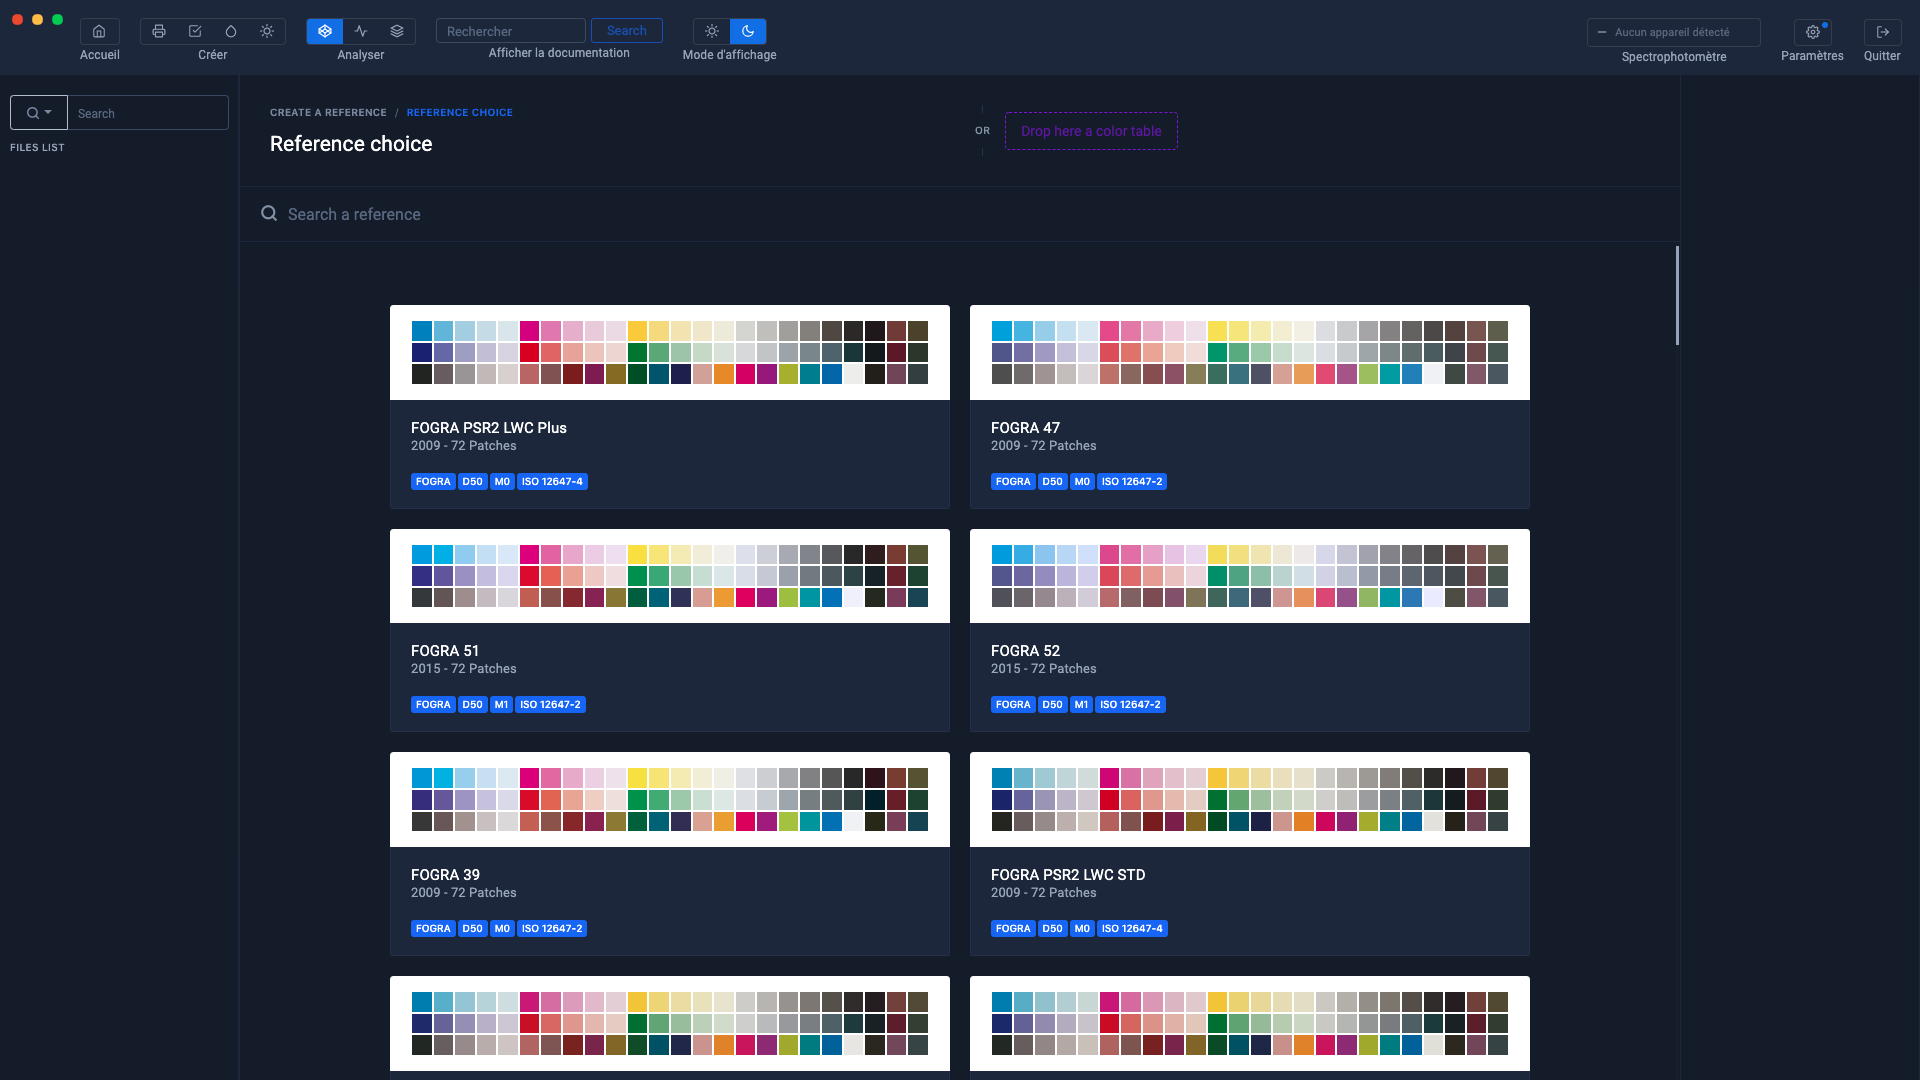
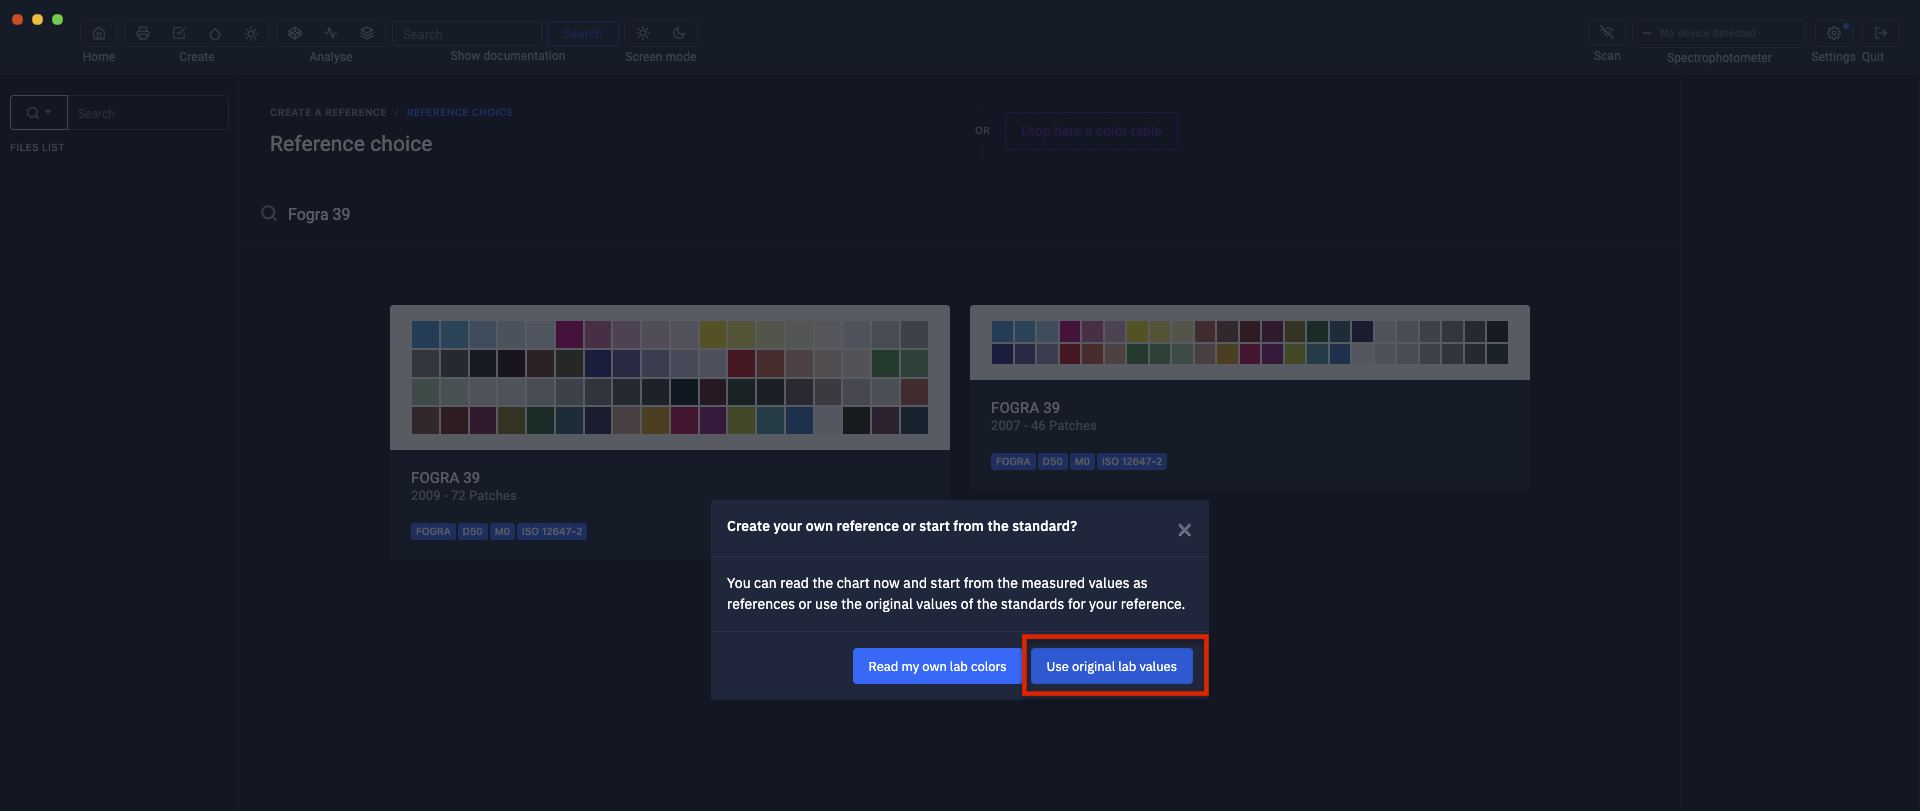
The list of standardized ranges appears
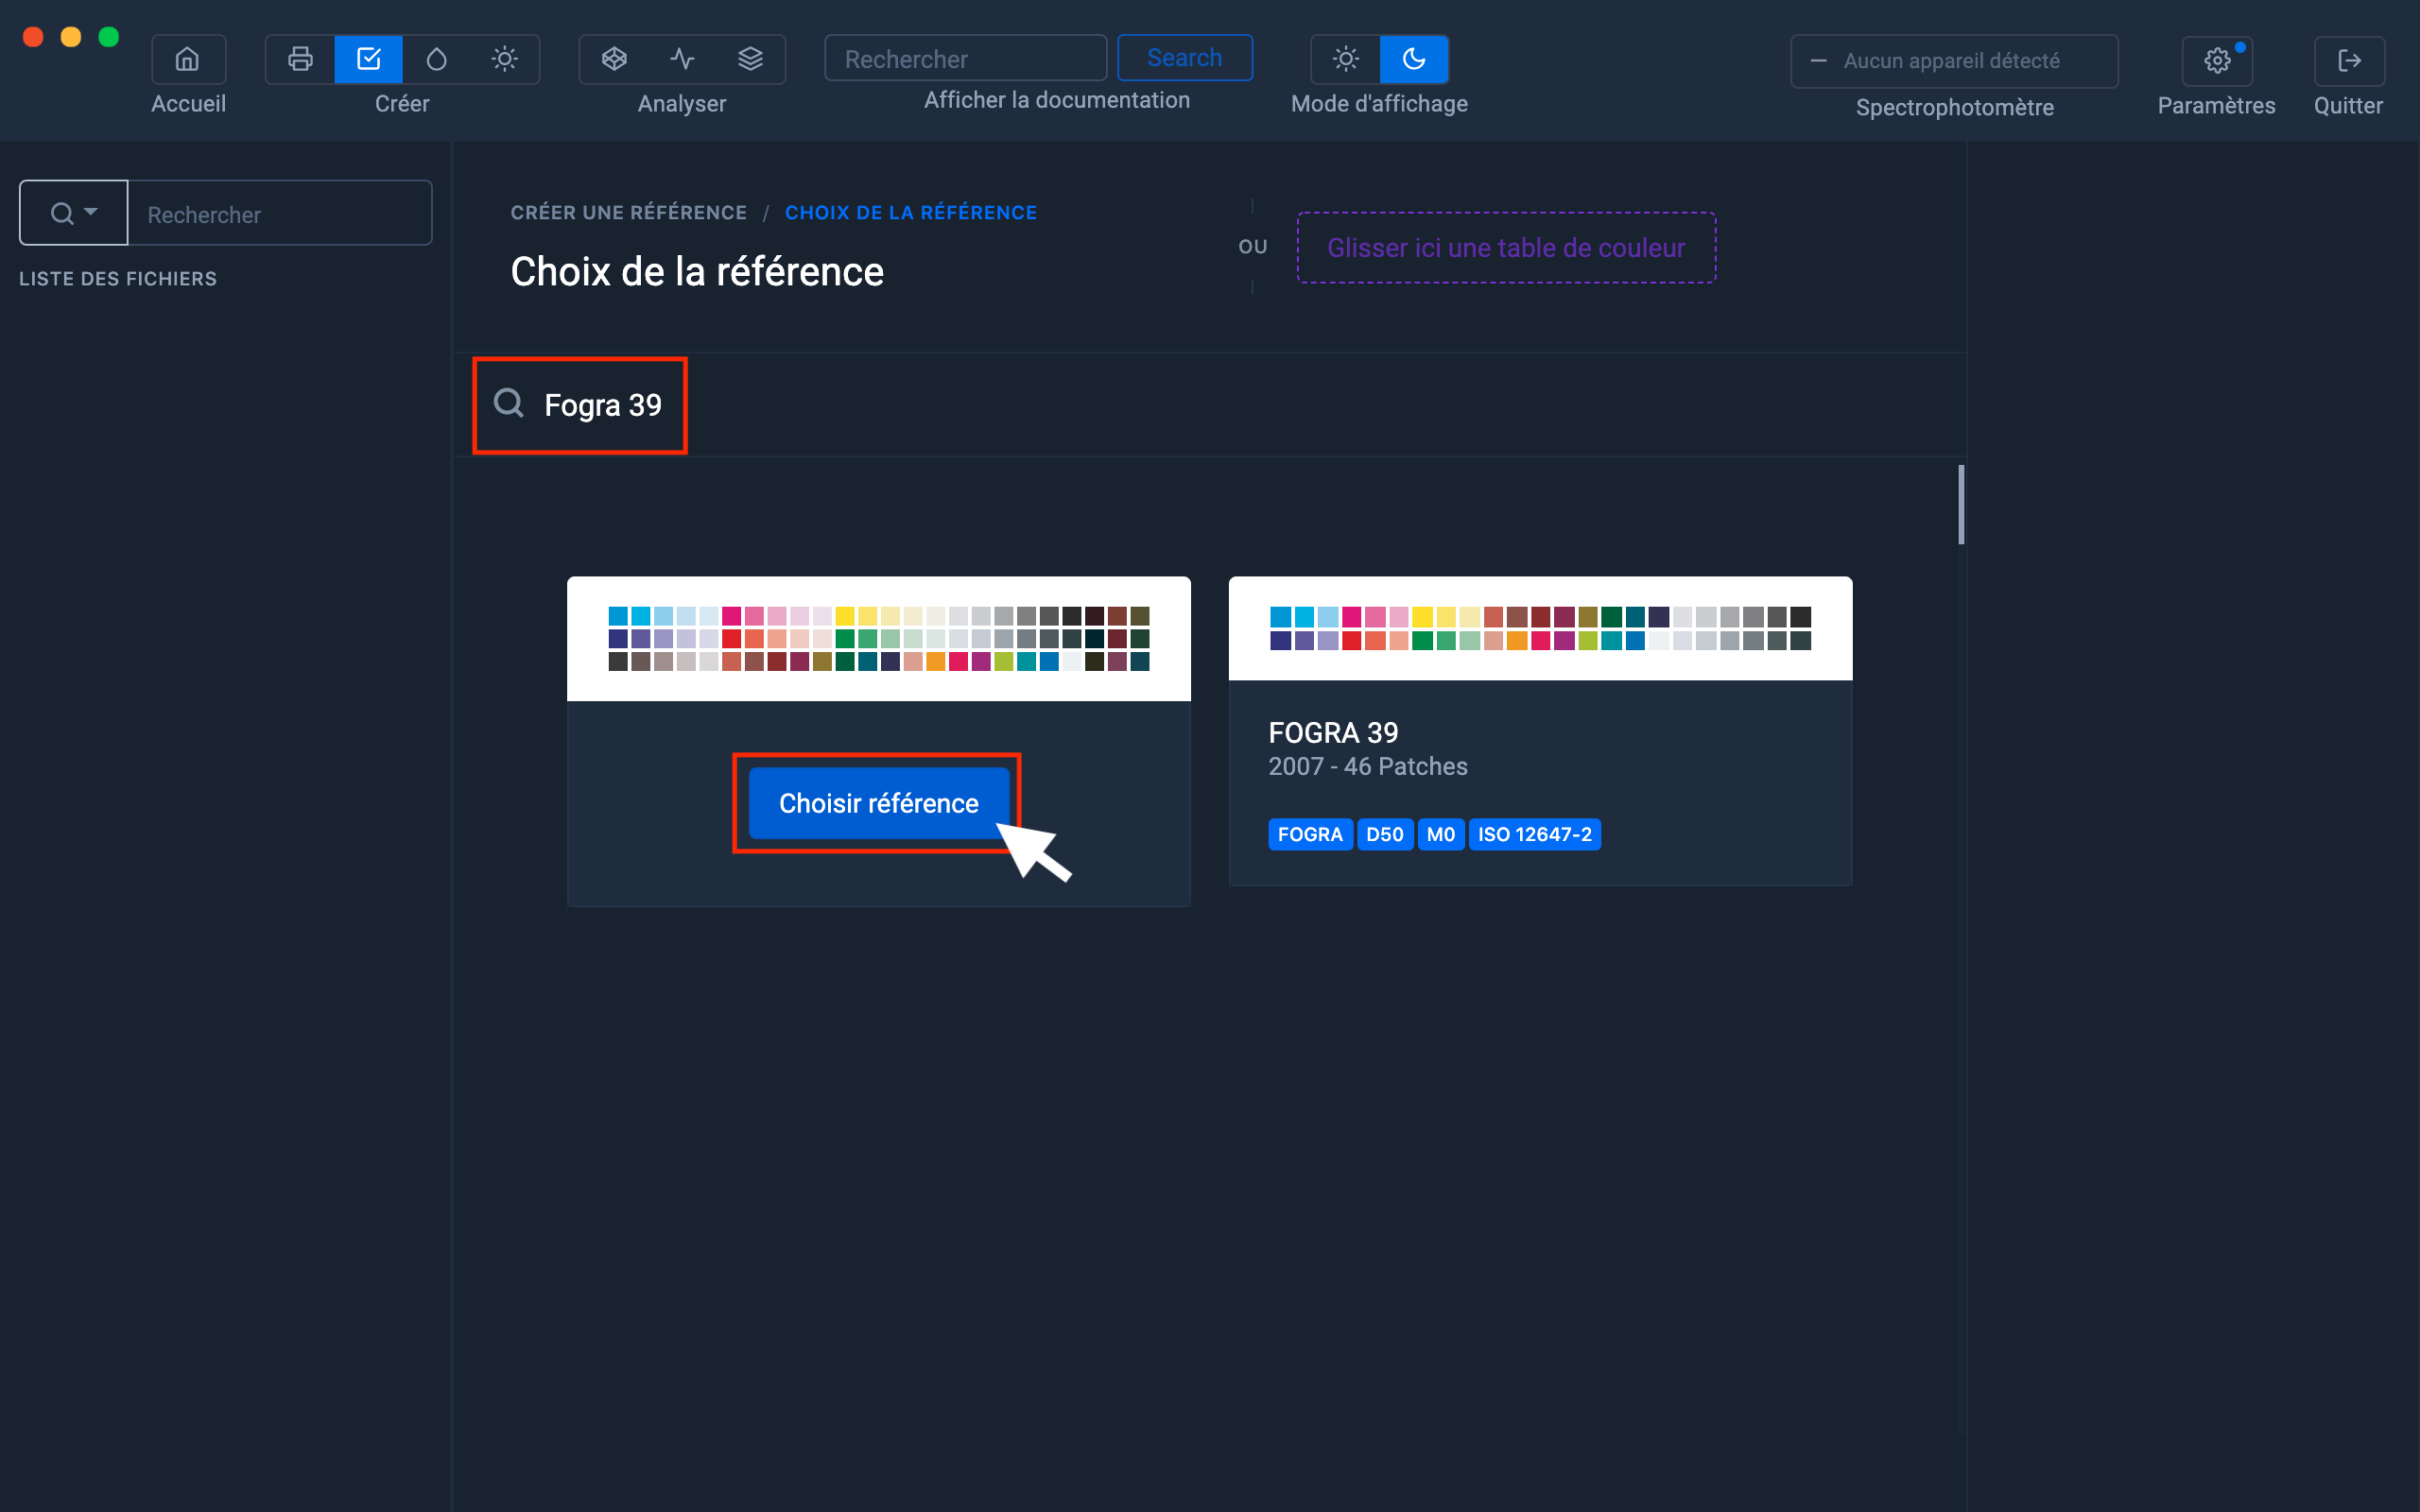
To help you find your reference range, write the name of the standard you want to control in the search bar.
Then select the type of range you want to control.
As the use of Fogra charters is not free, it is necessary to purchase the "Fogra" option to access "Mediawedge Fogra".
Click on the " Use original Labs " button to associate the Lab reference values corresponding to the selected standard.
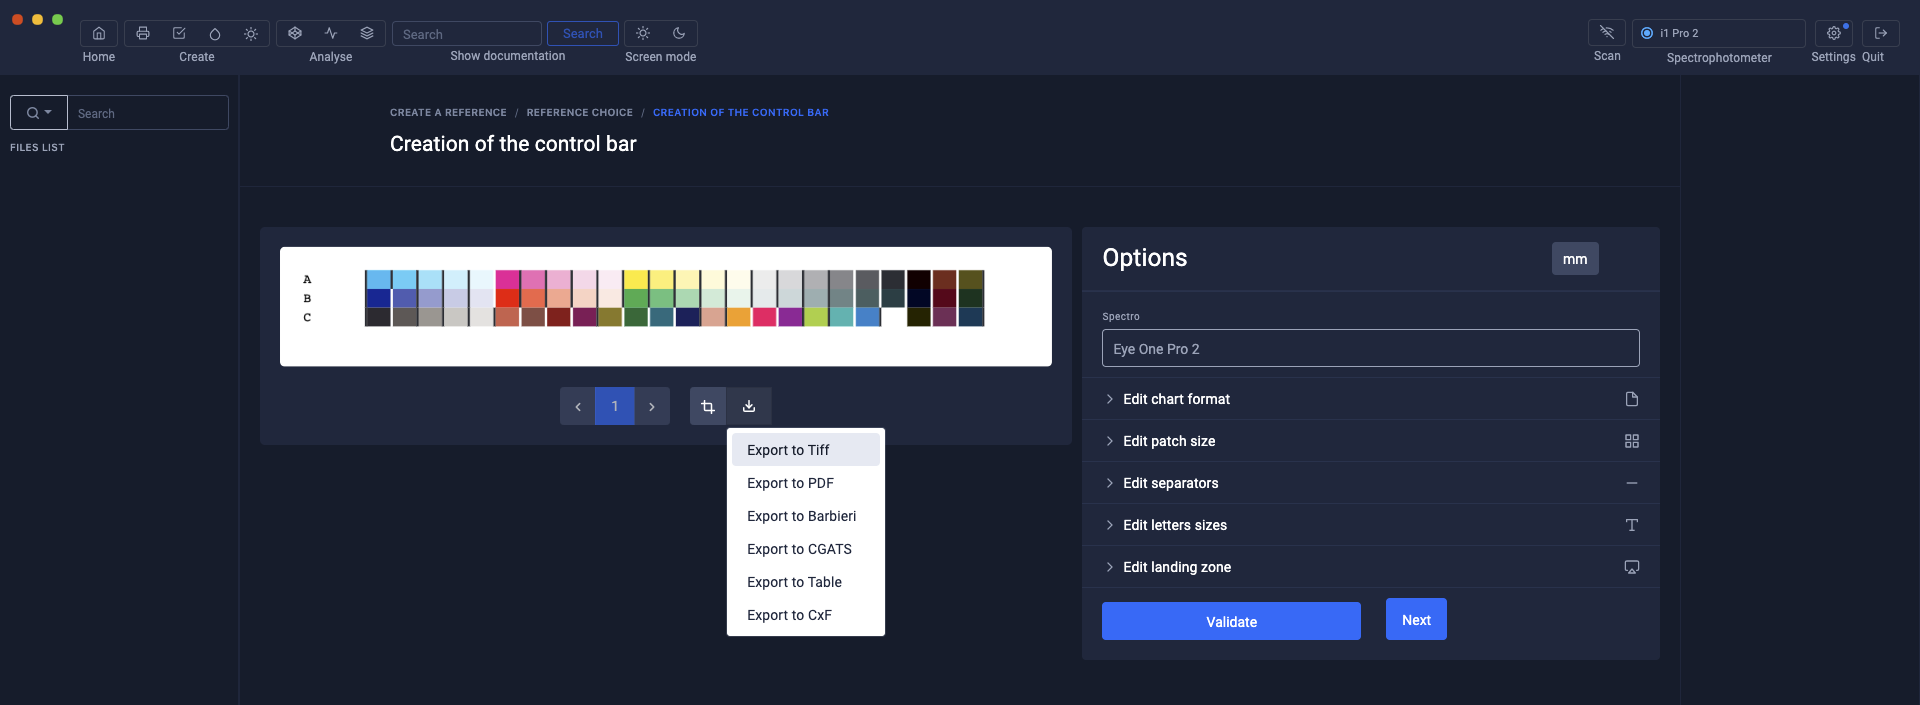
A Preview of the range is displayed and it is possible to customize the format of the chart using the editing tools located on the right.
The custom format will be retained when creating the Print Control file
To find out more, see the chapter: Customizing the charters
To test the pattern, you can export it in Tif or Pdf format.
Then click "Next"
Creating the Print Control File
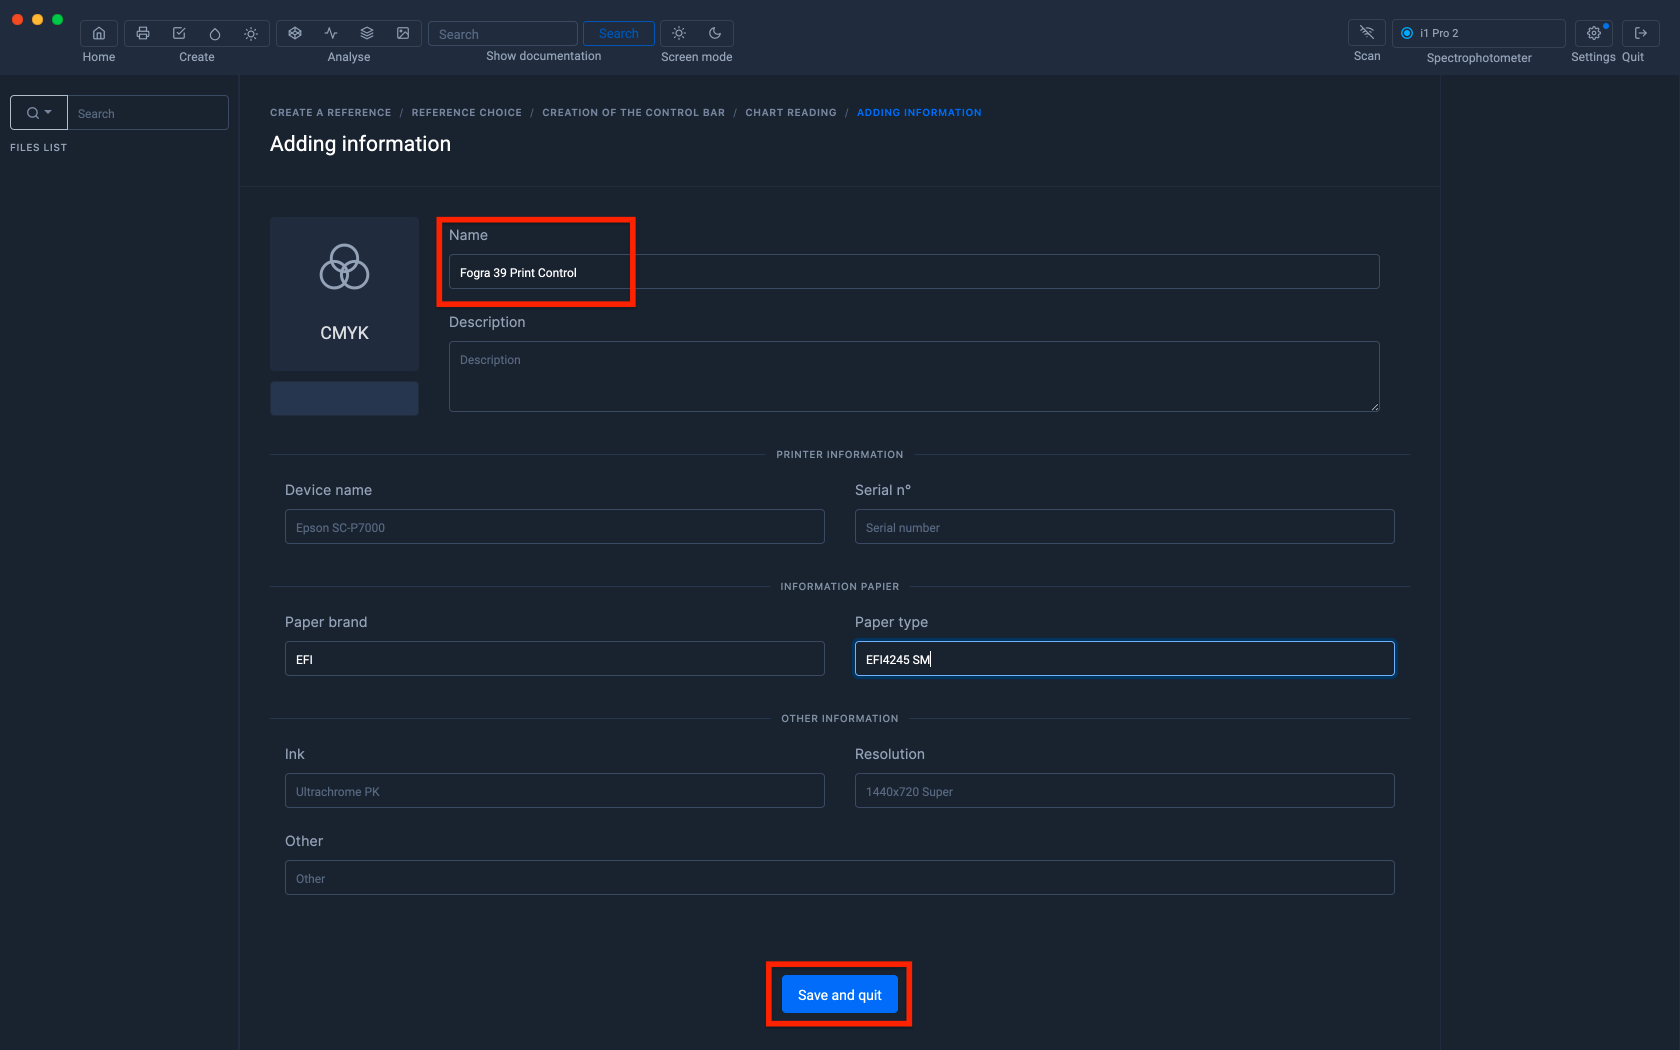
In this new window, fill in the "Name" field, then click on the "Save and quit" button
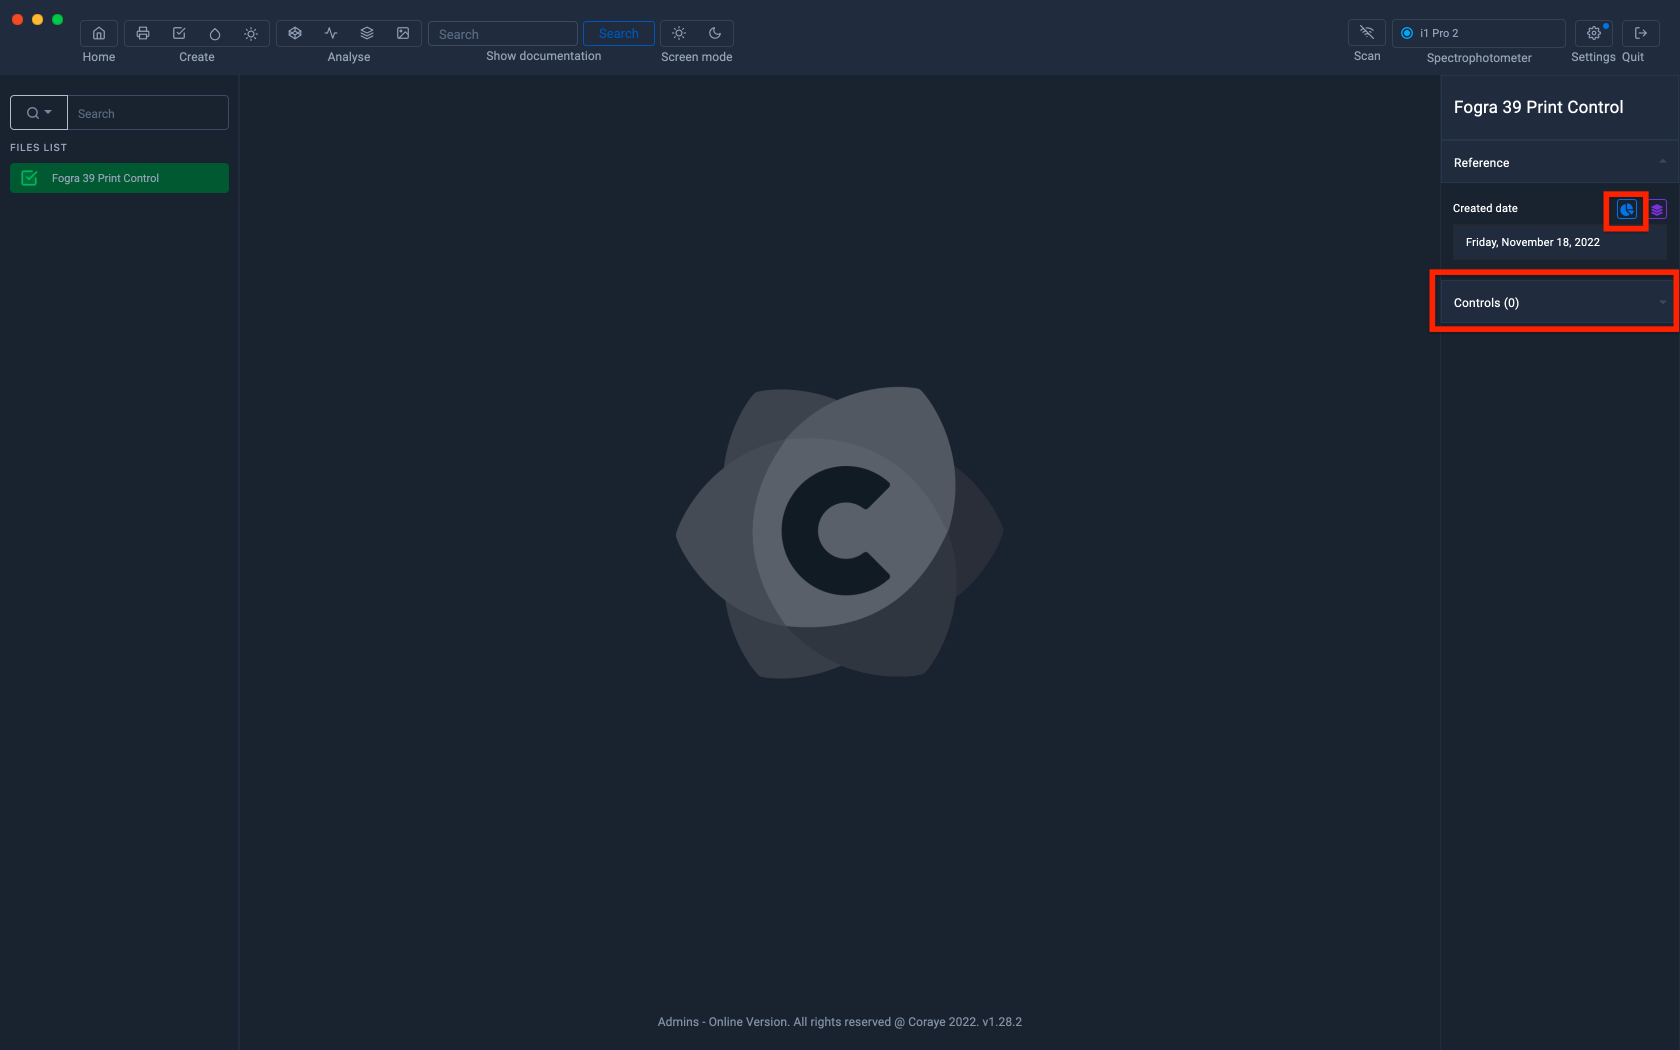
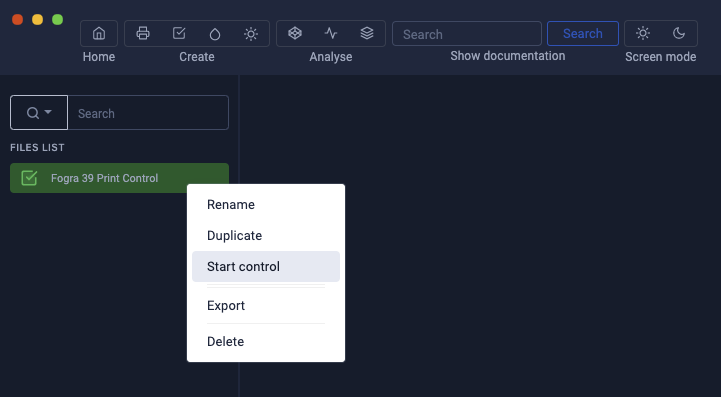
The Print Control file will appear in the left column.
The other fields are optional, they are only used to add information when you are going to create the measurement reports.
Editing tolerances
Standard targets such as Mediawedges Fogra, IDEAlliance, etc... are already associated with tolerance values.
However, it is possible to modify them, delete or add new tolerances.
The edition of the tolerances can only be done when no control measurement has been carried out.
To find out more, refer to the chapter: Editing tolerances
Mediawedge control
To start the Fogra Mediawedge control, right click and select "Start control" to start the measurement.
To save the Print Control file in .pctrl format, right-click and select "Export"
To learn more, see the chapter: Controlling a CMYK Mediawedge
