Print an RGB test pattern
Do not neglect the printing stages of the test charts! Be meticulous.
This tutorial explains how to print the ranges using your printer driver, without going through a RIP or Photoshop.
Before you start ...
These notes will help you on the one hand to configure your image editing / printing application and on the other hand your printer, to print the resolution test charts required to create your profile.
In addition to this document, you should have all the TIFF images created with Coraye's Print Profiler.
Before printing the test charts, make sure your printer is configured correctly.
Use the printer maintenance utility to make sure that all nozzles are functioning properly and that they are aligned properly.
Remember that the purpose of a printer profile is to optimize print quality for a printer by using a combination of print settings, ink type, and paper type.
If you use different papers, you should use a unique profile for each.
It is essential that you print the test charts having deactivated any color manager, both in your image processing software but also in your printer.
Follow this procedure carefully, referring to the user manuals and corresponding help files if you are not using the same software and hardware as described here.
In the following instructions, the text in bold italics represents the wording that you should see on your computer.
First method : Printing directly from Coraye's RGB Profiler module
Once you have selected or created your target, click on the Export icon located below the target, then select "Export PDF".
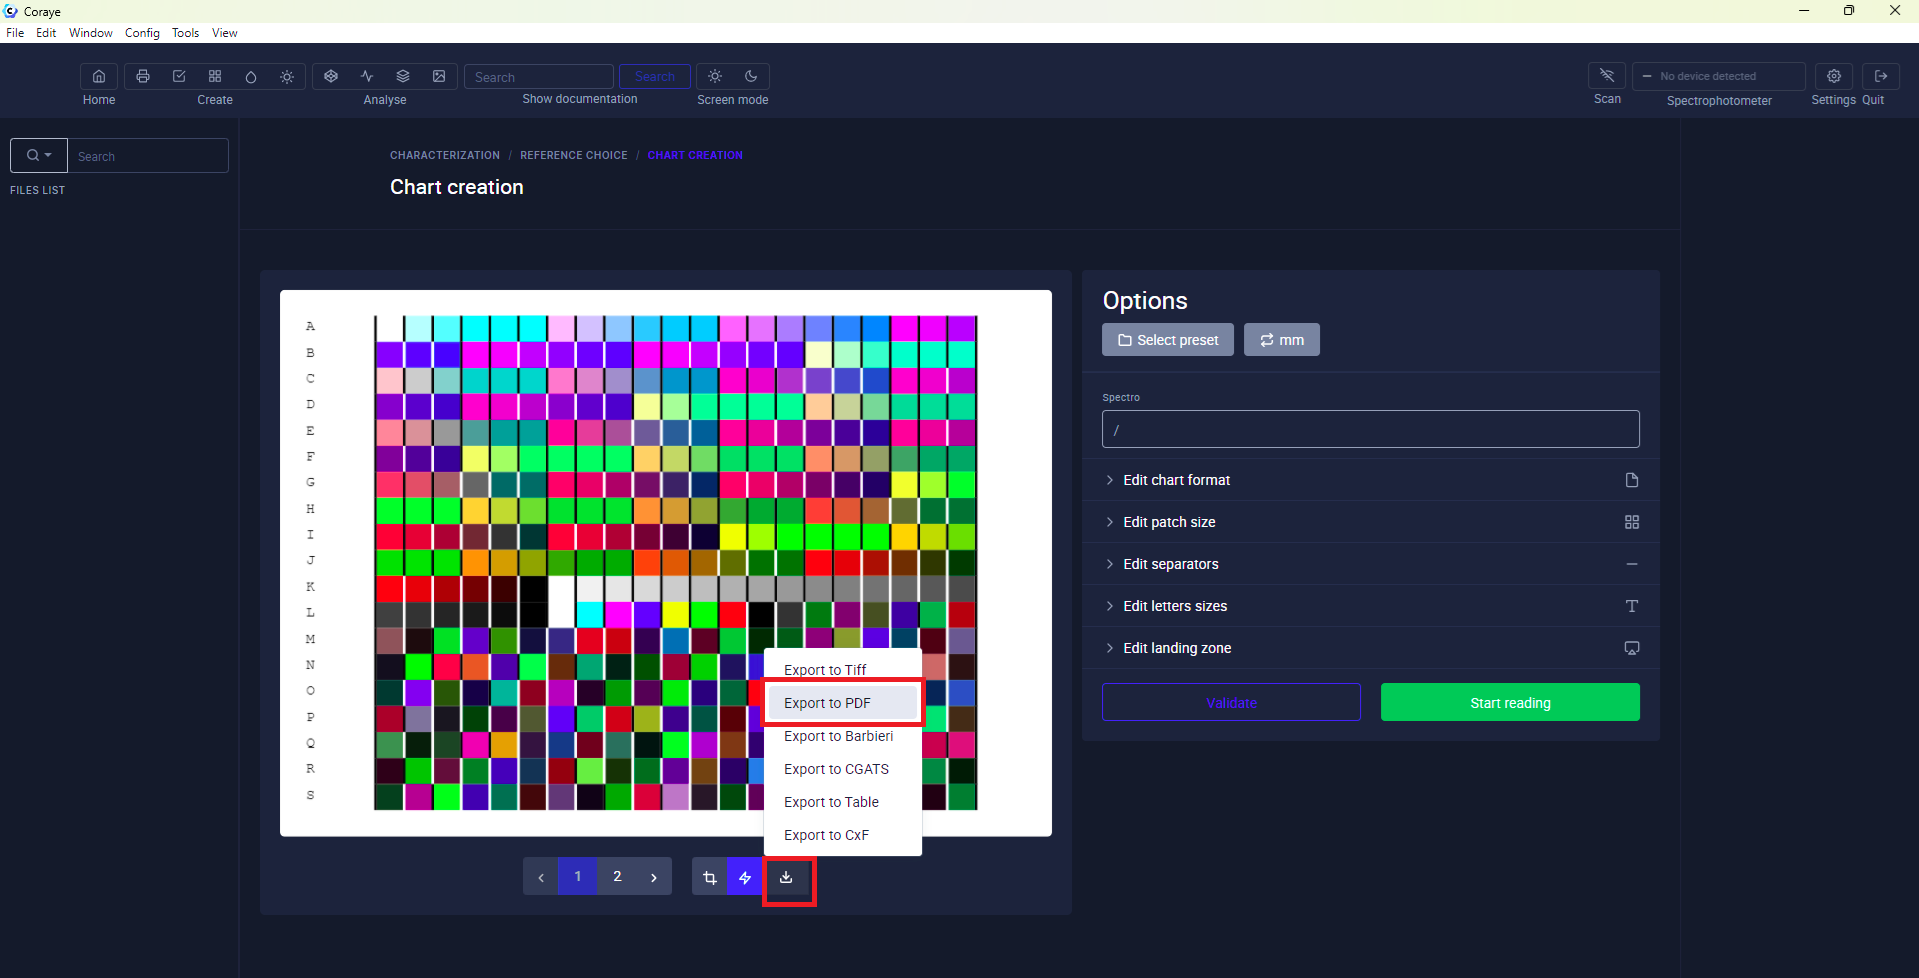
At this stage, if you have configured your printer correctly, you can send your test pattern directly to it.
(See recommendations)
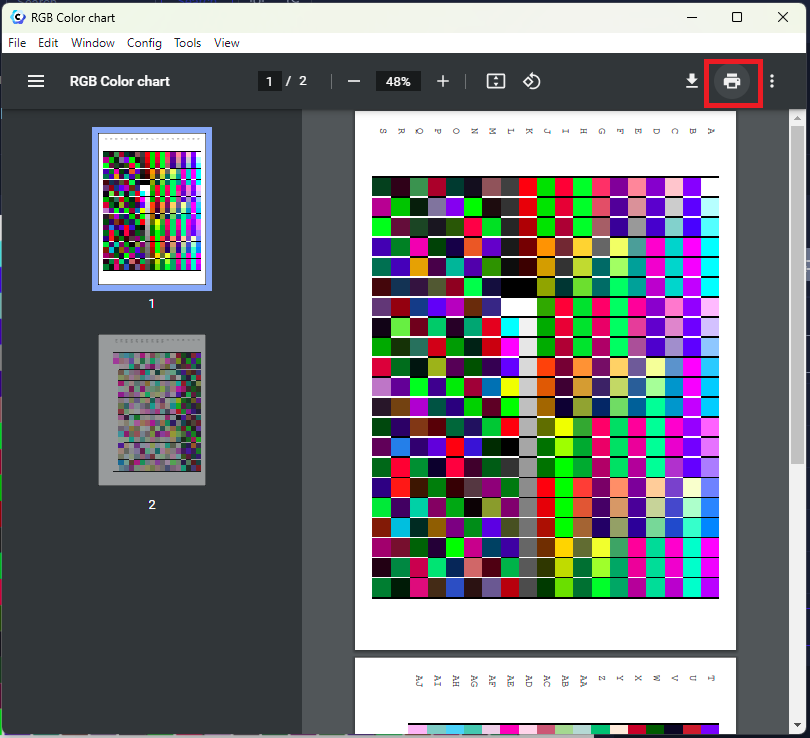
 Exemple driver Epson SC-P7500
Second method : Adobe Color Printing Utility (ACPU)
We now recommend using ACPU for printing target files if, for example, Coraye is not installed on the computer that drives the printer.
This small application can be downloaded from the Adobe website
https://helpx.adobe.com/fr/photoshop/kb/no-color-management-option-missing.html
The download is a small ZIP file (56 KB) containing the program and instructions.
Versions are available for both PC and Mac platforms.
After the files are extracted, it is more convenient to drag the “Adobe Color Printer Utility.exe” file to the desktop.
You may find it convenient to drag the target * .tif and files to the desktop as well.
To run ACPU, simply double-click on the desktop icon.
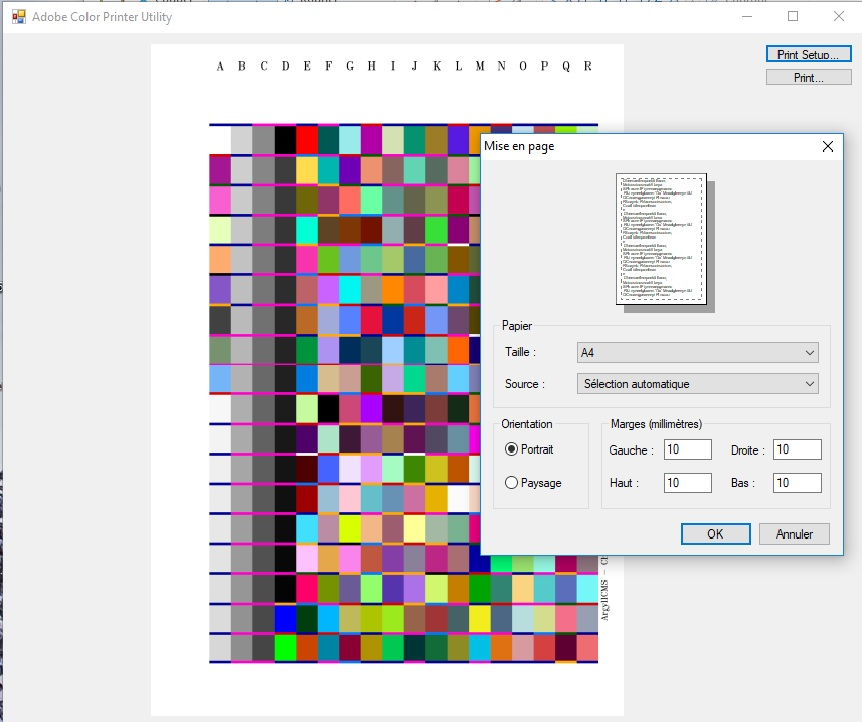
This will open a file selection dialog where you can select one of the target files.
The selected file will appear in the ACPU window as below.

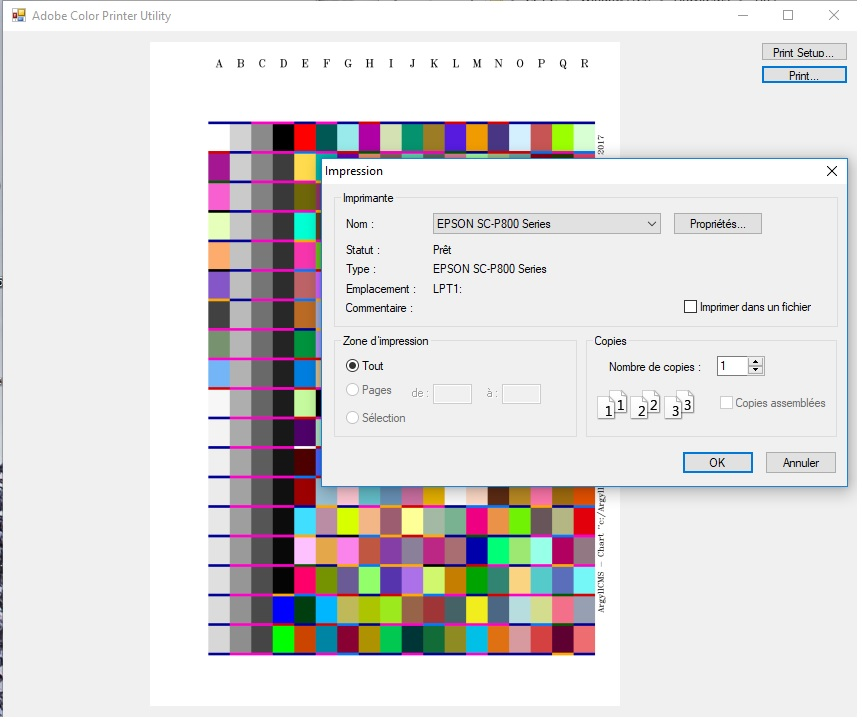
Click " Print, " select your printer from the drop-down list, then click " Properties " to access the printer setup dialog box.
Recommendations
When you get to the printer setup window, follow the instructions below to turn off color management.
Once the printer is configured, you will return to the “ Print ” window as above.
Just click " Print " and your target should print.
After you print the first sheet of the target, follow the same procedure to print the second sheet.
It will be necessary to configure the printer again because ACPU does not “remember” the printer settings from print to print.
The first step in printer setup is to choose the correct paper type and printer resolution in the printer driver. These depend on the type of paper you are using. Remember that the profile is only valid for this paper, printed with the settings you have chosen. If you don't know how to print your pattern, I suggest you visit the paper manufacturer's website, for information on setting up your printing.
- Canson
- Hahnemuehle
- Tecco
- Ilford
- Rauch
- Awagami
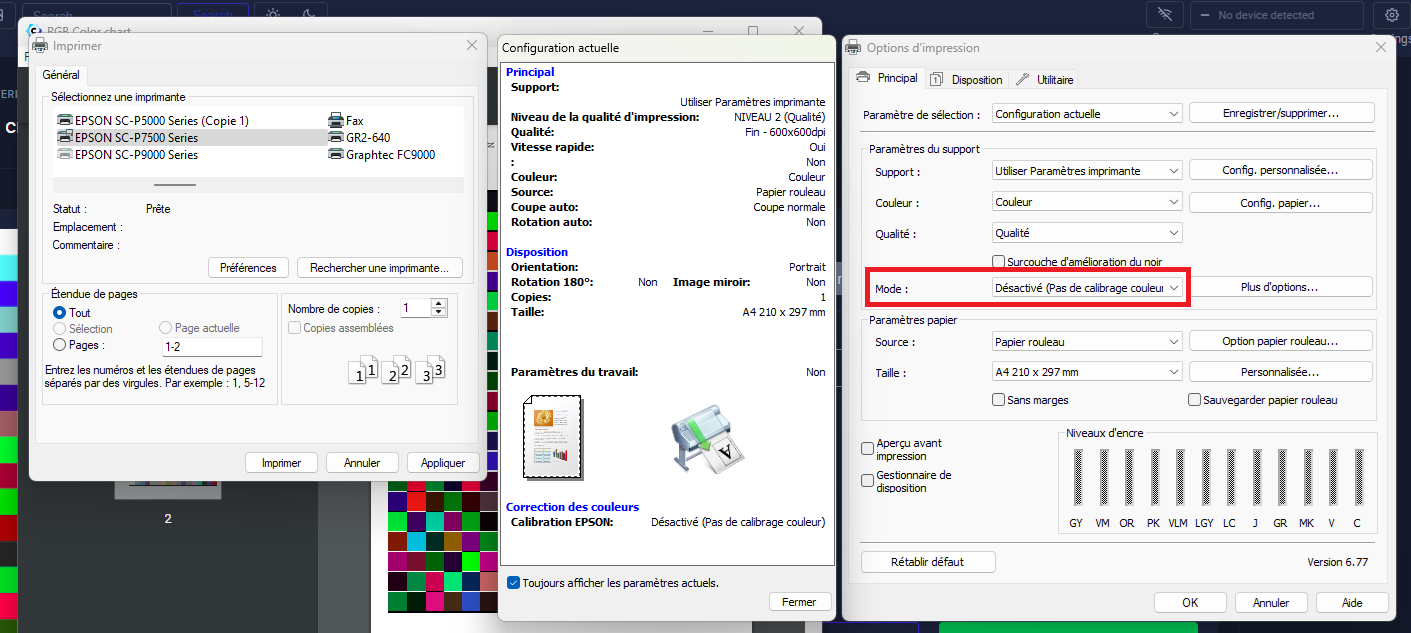
It is essential to disable all color management in the printer settings. You will find it in the Epson control panel below by clicking on the Advanced button which will give you another set of options. In this second window, you can select the appropriate paper and resolution.
It is preferable to save the settings with a descriptive name so that they can be easily found the next time you print.
These are the settings you will use each time you print using your custom profile with this paper.
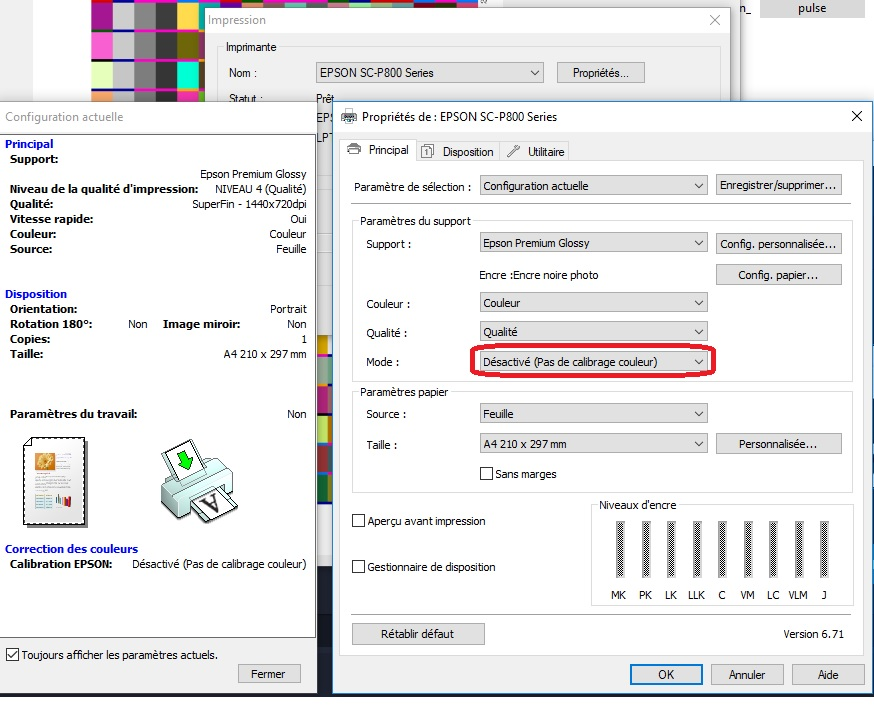
Do not forget to deactivate the color management to print the test chart
Other print drivers will be different, but the goal is the same: to disable color management or settings in the printer driver. Sometimes the required parameters are a little less obvious. For example, in the Canon driver shown below, you will need to select Manual in the Color Adjustment area.
ACPU will make sure that the file itself is not color managed, but it is up to you to turn off color management in the printer driver.
An example of printing charts on a Canon Pro 1100 printer is also explained on the excellent website www.guide-gestion-des-couleurs.com by Arnaud Frich:
https://www.guide-gestion-des-couleurs.com/tutoriel-logiciel-coraye-profiles-rvb-cmjn.html
After printing the test charts
During this time, be careful not to scratch the surface or damage it in any way.
Even papers that claim to be "instant-dry" can be vulnerable on the first print, and any smudging on the test patterns can significantly affect profile accuracy.
The printouts should be looked at carefully, as they indicate the capabilities of your printer / ink / paper combination.
It is important to keep in mind that printer profiling cannot increase the gamut of colors that you can print.
This will ensure that the colors you can print are reproduced accurately, that the transitions between colors are smooth, and that the grays are truly gray.
All marking should be done near the edges of the prints, outside the black border.
Do not mark targets or apply adhesive labels to the reverse side of the printed area.