Controlling an RGB Mediawedge range
The Print Control module allows you to monitor the stability of your RGB prints to guarantee your customers consistency in printed reproduction, but also to anticipate technical problems.
By default, we offer an RGB Mediawedge type range of 72 patches, but it is also possible to customize your range with the "Color table" module.

Importing a Print Control .pctrl file
In the chapter "Creating a reference from a printed RGB gamut" we have created a .pctrl file containing the information necessary to check your prints.
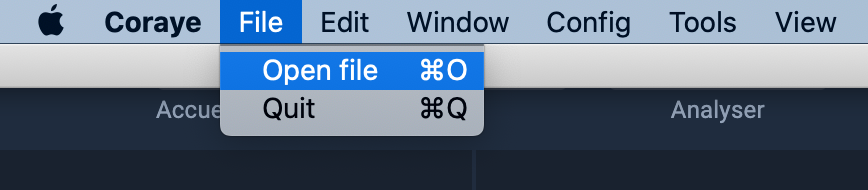
The first step will therefore be to import this file.
For more information, see the chapter: Creating a reference from a printed RGB MediaWedge
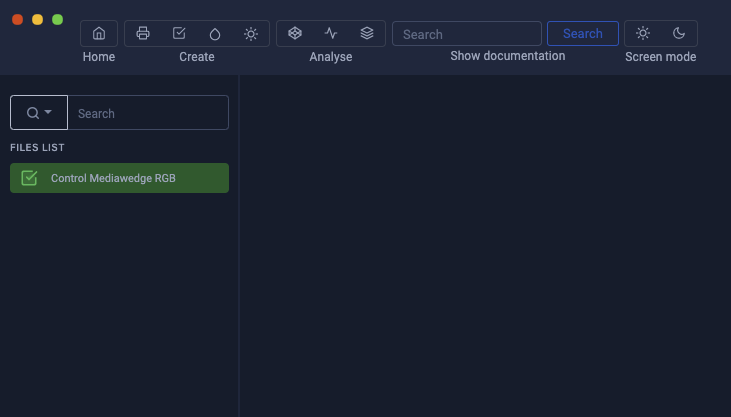
Once imported into Coraye, the "Print Control" file appears in the left column with a check mark.
Start the procedure
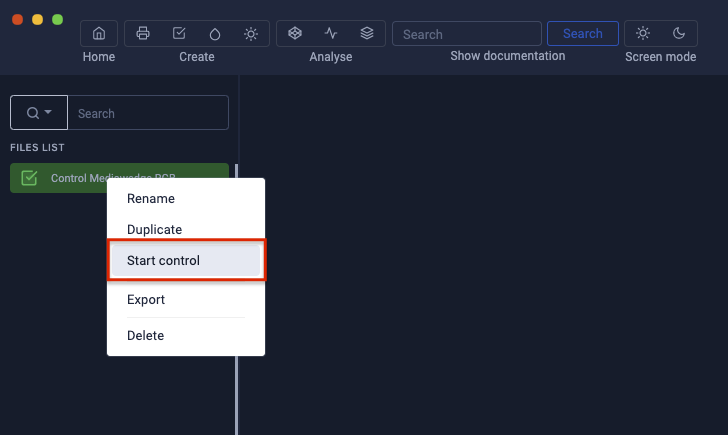
To start the measurement, all you have to do is right click on the file and select "Start control"
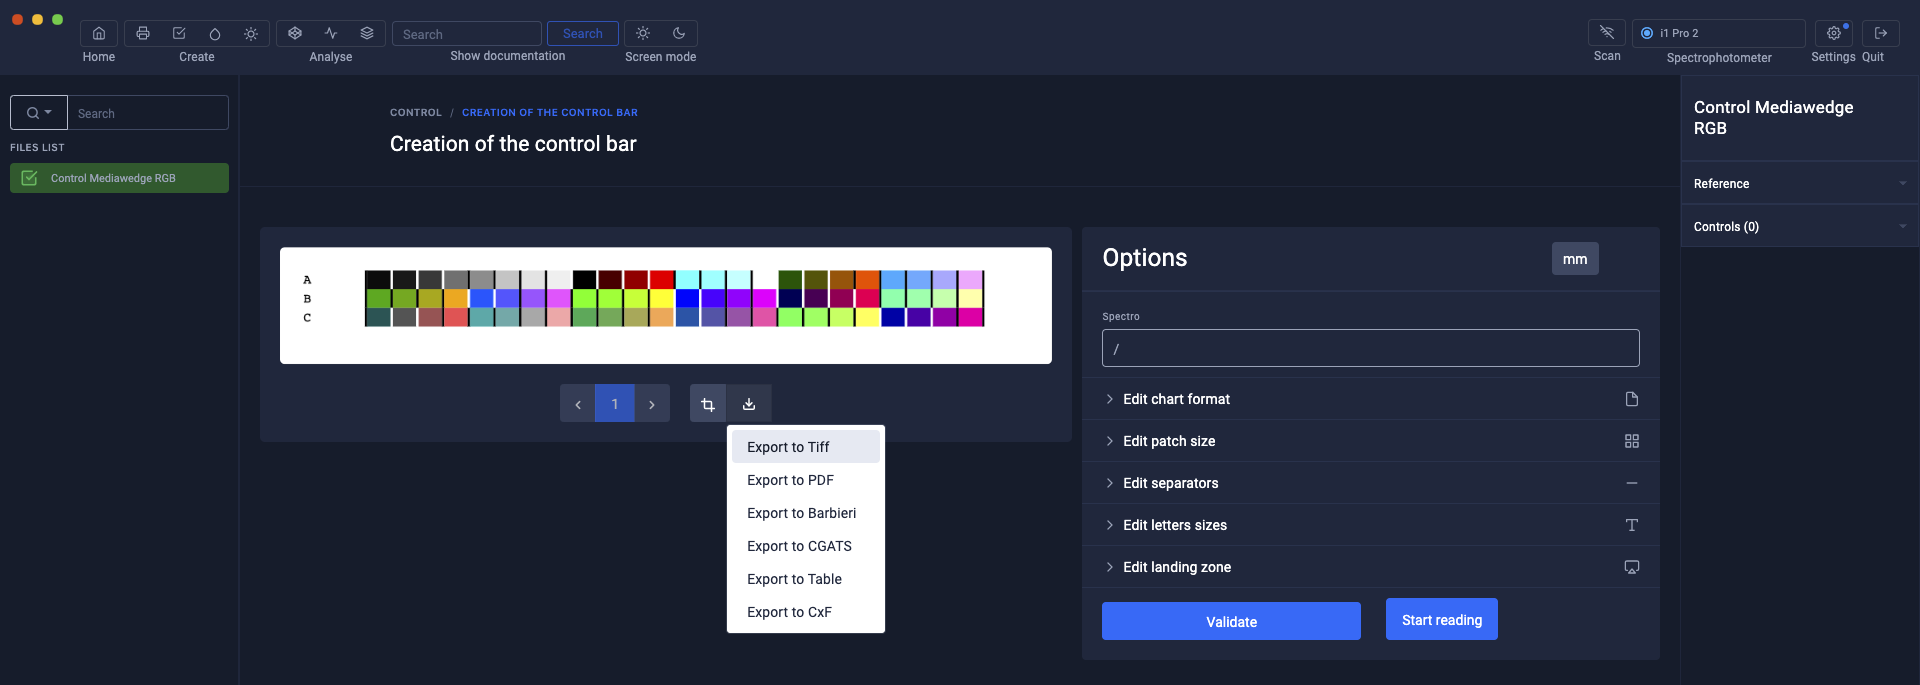
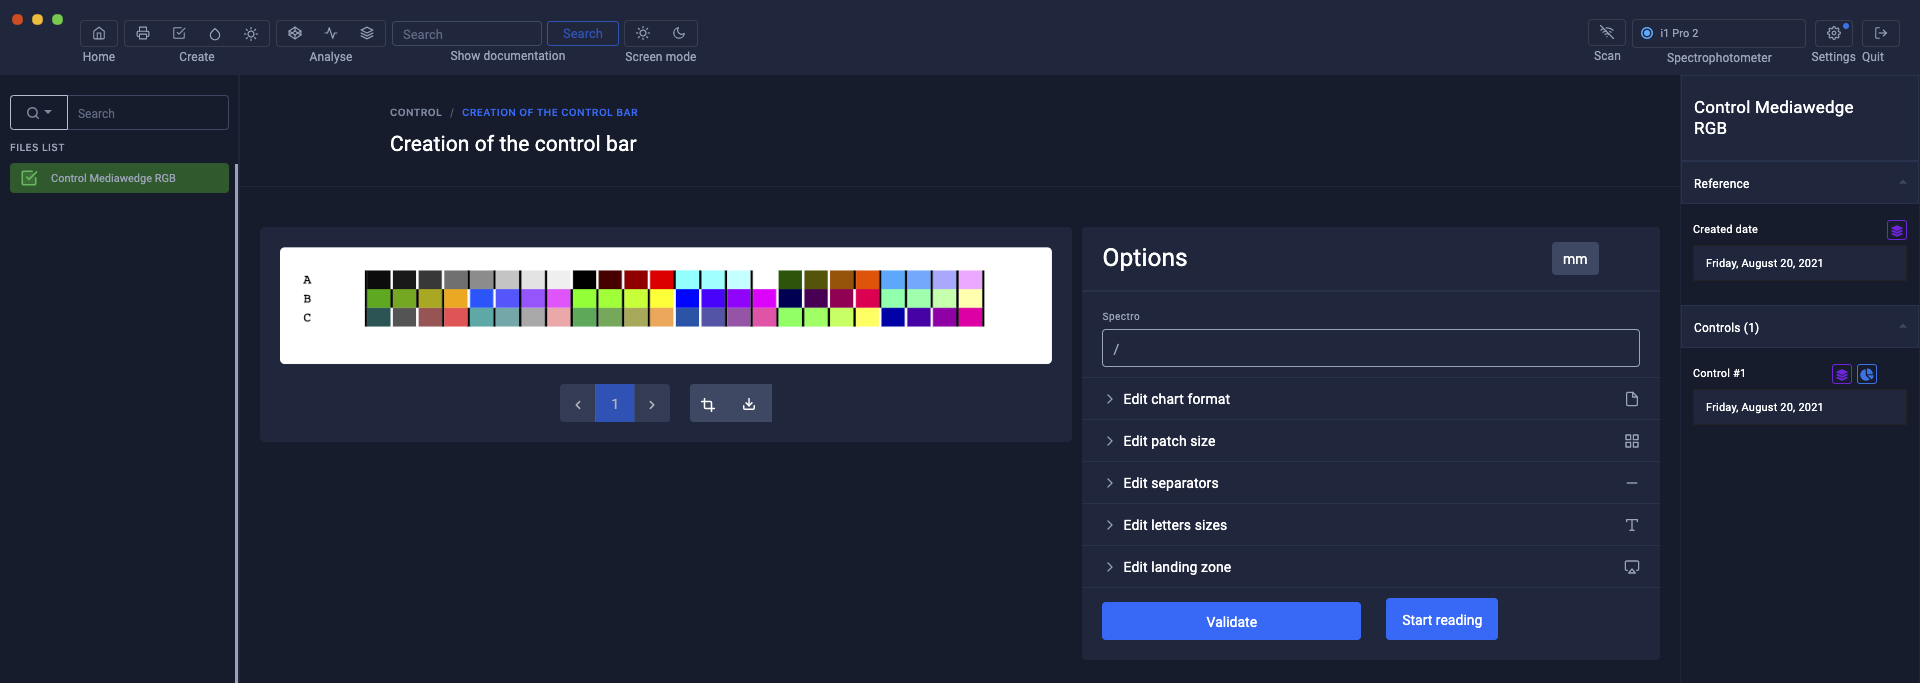
If the range is not already printed, you can download it in Tif or Pdf format
To start the measurement, click on the "Start reading" button
Select the measurement options, then click the "I'm ready" button

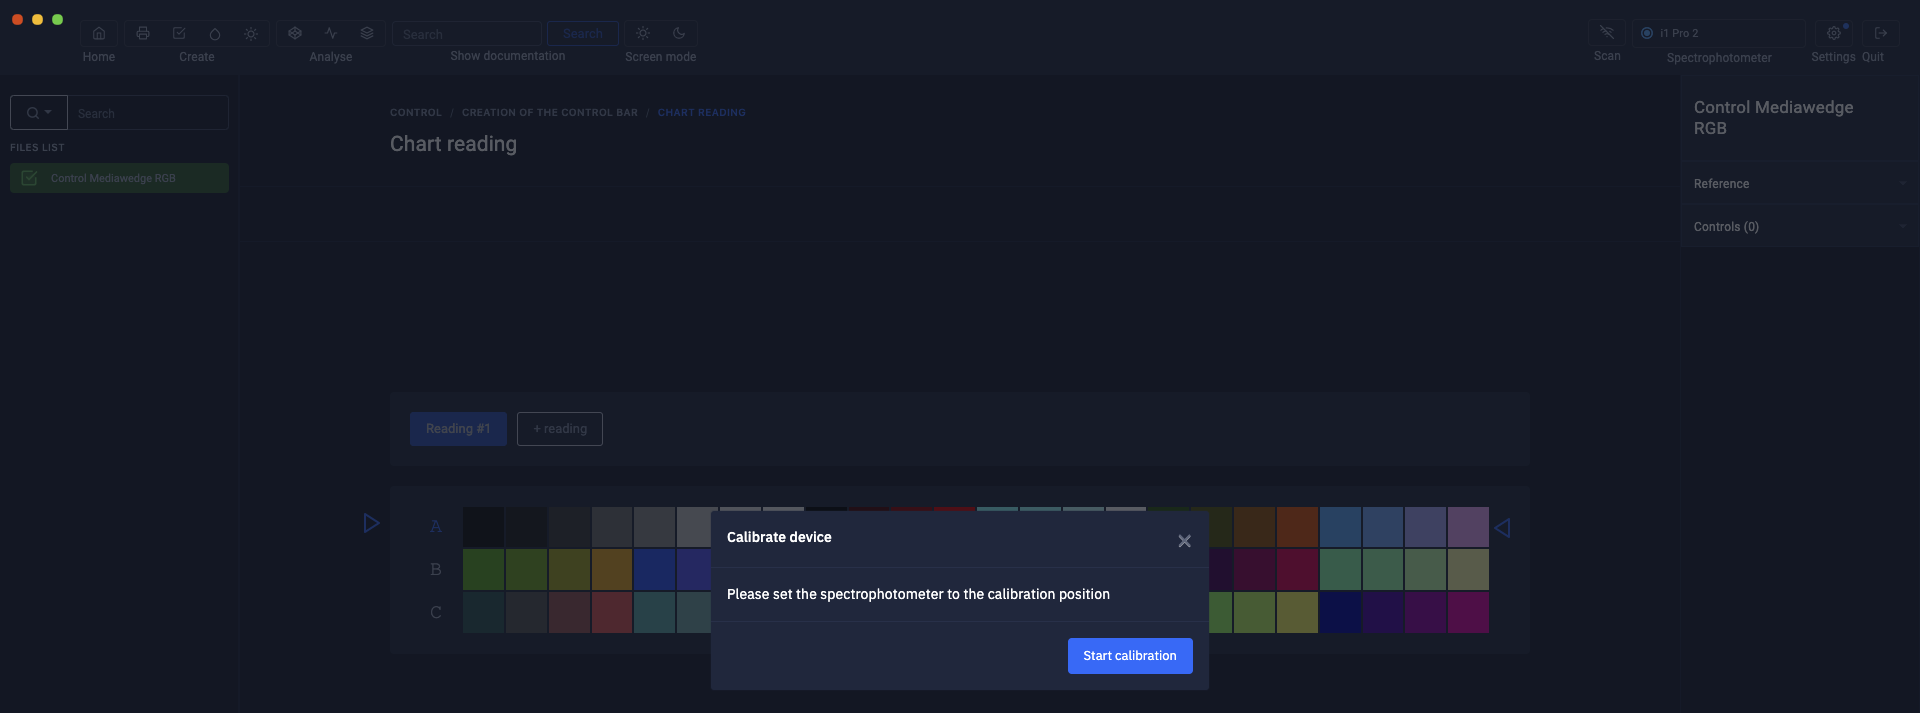
Position your spectrophotometer in its calibration position

Click on the "Start calibration" button
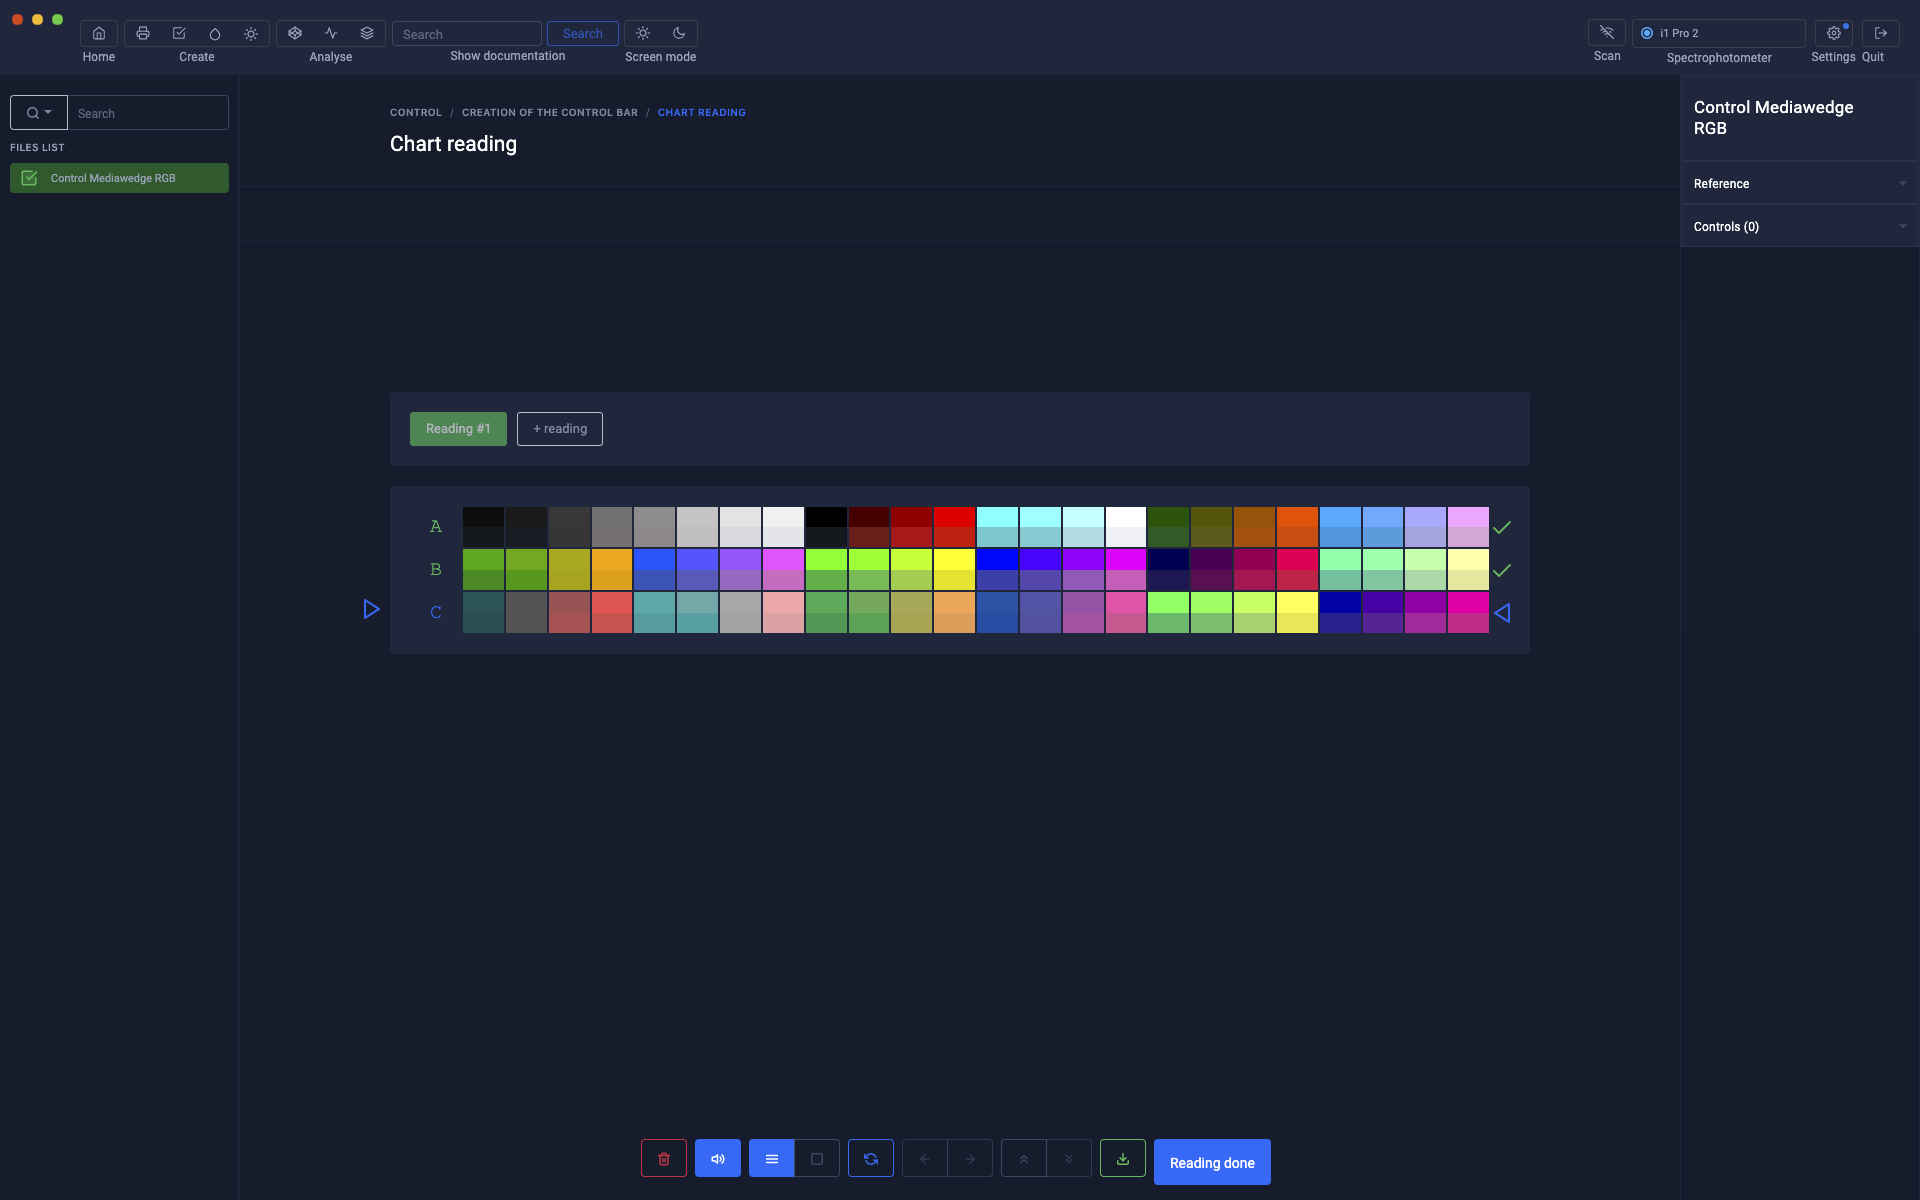
Measure the range
The procedure for measuring an RGB gamut is identical to that of a CMYK gamut
For more details, we invite you to read the chapter: Checking a standardized CMYK Mediawedge gamut
For more information, see the chapter: Controlling a CMYK Mediawedge range
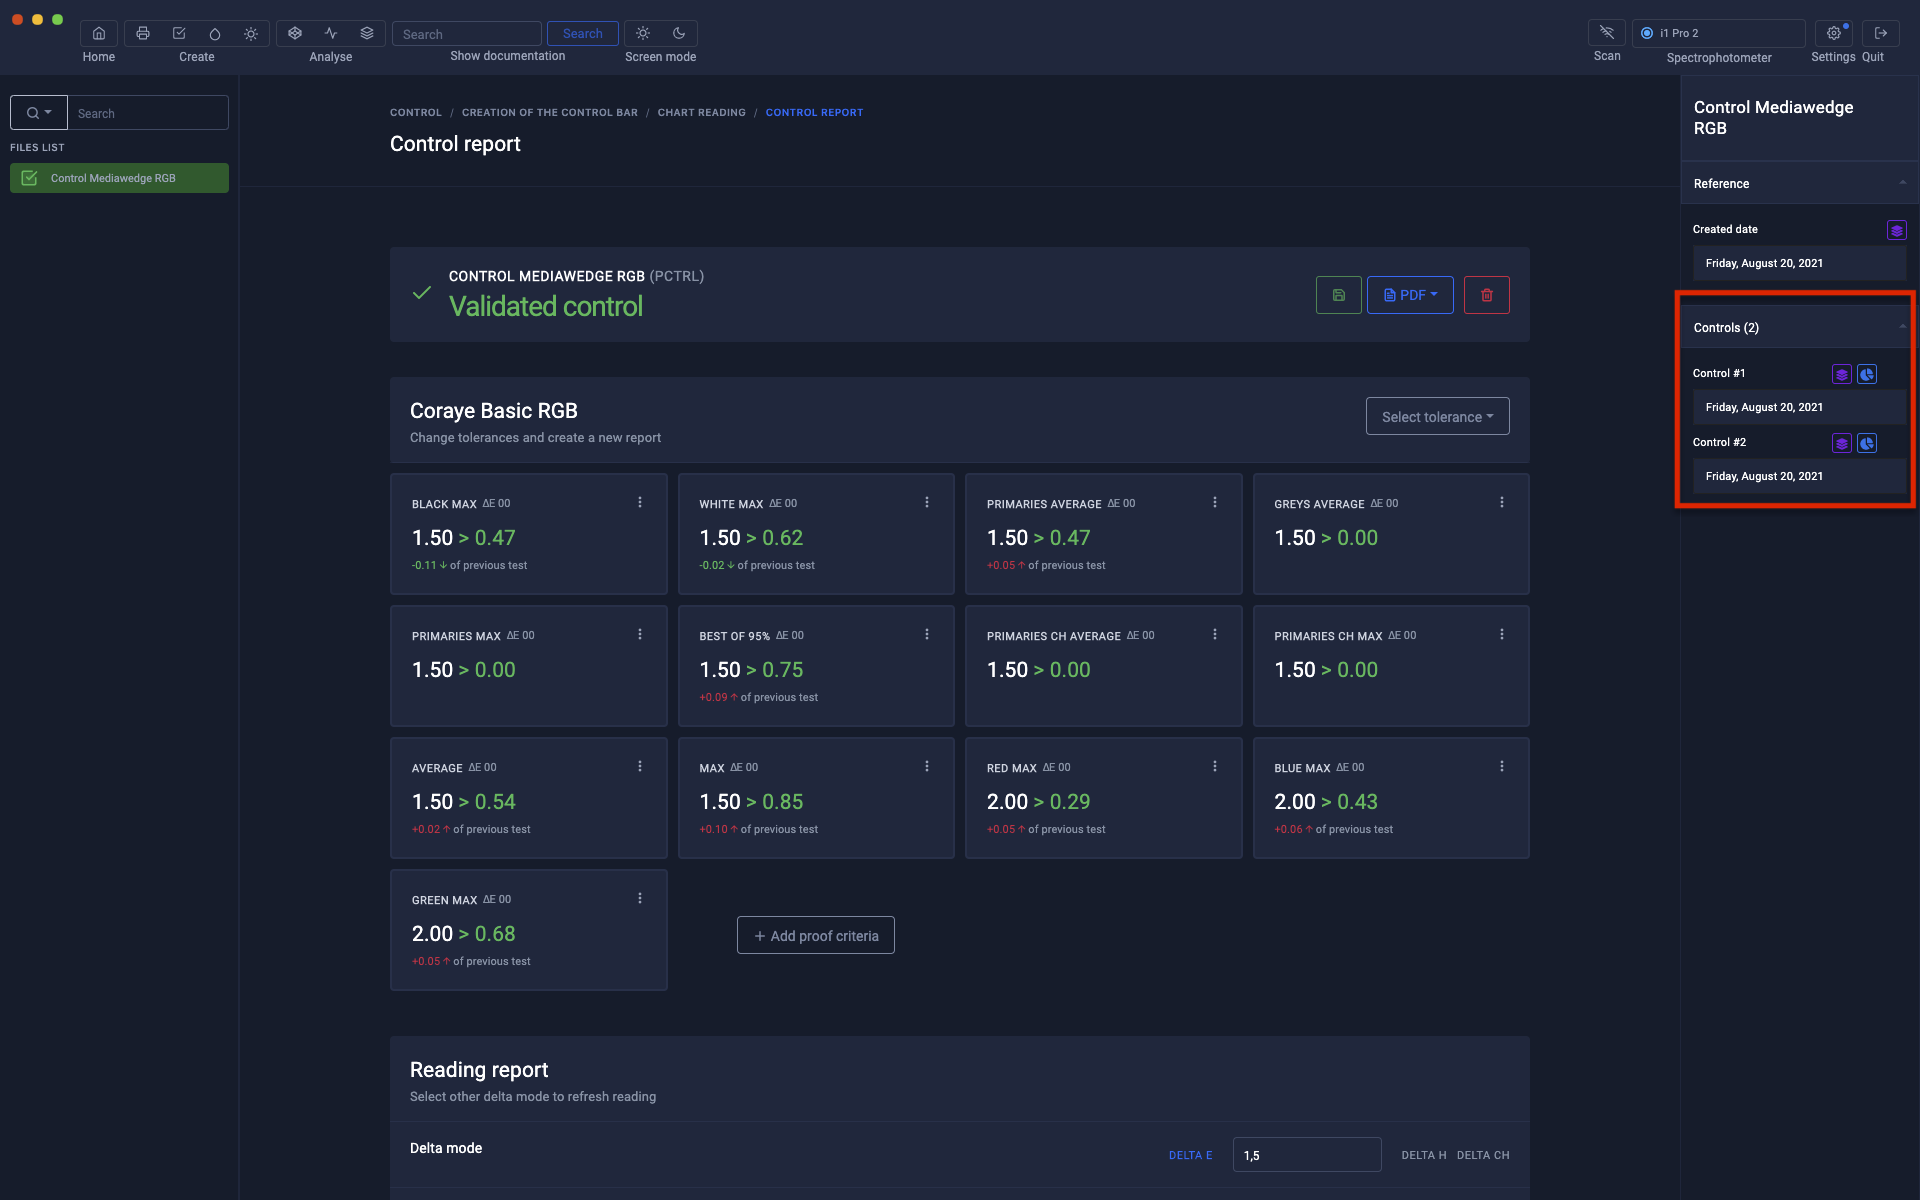
When the range measurement is finished, the report is displayed.
A history of controls is saved in the "Print Control .pctrl" file and appears in the right column when the Print Control file is selected in the left column.

To perform other checks, just "Start control" on the .pctrl file ...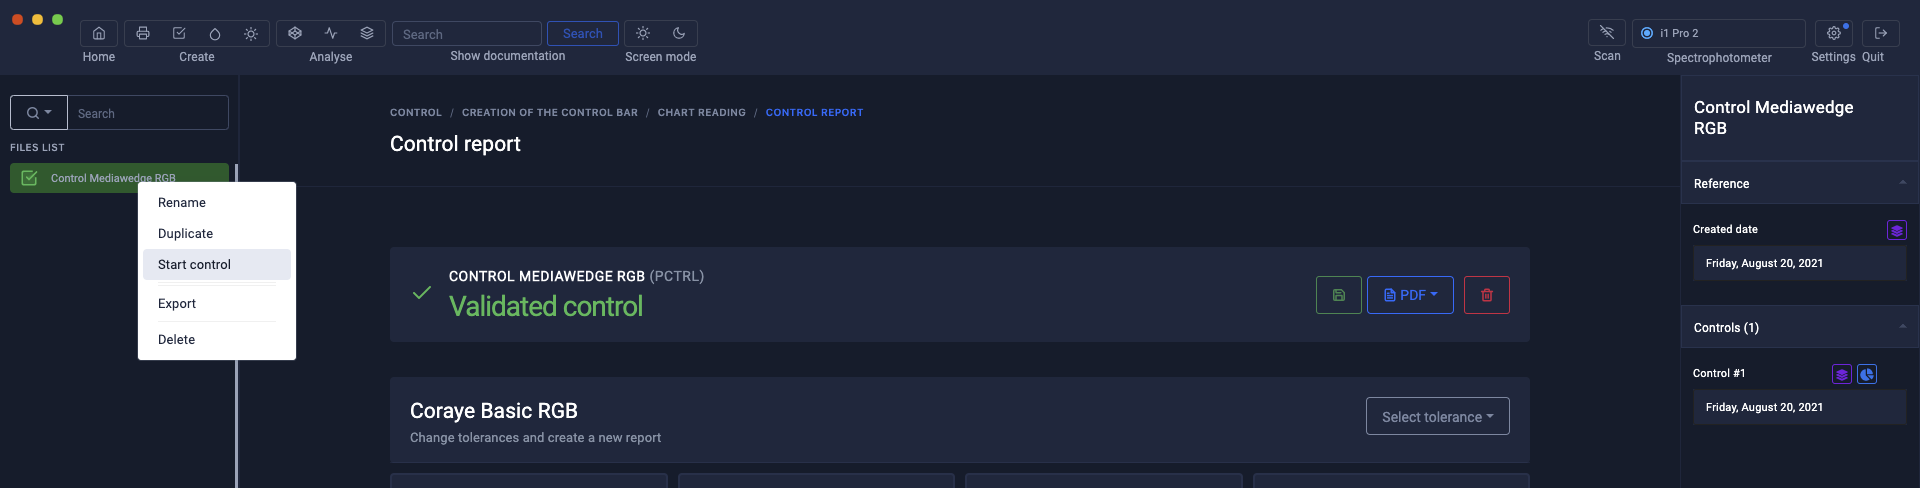
... and measure the Mediawedge range.
Each new control is added to the history of the .pctrl file.
The measurements and the results of the control are stored in the file.
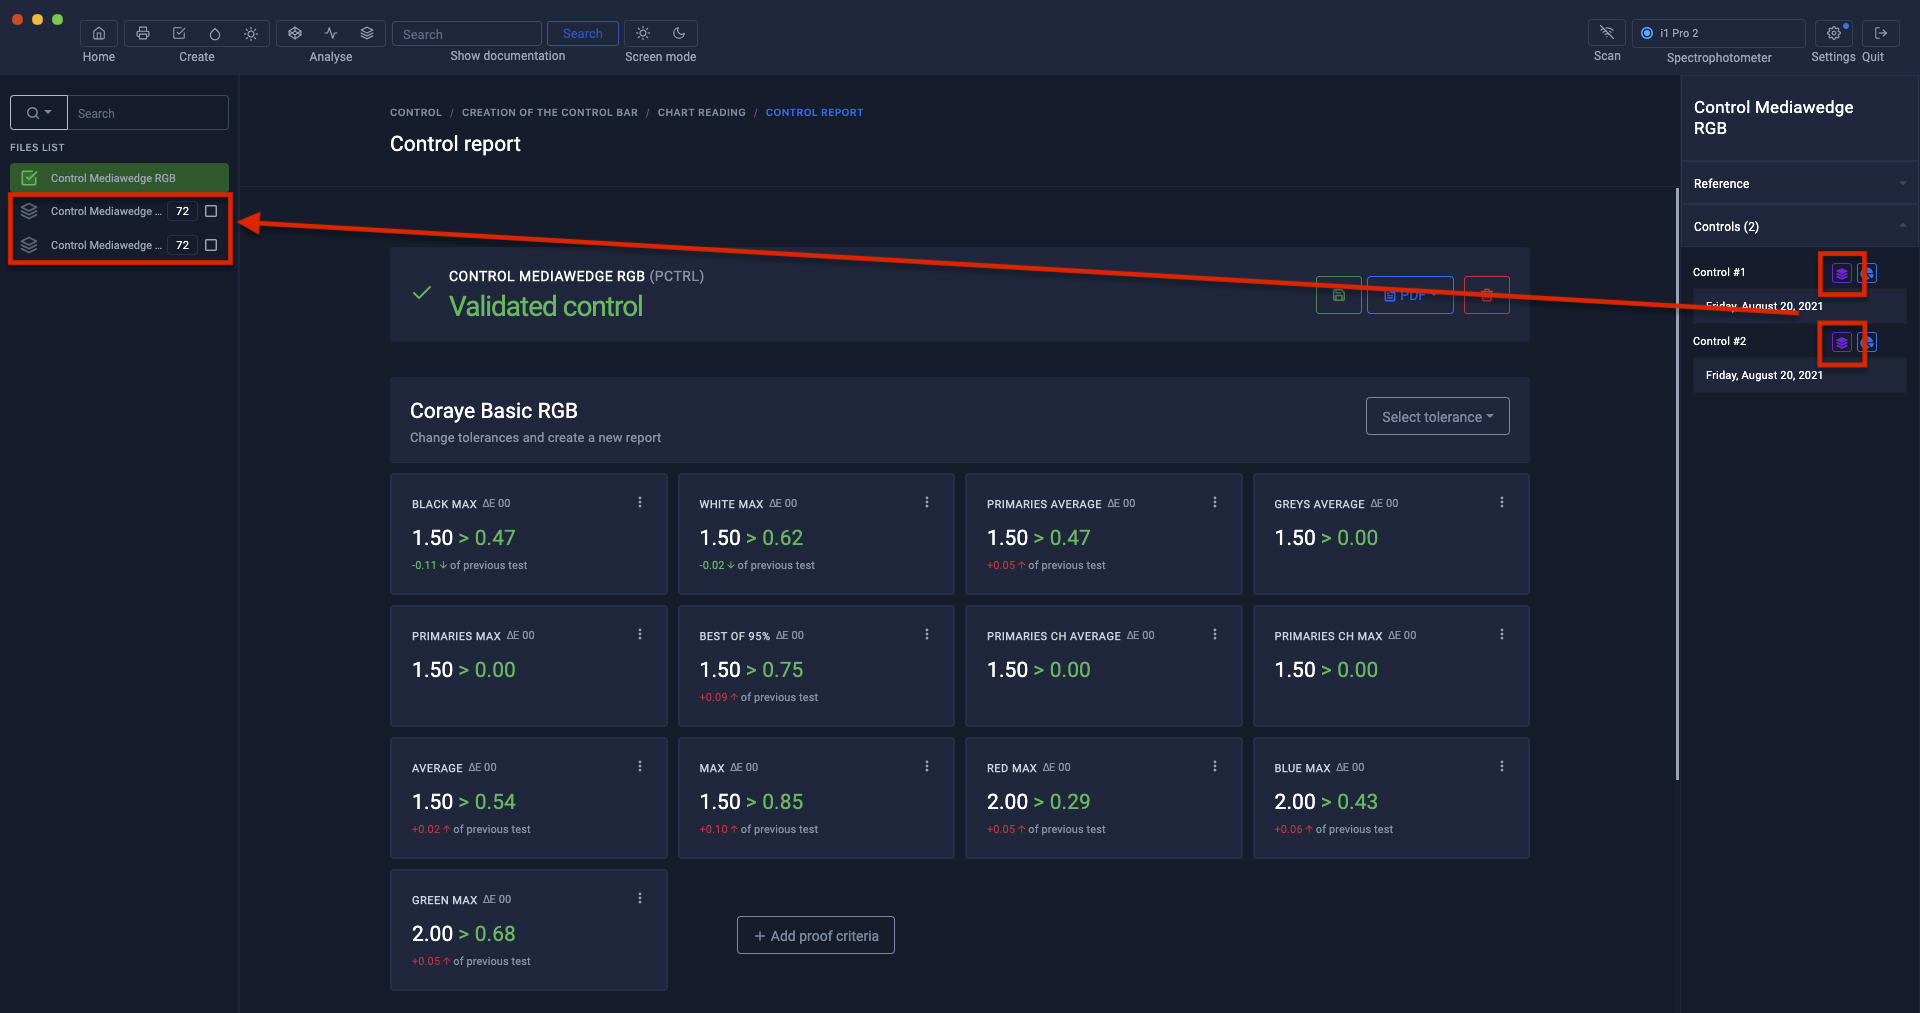
Extraction of previously performed measurements
Just click on the purple icon.
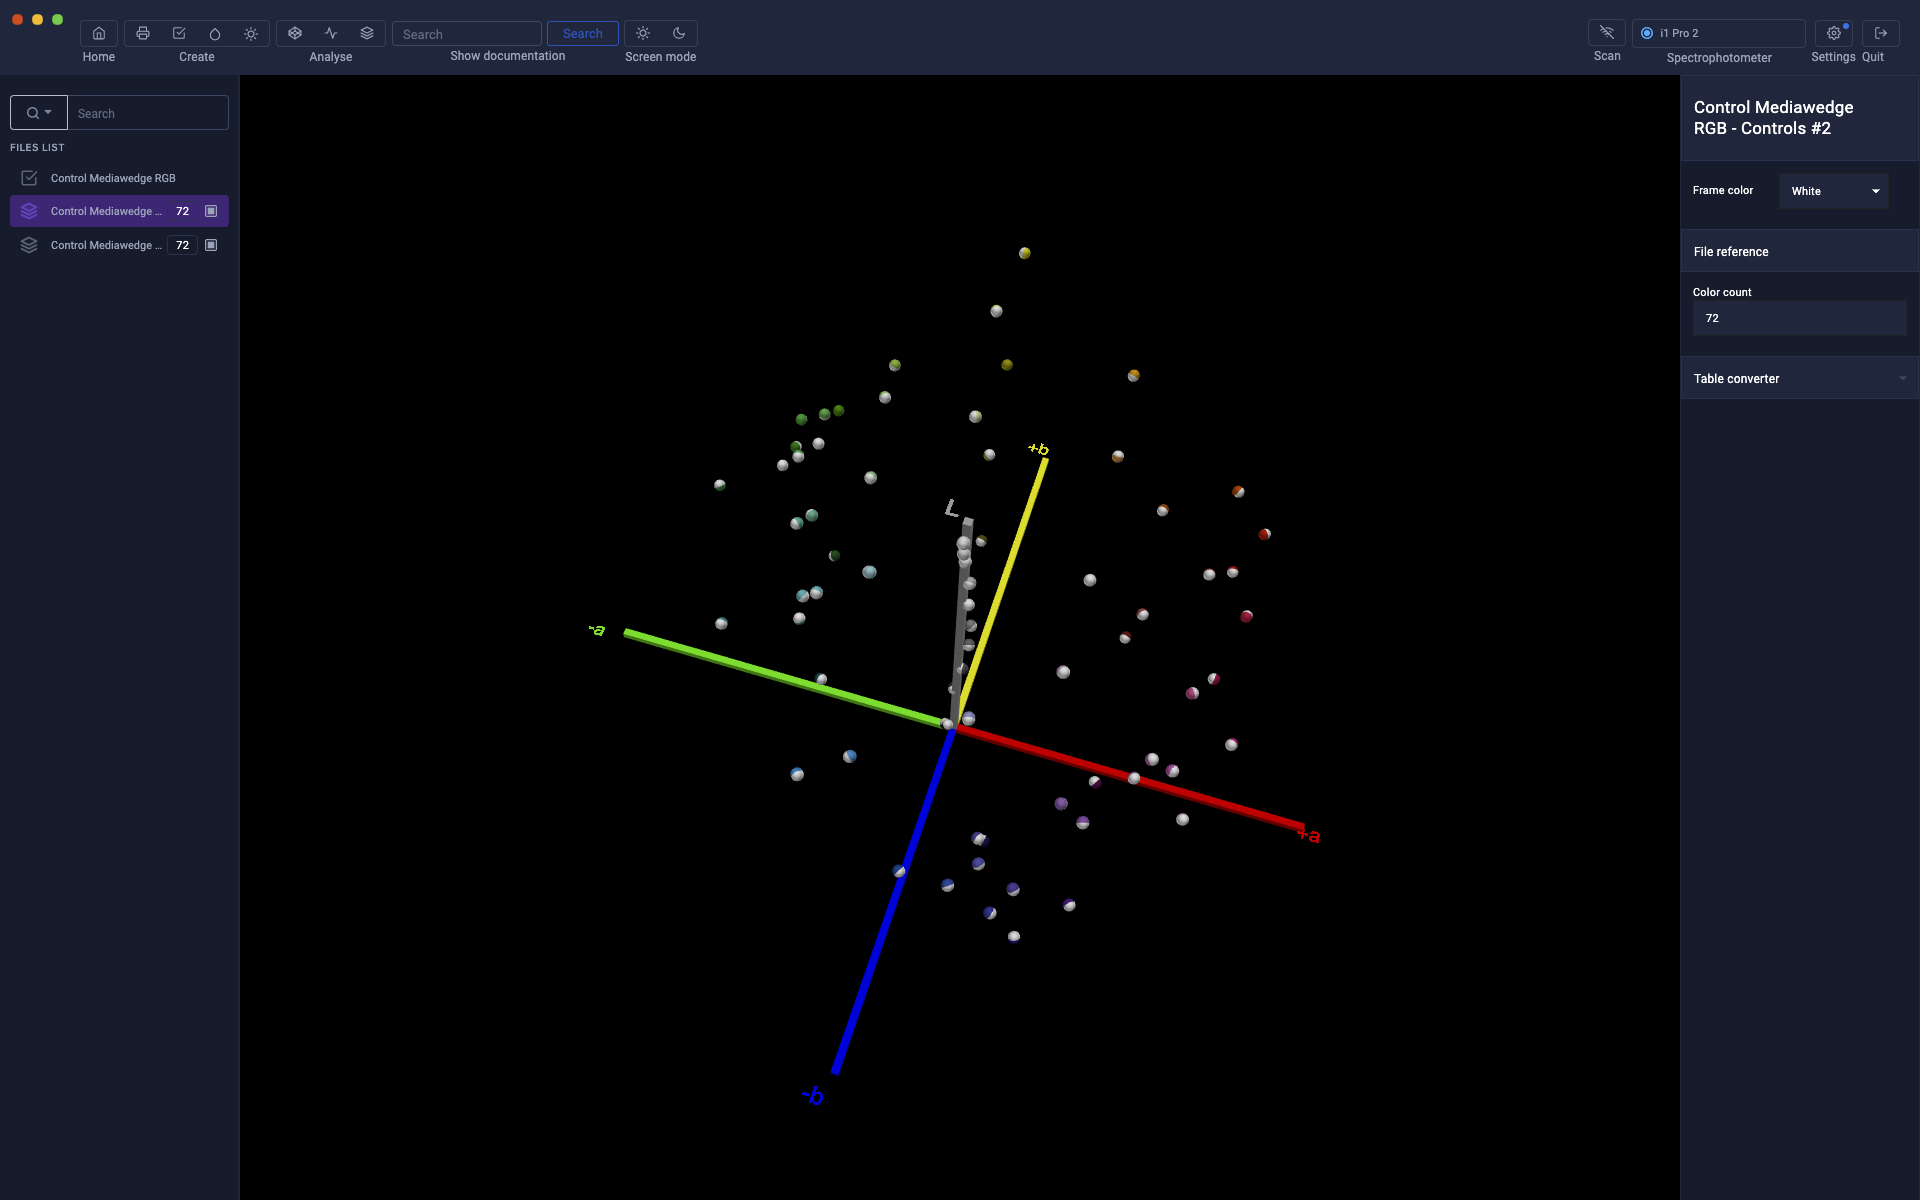
To compare the measurements in 3D, it is possible to display them in the Gamut Viewer
Delete a measure
To delete a measurement, you must click on the blue icon then on the trash can icon.

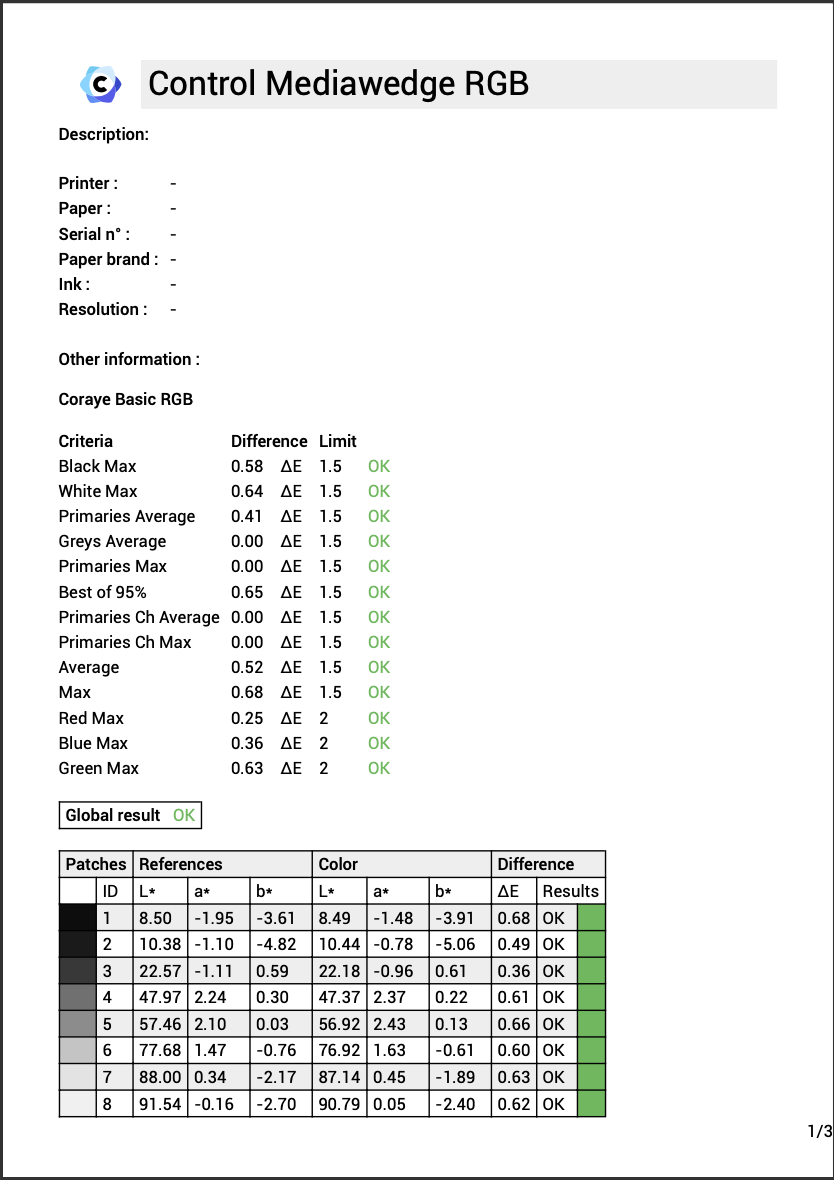
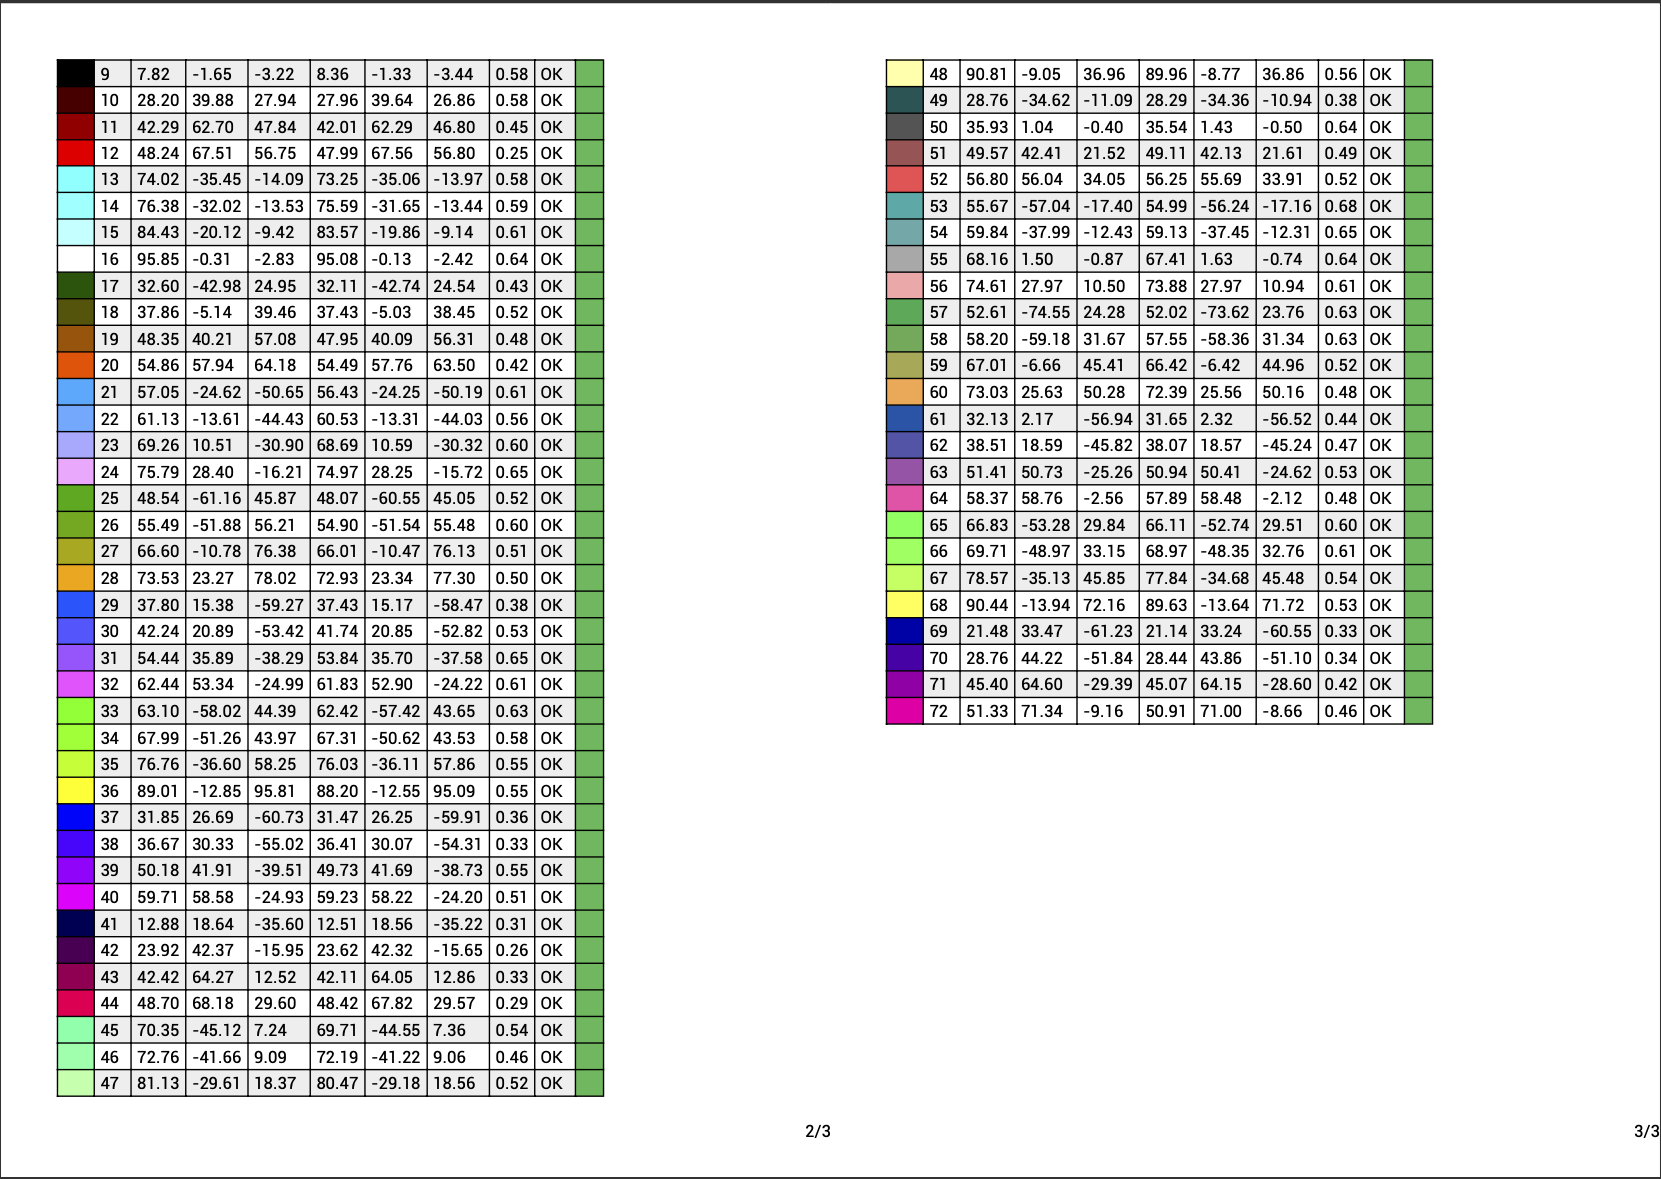
Creation of a label or report in pdf format
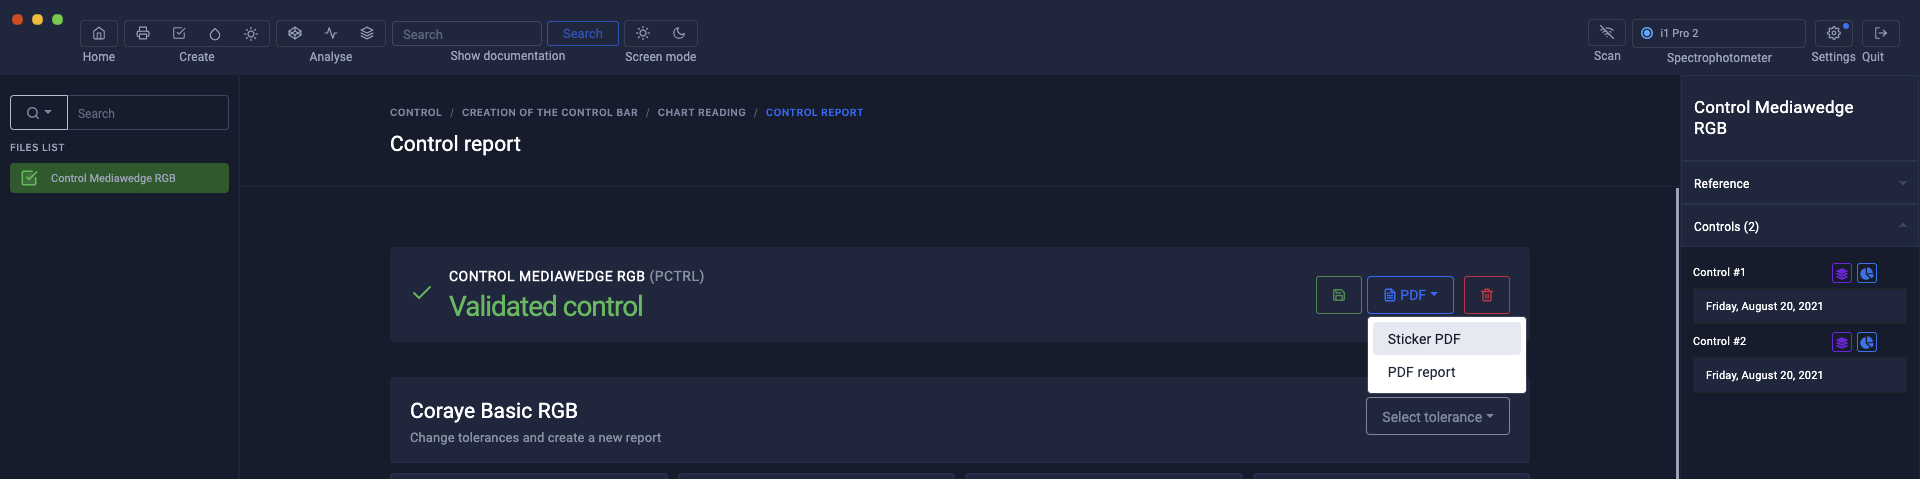
Short report label
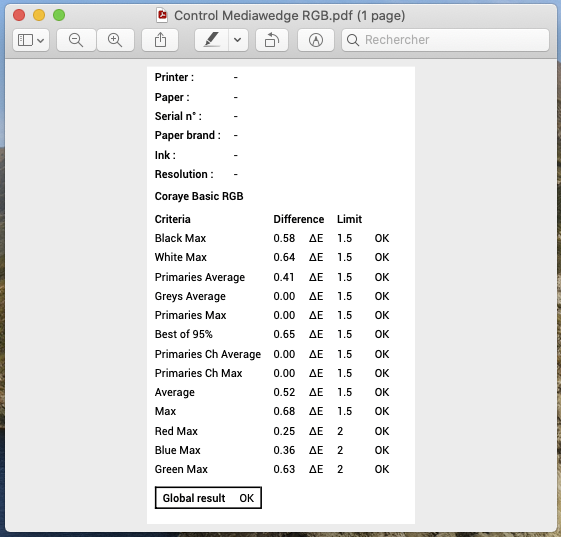
Control report
Saving the Print Control file
To save the .pctrl file on your computer, right click on the Print Control file then select the "Export" option
